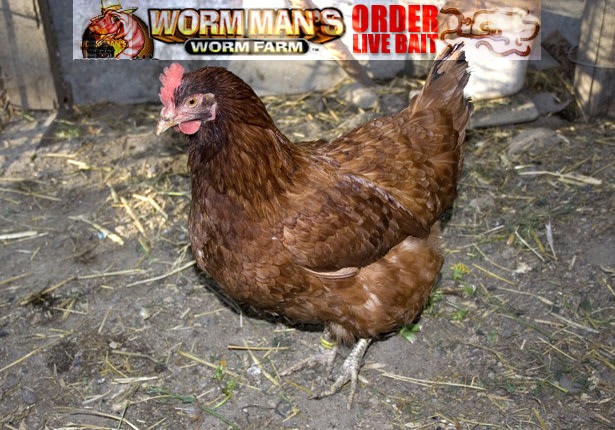
Okay, We are all in school again and I am going to condescendingly ask you some questions. What is deposited under a chicken coop kids? What can we do with what is deposited under chicken coops?
Well, Kids, beneath chicken coops are chicken poops (Sorry). Chicken manure is great feeding to a variety of invertebrates from composting worms to Soldier Fly Larvae. The former needs for the manure to be aged and the latter will lay their eggs in the fresh stuff. The Black Solider Fly Larvae will eat the manure fresh and they will do a great job of eating it all. Those grubs, which we trademarked under the name Soldier Grubs, are great for reptiles, fish and chickens. You can make chicken food out of chicken poop. How great is that?
Anyway, in order to gather chicken poop for your worms, or for composting, you need to have the chickens pretty much confined to one area. Free range is great, but free range in a cage, where animals can’t kill your chickens, and so you can get the poop is even better.
If you’re reading this, you probably already are very aware of the benefits of owning and maintaining your own chickens. You’ve probably already known that the average chicken lays over 260 eggs a year, and that can lead to over FIVE THOUSAND eggs for your family per year.
You already know the positives. Knowing all that, maybe what has stopped you in the past was worrying about the cost of buying a chicken coop, or the complication of how to build a chicken coop, such as coop materials, insulation, lighting, ventilation, nesting boxes, perches and predators protection and perhaps the upkeep for the chickens themselves. Continue reading The Poop on Chicken Coops
Building your own chicken coop will be one of the best decisions you can make if you are looking for a way to keep your chickens safe, keep your worms safe from the chickens and to keep the chicken poop contained in the chicken coop until you are ready to use it.
Chicken manure is used to grow Soldier Fly Larvae, which we call Soldier Grubs. The chicken manure is also good, one aged for growing red worms, European Night Crawlers, and African Night Crawlers. If you have chickens and want to compost, need bait or want great worm castings for your garden, then build them a chicken coop and you will save the day. Continue reading Building A Chicken Coop – Building your own chicken coop and grow worms with the Chicken Poop!
Last week we had our first freeze here in New Jersey. We often get a first freeze that then melts and does not freeze again for a week or so. Then we get a hard freeze later in November or early December. That first freeze is our gue to tuck our red worm and European nightcrawlers in for winter. The one question that I often get is around feeding composting worms during the winter, especially if the worm bed is outside in the elements.
The questions range from the kind of food we recommend for Redworms and European night crawlers, to how to feed the food we recommend. The questions also delve into how we protect outdoor worm beds in winter, what we cover them with and when we cover them.
Winter feeding is an entirely different way of feeding composting worms than summer feeding. There are three things that we look to accomplish with winter worm bed feeding:
We look to ensure that we have enough feed on the beds so that we do not have to disturb the worms during the dead of winter. The tops of the worm beds will often freeze and the red worms and European nightcrawlers will retreat and form a protective ball by huddling beneath the frozen worm bedding. That freeze creates a frozen cap that will actually protect the worms under the freeze line. By breaking that cap, turning beds or digging into beds, you can expose your composting worms to the cold air and that will kill them. We aim to feed them before the first deep freeze and then leave them until spring.
We want to have a food that is safe, deep enough and still green enough to generate some heat, which will create a safe space for the worms to feed and even breed on the warmer days throughout the winter.
We want to have the food last to the point where, as soon as the temps rise above freezing but before the beds are warm enough to work, the worms begin breeding and depositing capsules in and under that winter food that we provide. This will ensure a nice healthy swarm of babies happily eating the leftover food when we open up the beds after that danger of the last freeze has passed, which is late April or even May in New Jersey.
We our three worm feeding goals laid out, we begin that task of preparing and adding the food to our beds.
Worm Food Preparation: During the three other seasons, we ensure that any manure fed to the worms is mixed to a specific ratio in order to ensure that it is past the heating stage before it is fed to the worms. The last thing that we want is for the bedding to heat on a hot or warm day. In Winter, our goals change. We do mix the manure with shredded paper and straw before use, and we do allow it to heat for a couple of days but then we apply it before it has completely heated to the point where it is beyond that heating stage. We do this so that the heat created by the breakdown of the bedding will provide some heat to the worm beds. We are not looking for super-warm temperatures, but enough so that the worms can still move about and eat throughout the winter. In order to do that we mix in more green material than we normally would and we add alfalfa pellets like the type sold as rabbit food.
So, we add fresh manure, straw and paper, wet it down, pile it high and let is begin to break down. Then we mix in dry alfalfa pellets and lightly water. We want it to be on the drier side because the food mix will break down more slowly that way as it appropriates water from the worm bed.
Worm Food Application:
After the food has been prepared and is ready to go, we apply it to the worm bed. We pile it high and deep and shape it like a triangle.
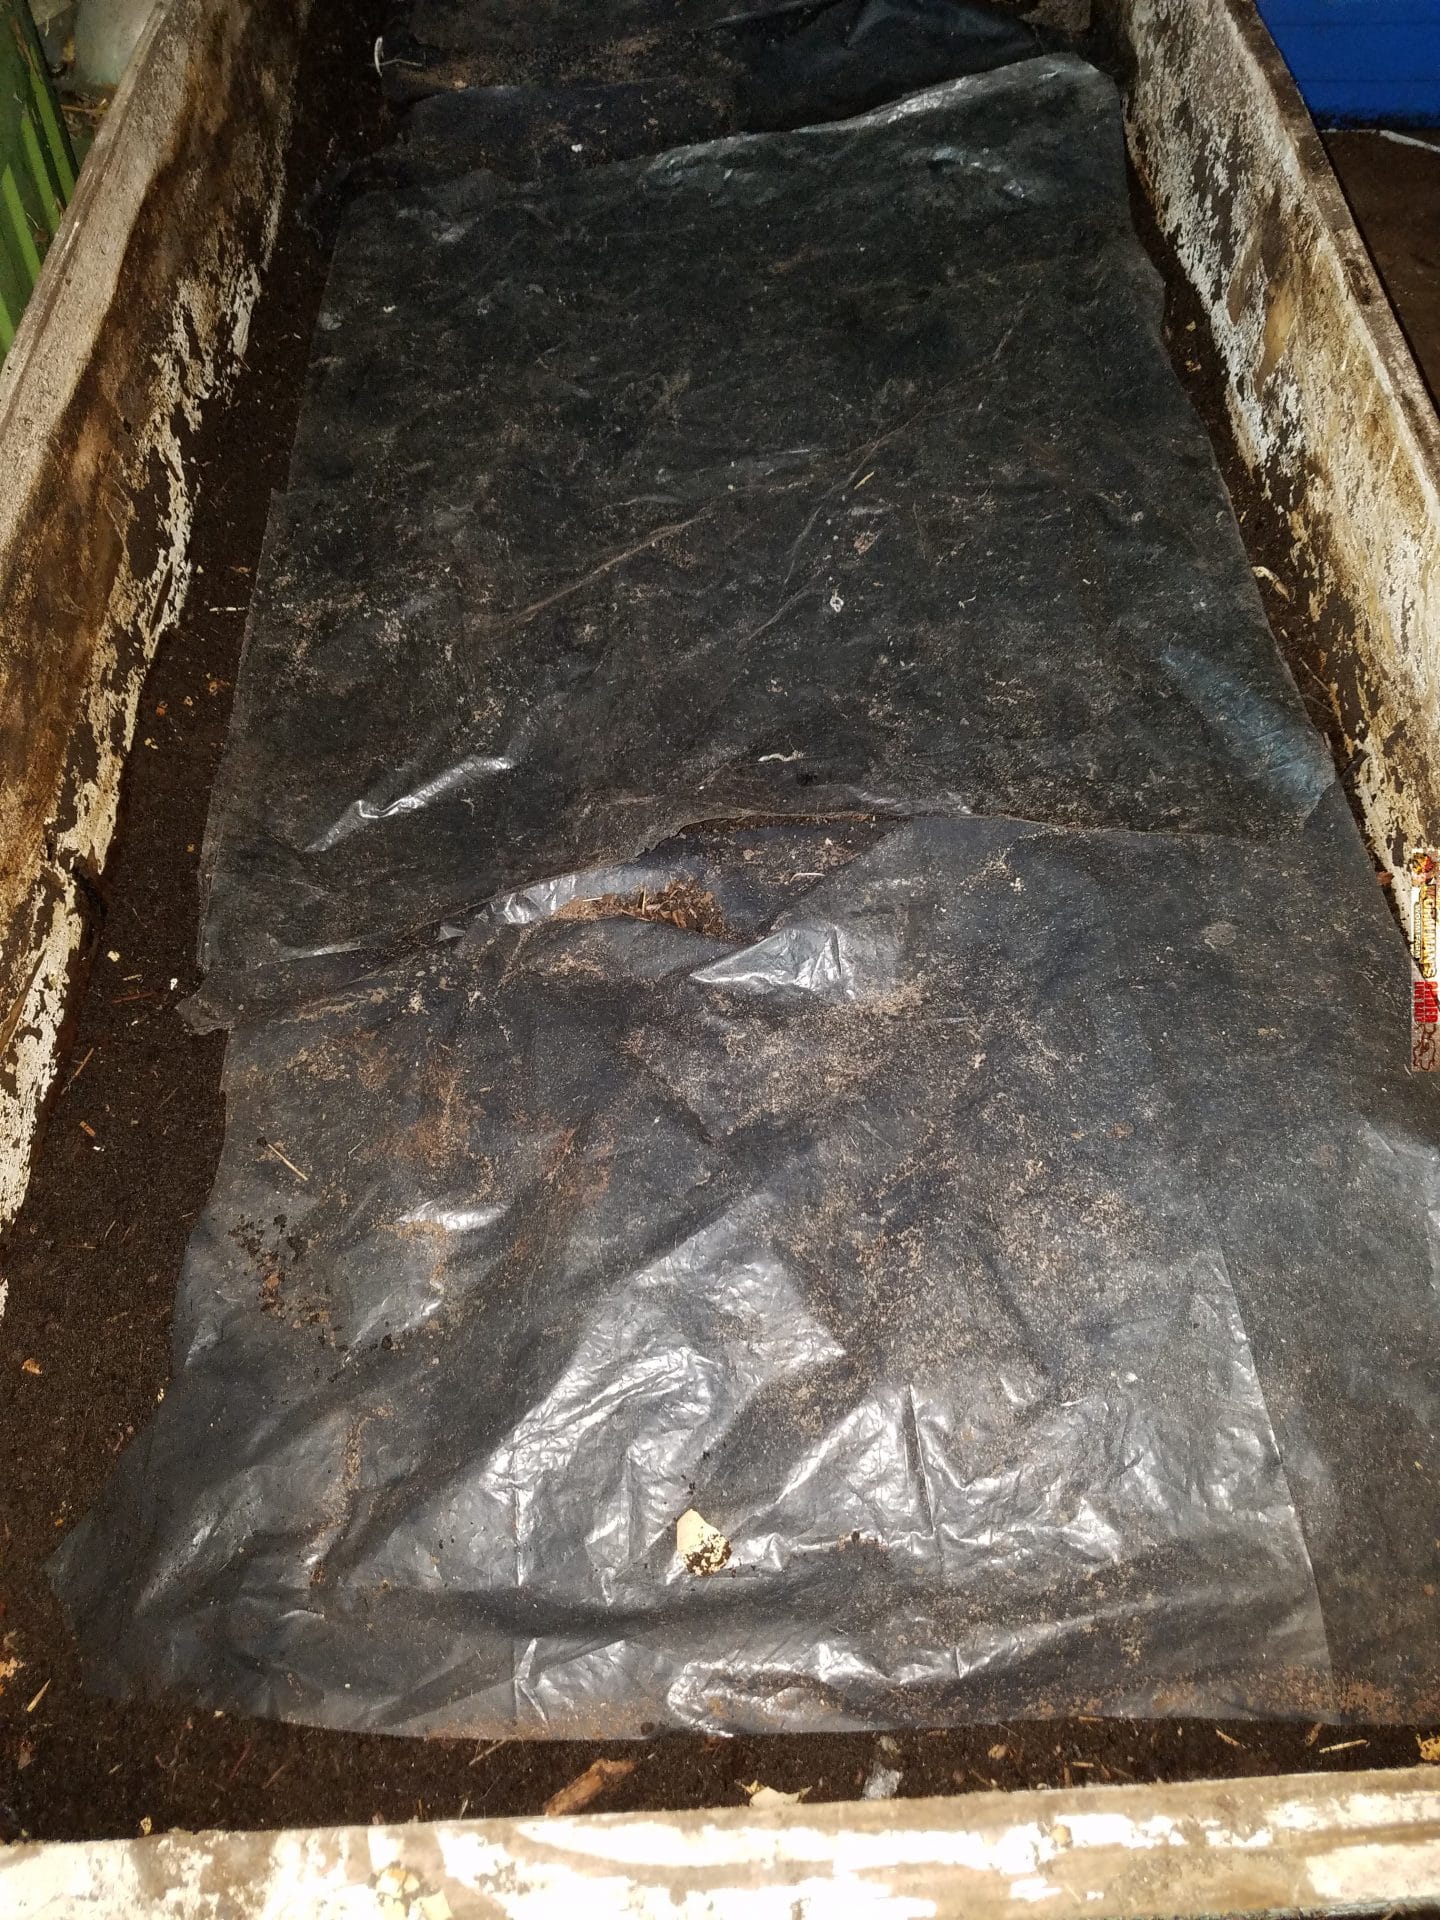
We cover that triangle food pile with a polyethylene bubble plastic like the kind used in packaging to prevent shipping damage but ours is thicker plastic. We also sometimes use polyethylene bubble insulation that is metallic looking. See the pictures below. That blanket acts as a blanket and keeps the heat in and the cold out.
We then cover the entire bed with thick industrial grade landscaping fabric, like the kind used on the ground at nurseries to keep the weeds out and to stage their potted plants on.
We weigh that fabric down with bricks or sandbags and then we do not disturb the worms again until Spring. When we do life the fabric and the blanket in spring, we find hundreds of thousands of baby worms in what used to be a large pile of food, eating what is left of it. The adults deposit their capsules at the food source where the babies will be likely to find ample food.
That is it. This is how we feed our worm beds in Winter and how we prepare our beds for the long cold disgusting winters. It is 11-16-2017, so get to work.
Now, the good news is that we also have indoor beds and we sell European Night Crawlers and Red Worms all year long. Winter composting and worm rearing is a great way to learn about worm farming and take away the winter doldrums. Check out our selection of composting worms and get gardening now. Spring will be here soon than you think.
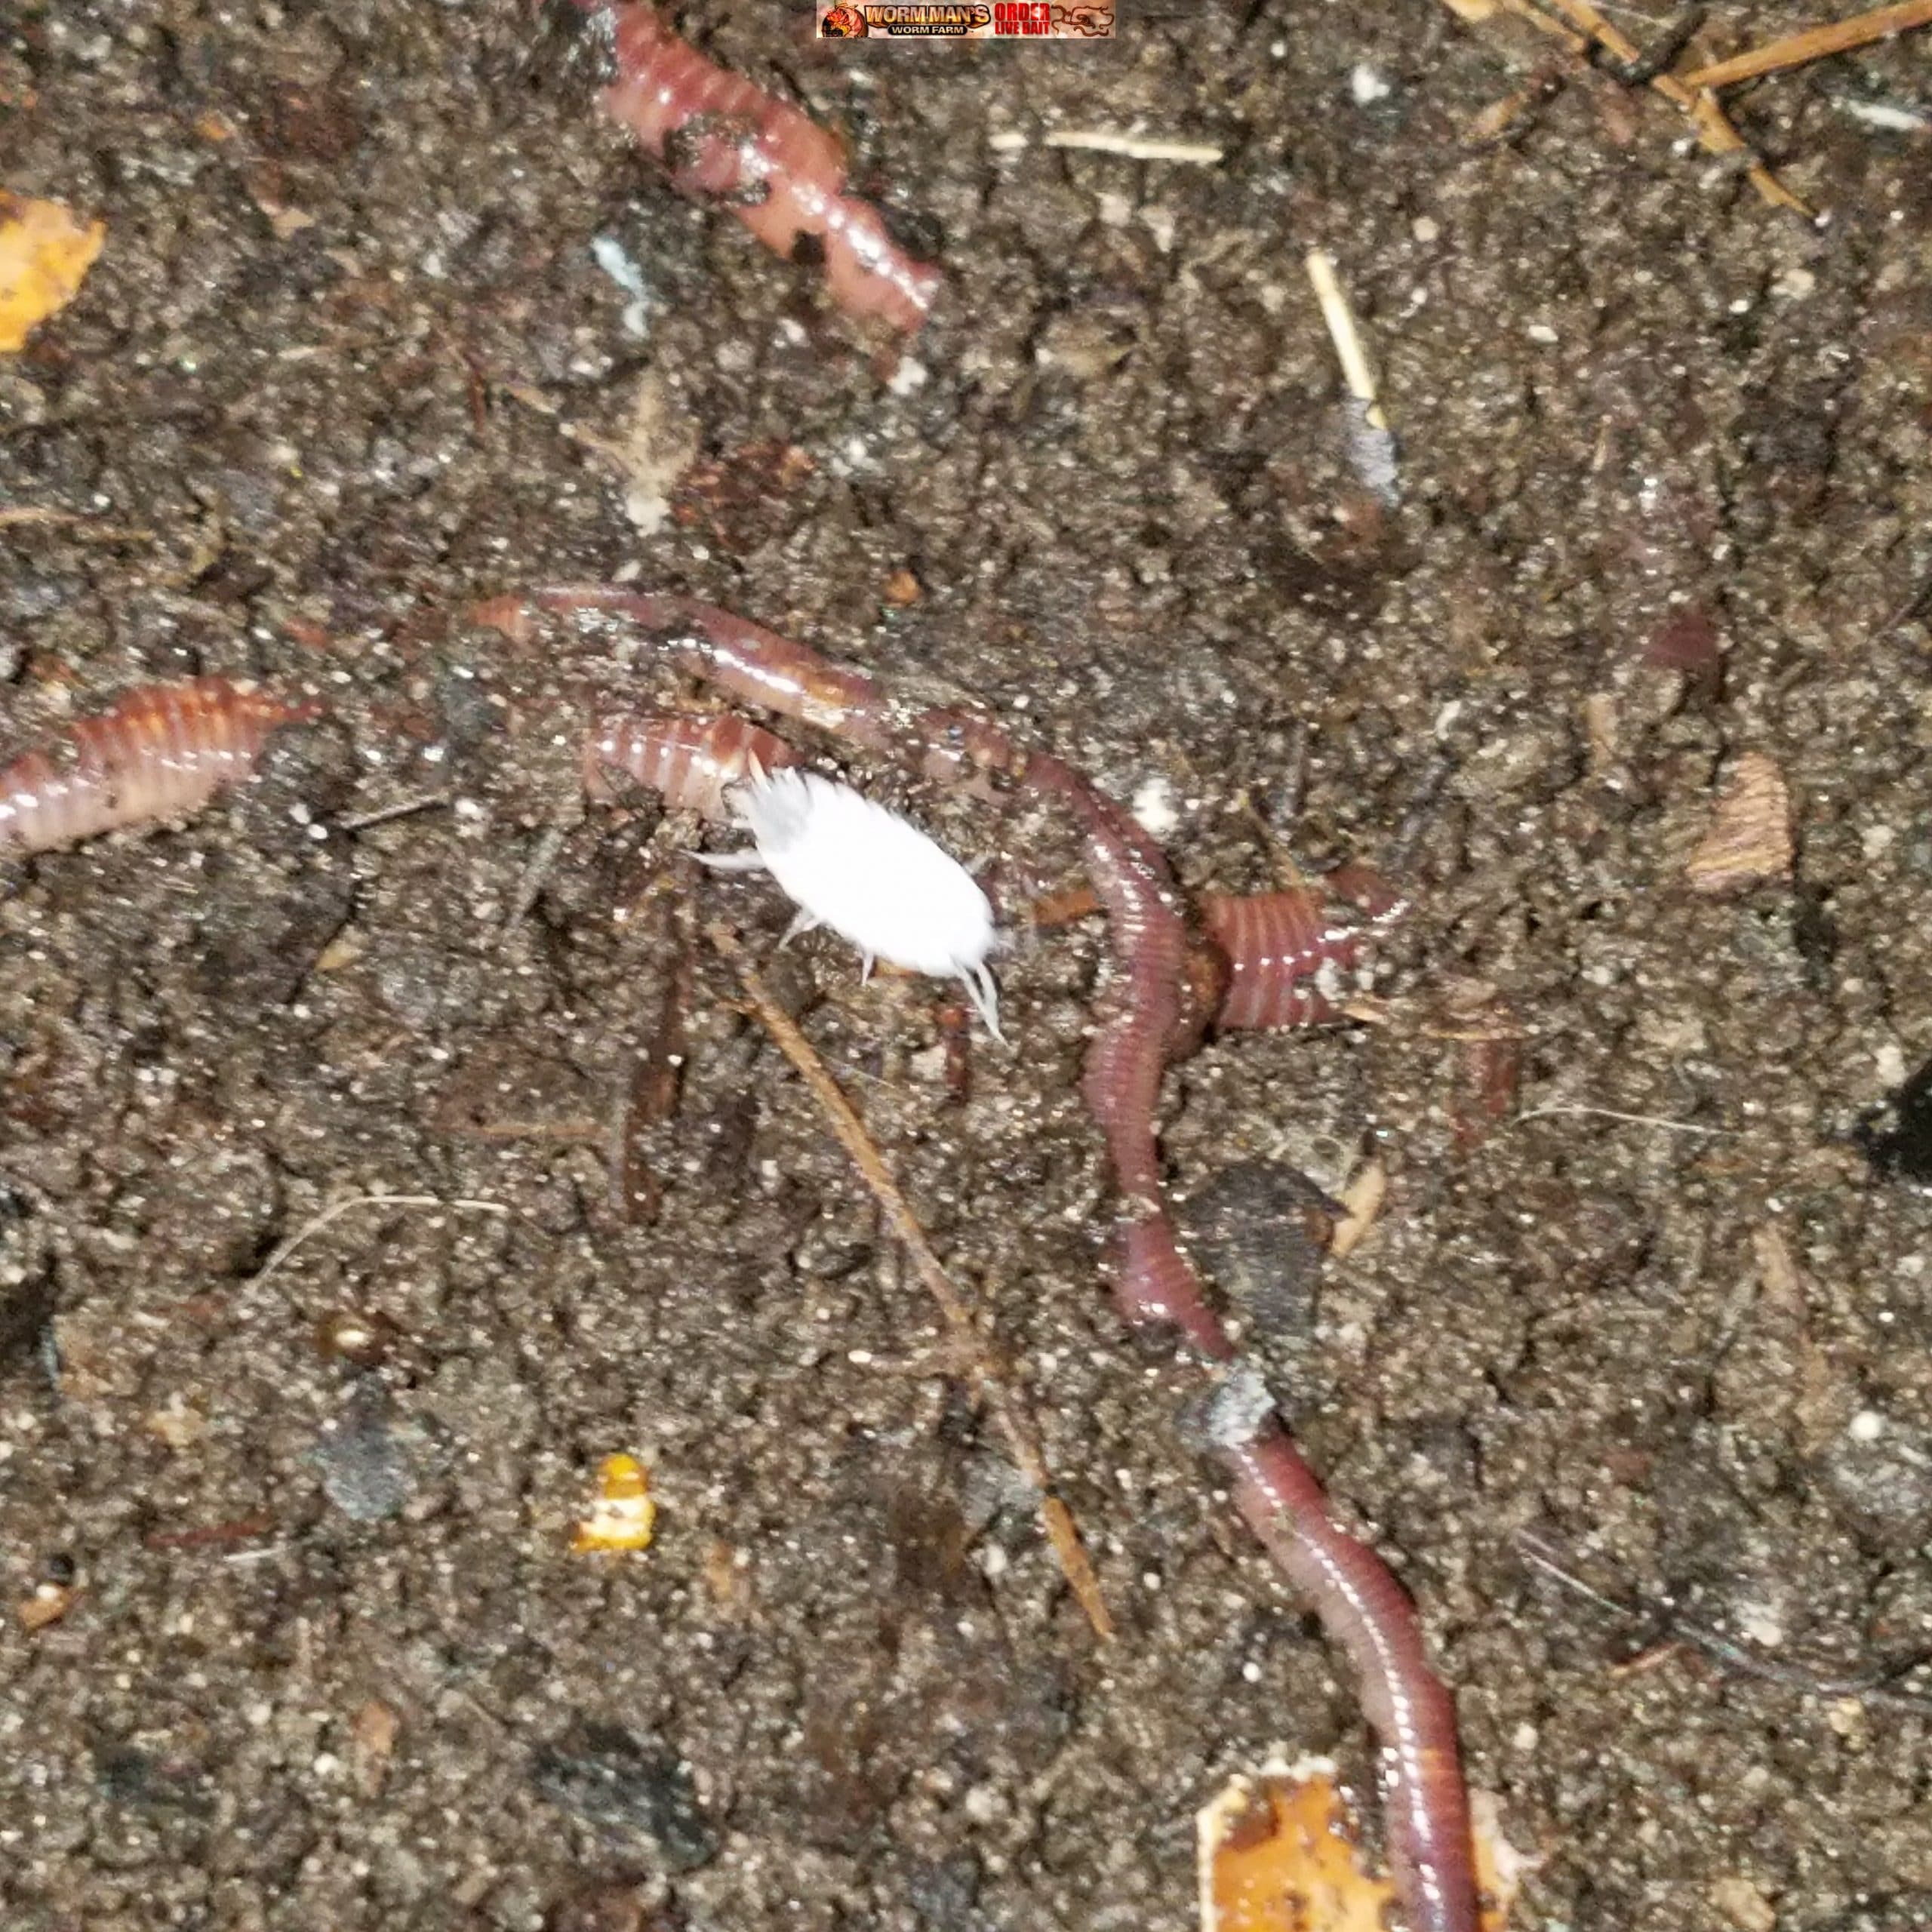
Invariably, no matter how faithful you are at guarding your worm bin, critters will get into your worm composting bin. Those critters run from harmless and benign to downright repulsive and harmful.
There are many critters that actually help your worm bin thrive.
Isopods and springtails are a couple of compost bin invaders that actually help break down food waste into nutrient rich worm and critter castings. They are good inhabitants and should be kept, if possible.
There there are the not so great worm composting bin critters. Those are bugs and mammals that attack worms, eat their cocoons or compete with them for food.
Roach
Some of those harmful pests of your compost bin are mice, rats, roaches moles, earwigs, mites, flies, centipedes roaches and ants and millipedes.
Kill roaches where you find them and remove the bin to an outdoor area immediately if they are found in your worm bin. Call a pest control specialist if you believe that you have roaches in your house. The worm bin most likely did not bring the roaches in. They were probably attracted to your worm bin because it was moist, warm and filled with things that they like to eat.
Mice and rats will feed on food in your composting bin and not usually the Redworms themselves. They will eat the food meant for the worms, they will tunnel through the worm bedding and they will use your composting bin covers as nesting material. There are humane traps on the market that can help you get rid of mice and rats.
Moles are also a major pain and they will invade your worm beds from the bottom, tunnel through the bed and feast on the worms. You will have to poison, trap or kill moles or you will lose your worms.
EarwigsCentipede
Millipedes and centipedes will eat small worms and cocoons. Smush them when you see them. The same goes for nasty earwigs. Have gloves on hand and smash them between your thumb and forefinger when you come across them in your worm composter.
Ants will also compete for food and they will carry the food away to their ant world.
Flies will not carry your worm bedding contents away but they will lay eggs in the worm compost bedding and the larvae will hatch and eat the food and make a stinking mess of your worm bin.
Pests are drawn to food. The only way to stop them is to keep your area clean, keep the worms indoors, or have a tight fitting lid on your worm beds/bins so that nothing can get into your worm bedding.
Practice common sense composting and keep your area open and clean. Debris provides hiding places for vermin and the vermin will then be attracted to your worm bin.
One of the main questions that we get all year long is “How many worms do I need for my vermicomposting bin?”. Many people start their Red Worm composting bins using bins that they have in the house, or something that they bought inexpensively and they have no idea how many worms it takes to get their worm composter going. I have probably answered that question a thousand times over the years.
The site allows you to choose 3 different types of worms and then input your worm bin demensions by inches. The site then provides how many worms you will need for your worm bin or worm bed.
The cool thing is that it is simple and easy and accurate. Check it out and let us know your thoughts. We will be linking to it on our site too. We have been give permission to link to the calculator below. Try it out and then squirm on over and get some worms from Wormman.com. 🙂
I get at least an email per week asking me how to make bedding for breeding worms. Then I get more about how to make bedding without peat moss. We do not use peat moss because it is nonrenewable, so we opt for creating our own “Worm-Safe” bedding, which can be used for breeding Red Worms, African Night Crawlers and European Nightcrawlers, also known as “Euro Worms”. All red composting worms can use our Worm-Safe worm bedding recipe.
I have made a long video explaining the process. I apologize for the length of the video but I wanted to get all of the information in. You can also see a cameo of my son’s pig, Spamela.
Making the worm breeder bedding is a two part process. The first part is mixing about 40% fresh horse, rabbit or cow manure, or aged fowl manure, with 60% straw or other brown material like dried grass clippings. That mixture is moistened and allowed to heat for a couple of weeks.
Then, once past the compost heating stage, we mix that with 50/50 with shredded cardboard and newspaper that has been wet down, mixed and also allowed to age about a week or so.
We mix those two parts together, 50-50 and let it age again for week to ensure that it will not heat again. We take daily temperature readings with a composting thermometer.
Then we add the bedding to our composting or bait worm breeder bins. We only use about 3 inches of that mixture and we put in our breeders. They stay in that worm bin for 21 days at around 75 degrees and then they are moved to fresh bins. The egg capsules and babies, which are now in the bin with our original mixture, are placed in an incubator, bin and all, and hatch out. We keep them in that bin until we can see them easily. At that point we put them into a growout worm bed and feed them to get them to mature size as quickly as possible.
I will be posting some diagrams and pictures of our system soon. Please ask your questions below or in our forum.
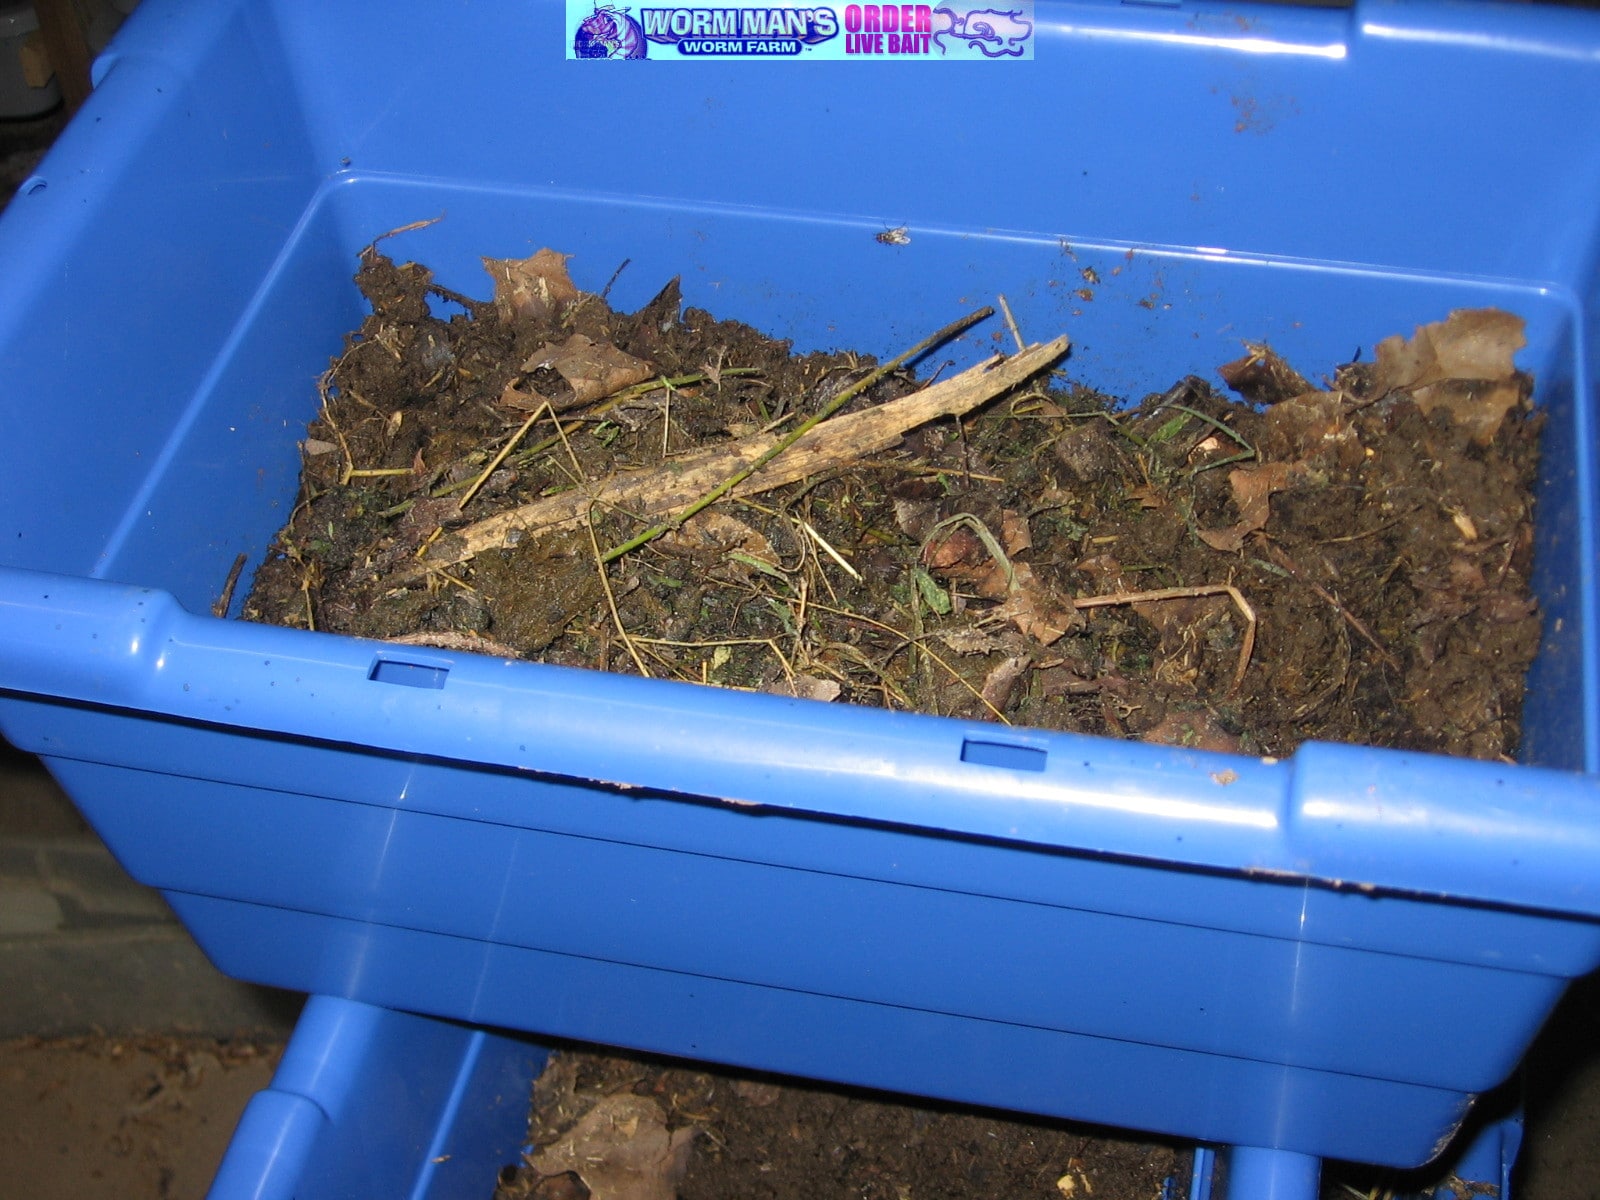
I wanted to share quick update on our compost bin creation using a $4.46 Wal-Mart tub. To refresh your memory, we found a bin at Wal-Mart that is being sold by a worm farm on the internet for about $100. We wanted to show you that you could duplicate that bin for about $5. Here is that video.
We are 3 weeks in and the worms are breeding and eating the newspapers and cardboard bedding. They are depositing capsules all over the place and those will hatch in a couple of weeks. I will continue to do updates until all of the paper and cardboard is gone. I will not add any additional food to the bin until after we see the project through. The Red Worms will be fine because of the amount of paper and rabbit poop I used when making the bin.
In the real world, I would advise taking those breeders out of there as soon as babies are seen in the red worm composting bin. The reason is that removing them will allow the babies to have plenty of food before you need a bedding change.
Of course, moving the breeders to a new bin will also allow them to continue to breed strongly, especially if your goal is to increase your worm supply.
For our cheap worm bin project, we will keep the breeders in the bin to concentrate the number of worms we have on creating worm castings for our garden.
Three weeks later and I would call our $4.46 worm composting bin a success.
Vermicomposting (worm composting) for Less Than $5!
I happened to be looking at some of the worm bins for sale on the internet, when I found one on a website that really looked familiar. They were selling the worm farm for $99. Granted, the worm composter also came with worms, bedding and food.
From the looks of the bedding, it is peat moss. More on that later.
Anyway, I finally remembered where I saw that same bin…Wal-Mart. I threw the kids in the car and went to Wal-Mart. Low and behold, the very same bin was there for $4.46! That is quite a markup.
I decided to make a video to show you how to make a worm composter using that bin.
The video of the newly minted worm composting unit is below.
Now back to the peat moss thing. We do not use peat moss. I am not saying that to be some edgy environmentalist wackadoodle, although I am a green kind of guy. Peat moss is a non-renewable resource. Once those peat bogs are gone, they are gone forever. Those peat bogs host all sorts of amazing creatures, many of which have not yet been discovered. My feeling is that if we can make due without peat moss in our worm bedding then we should do that.
We use shredded newspaper, straw, and cardboard, mixed with manure for our beds. When you buy our worm bedding, it will be the items mentioned above mixed together and aged a bit.
We are also using coir bedding now and that is made from coconut. That is very renewable and is a great product, but it is a little costly when we can get straw, paper, manure and cardboard for next to nothing.
Anyway, please watch the video if you want to see how we set up this worm composting bin, and how you can too, for under five dollars.
Two Redworms caught breeding in the bed on the Memorial Day! Party animals…or invertebrates! Why do I feel like the guy from TMZ who does the breaking celebrity news?
Anyway, I thought that it was cool. I was feeding a breeding bed when I caught these two going at it so I turned on my camera phone and they got shy, broke apart and slithered into the night.
Share your pictures of your breeding worms caught in the act here with us.
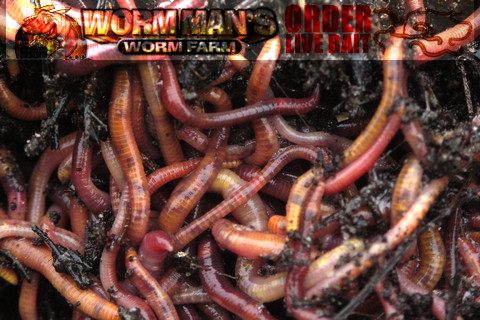
Have you ever wondered what 20,000 redworms look like eating breakfast? Of course, you have. Well, I took a quick video of the 20,000 worms that I had breakfast with this morning.
Just a warning, do not watch this video while eating spaghetti or chopped mean. 🙂
We feed our worms by putting strips of food down the middle of the beds. The reason that we do this is so that we do not sour the bedding by covering the bedding with the grain based food that we use. If that happens the worms can develop “Sour Crop”. When that happens the worms writhe around in pain, become stringy and emaciated and die. We feed down the middle to control souring the bedding and to stop any heating that could be sparked by decomposition of the food.
We always use “Worm-Safe” bedding which is our trademark bedding that we sell. We call it “worm-safe” because we make it, mix all of the ingredients and allow it to sit and heat, and then cool, before using it or shipping it for sale.
I tell you this so that you know that there should be very little chance that our beds could heat because of feeding, but we never take chances.
I will be telling you the ingredients of our worm food soon. It will be part of our new eBook coming out shortly. You will love the recipe and the easy to find, inexpensive ingredients. If you are interested in my book, The Worm Manual, please sign up and you will be notified when it is released shortly. Click here to sign up for my new book, The Worm Manual. Profitable Worm Farming.
Please check out https://www.Invertebrateauction.com if you are looking to buy and sell your own invertebrates. Dismiss
Home
We are glad you are here. It gets lonely just talking to worms, crickets and fruit flies all day. Please engage with me, ask me a question or post a comment. Check out our forum and our directory. If you need worms, roaches or any type of feeder insects, please try Wormman.com


You must be logged in to post a comment.