
Last week we had our first freeze here in New Jersey. We often get a first freeze that then melts and does not freeze again for a week or so. Then we get a hard freeze later in November or early December. That first freeze is our gue to tuck our red worm and European nightcrawlers in for winter. The one question that I often get is around feeding composting worms during the winter, especially if the worm bed is outside in the elements.
The questions range from the kind of food we recommend for Redworms and European night crawlers, to how to feed the food we recommend. The questions also delve into how we protect outdoor worm beds in winter, what we cover them with and when we cover them.
Winter feeding is an entirely different way of feeding composting worms than summer feeding. There are three things that we look to accomplish with winter worm bed feeding:
- We look to ensure that we have enough feed on the beds so that we do not have to disturb the worms during the dead of winter. The tops of the worm beds will often freeze and the red worms and European nightcrawlers will retreat and form a protective ball by huddling beneath the frozen worm bedding. That freeze creates a frozen cap that will actually protect the worms under the freeze line. By breaking that cap, turning beds or digging into beds, you can expose your composting worms to the cold air and that will kill them. We aim to feed them before the first deep freeze and then leave them until spring.
- We want to have a food that is safe, deep enough and still green enough to generate some heat, which will create a safe space for the worms to feed and even breed on the warmer days throughout the winter.
- We want to have the food last to the point where, as soon as the temps rise above freezing but before the beds are warm enough to work, the worms begin breeding and depositing capsules in and under that winter food that we provide. This will ensure a nice healthy swarm of babies happily eating the leftover food when we open up the beds after that danger of the last freeze has passed, which is late April or even May in New Jersey.
We our three worm feeding goals laid out, we begin that task of preparing and adding the food to our beds.
Worm Food Preparation: During the three other seasons, we ensure that any manure fed to the worms is mixed to a specific ratio in order to ensure that it is past the heating stage before it is fed to the worms. The last thing that we want is for the bedding to heat on a hot or warm day. In Winter, our goals change. We do mix the manure with shredded paper and straw before use, and we do allow it to heat for a couple of days but then we apply it before it has completely heated to the point where it is beyond that heating stage. We do this so that the heat created by the breakdown of the bedding will provide some heat to the worm beds. We are not looking for super-warm temperatures, but enough so that the worms can still move about and eat throughout the winter. In order to do that we mix in more green material than we normally would and we add alfalfa pellets like the type sold as rabbit food.
So, we add fresh manure, straw and paper, wet it down, pile it high and let is begin to break down. Then we mix in dry alfalfa pellets and lightly water. We want it to be on the drier side because the food mix will break down more slowly that way as it appropriates water from the worm bed.
Worm Food Application:
After the food has been prepared and is ready to go, we apply it to the worm bed. We pile it high and deep and shape it like a triangle.
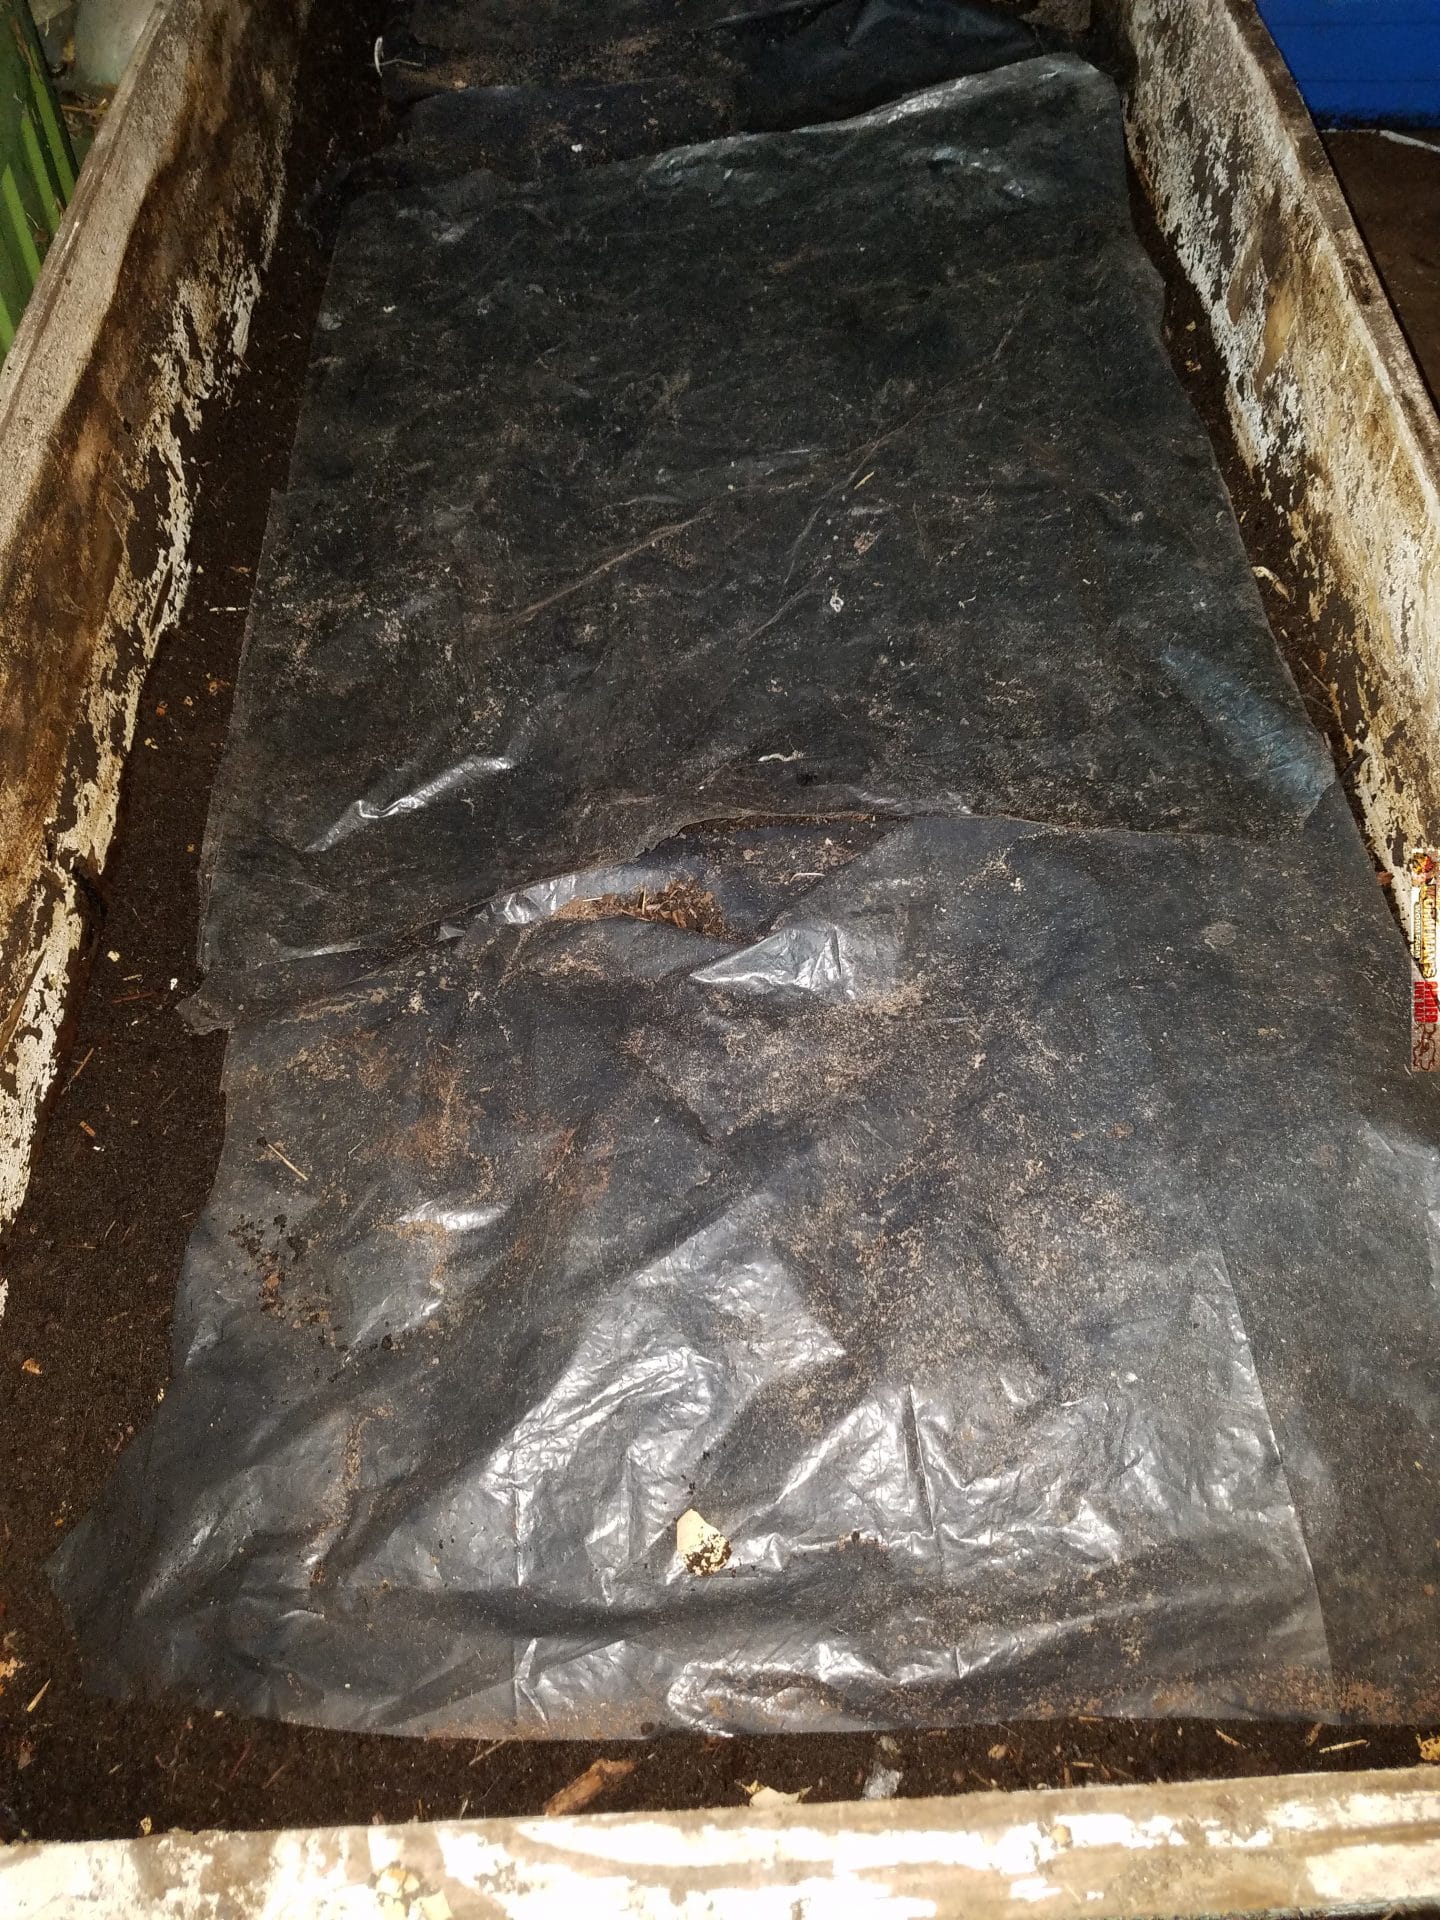
We cover that triangle food pile with a polyethylene bubble plastic like the kind used in packaging to prevent shipping damage but ours is thicker plastic. We also sometimes use polyethylene bubble insulation that is metallic looking. See the pictures below. That blanket acts as a blanket and keeps the heat in and the cold out.
We then cover the entire bed with thick industrial grade landscaping fabric, like the kind used on the ground at nurseries to keep the weeds out and to stage their potted plants on.
We weigh that fabric down with bricks or sandbags and then we do not disturb the worms again until Spring. When we do life the fabric and the blanket in spring, we find hundreds of thousands of baby worms in what used to be a large pile of food, eating what is left of it. The adults deposit their capsules at the food source where the babies will be likely to find ample food.
That is it. This is how we feed our worm beds in Winter and how we prepare our beds for the long cold disgusting winters. It is 11-16-2017, so get to work.
Now, the good news is that we also have indoor beds and we sell European Night Crawlers and Red Worms all year long. Winter composting and worm rearing is a great way to learn about worm farming and take away the winter doldrums. Check out our selection of composting worms and get gardening now. Spring will be here soon than you think.
Try a Worm Composting Starter Kit if you are just getting started.
