Posted on Leave a comment

Red Head Roach Care Sheet

red head roaches

Roach Care Sheet

Roach Care Sheet:
Red
Head Roach
Oxyhaloa deusta


Common and Scientific
Name
Red Head
Roach
Oxyhaloa deusta
Breeding Information and
Defining Characteristics

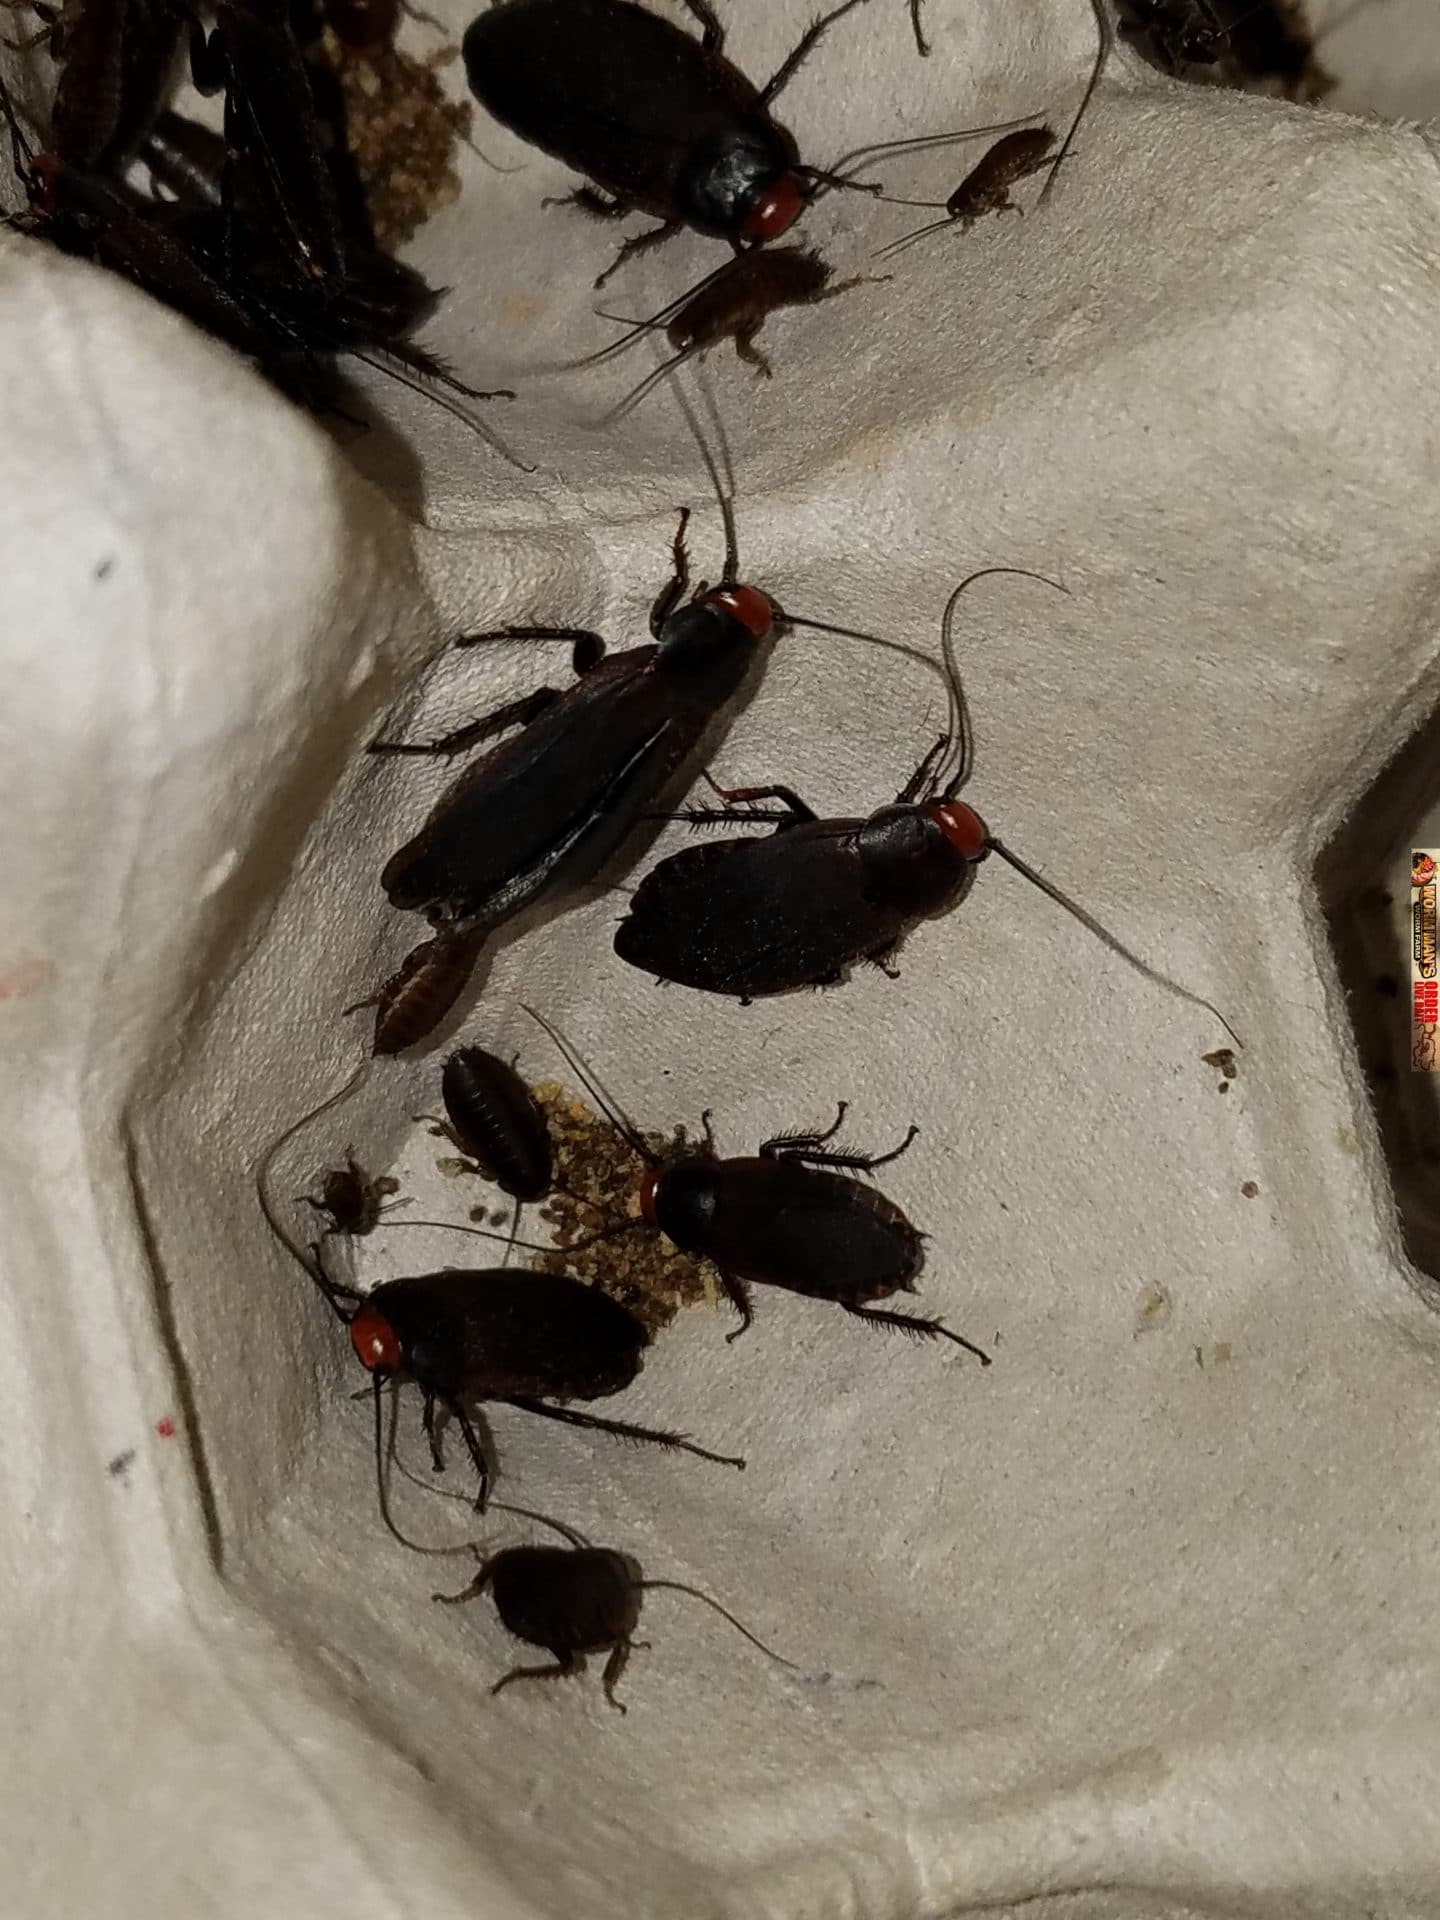
They
breed well at about 80 Degrees.

Their main defining characteristics are that they breed
readily, their babies are about the size of fruit flies
and they have red heads.  See pictures below.


Feeding Preferences Dog and cat food, fruits and vegetables and a
dish of Cricket Crystals to provide humidity and drink.
Housing Requirements
Small container with lots of egg crates and a
lid.
Difficulty Rearing
Very Easy
Climbing Habit
Climbing species. Can easily climb plastic
walls. You Bug Boundary and a lid.
Substrate
Coconut fiber and sphagnum moss, or nothing
at all.  We raise ours without substrate and they still
breed like crazy without the worry of mites and mold that
comes with substrate.
Temperature and Humidity
Fairly high humidity with good ventilation.
Requires temperature of 78 to 85F
Restrictions
Not Florida Legal


Pictures:

Red Head Roach
Red Head Roach

Video


Posted on Leave a comment

Superworm Farming

superworms pupating

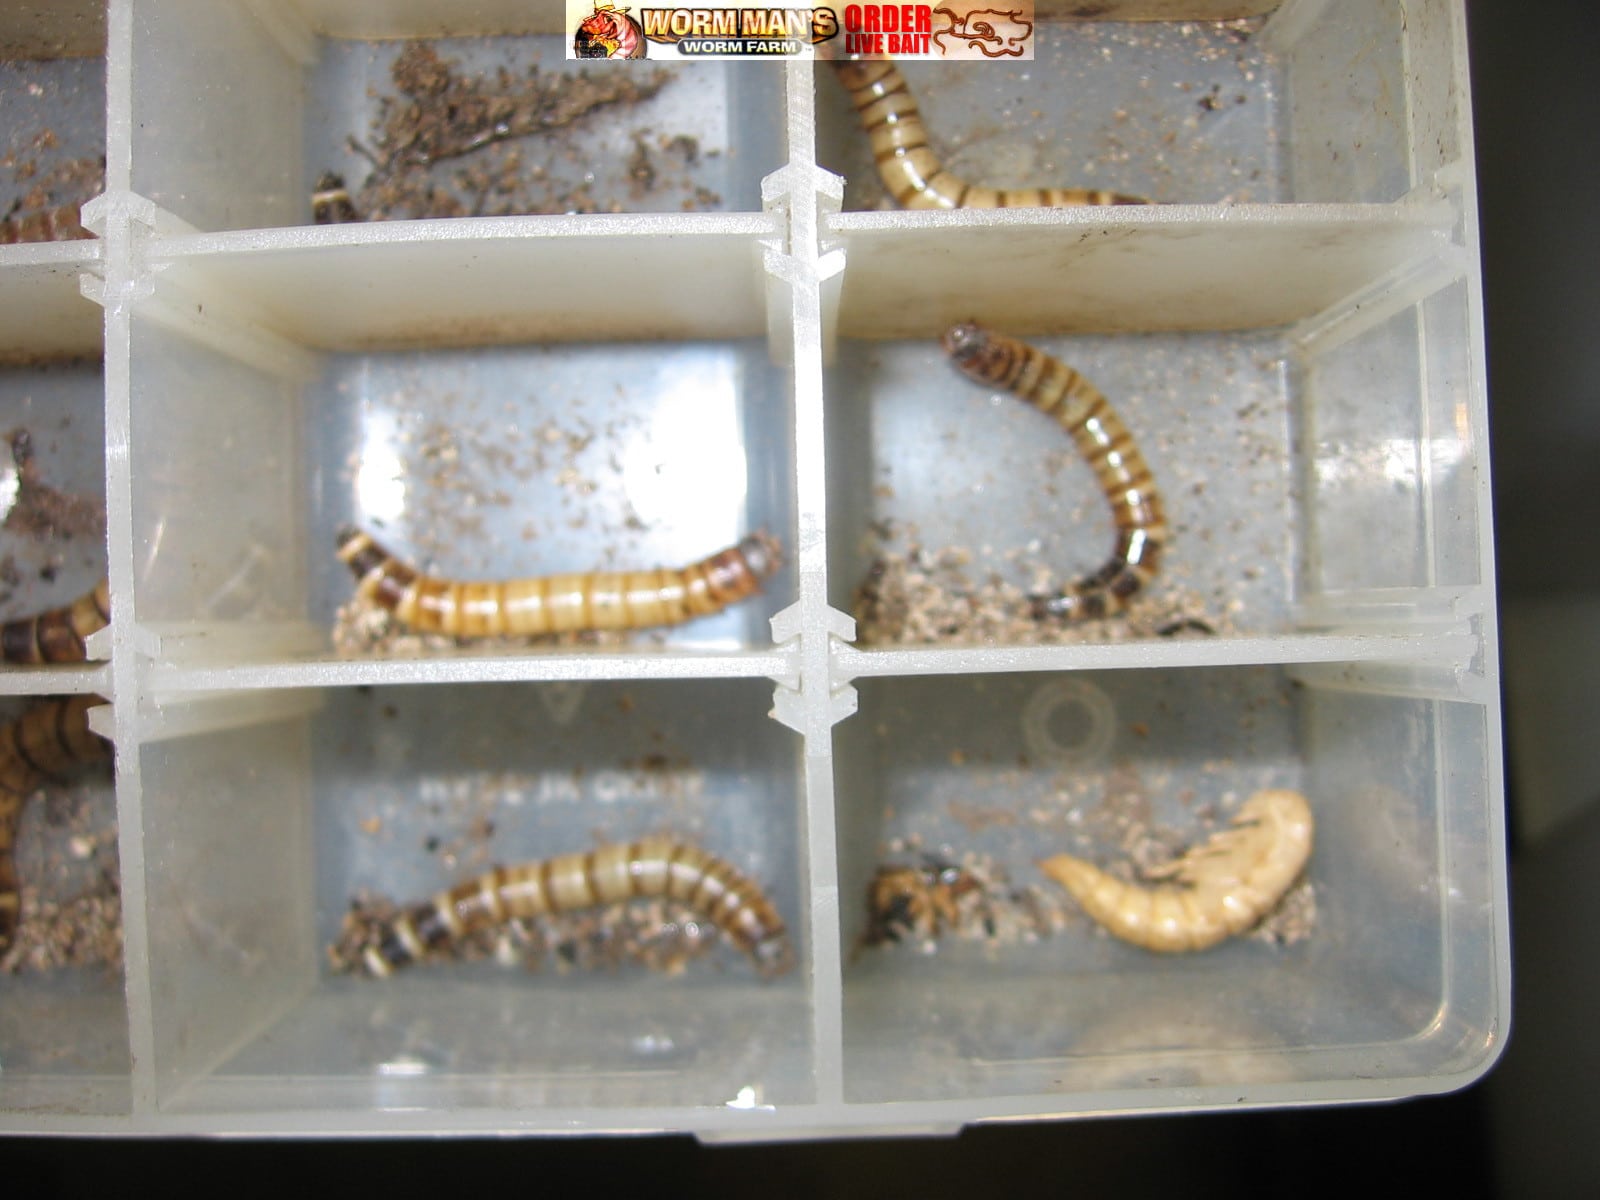
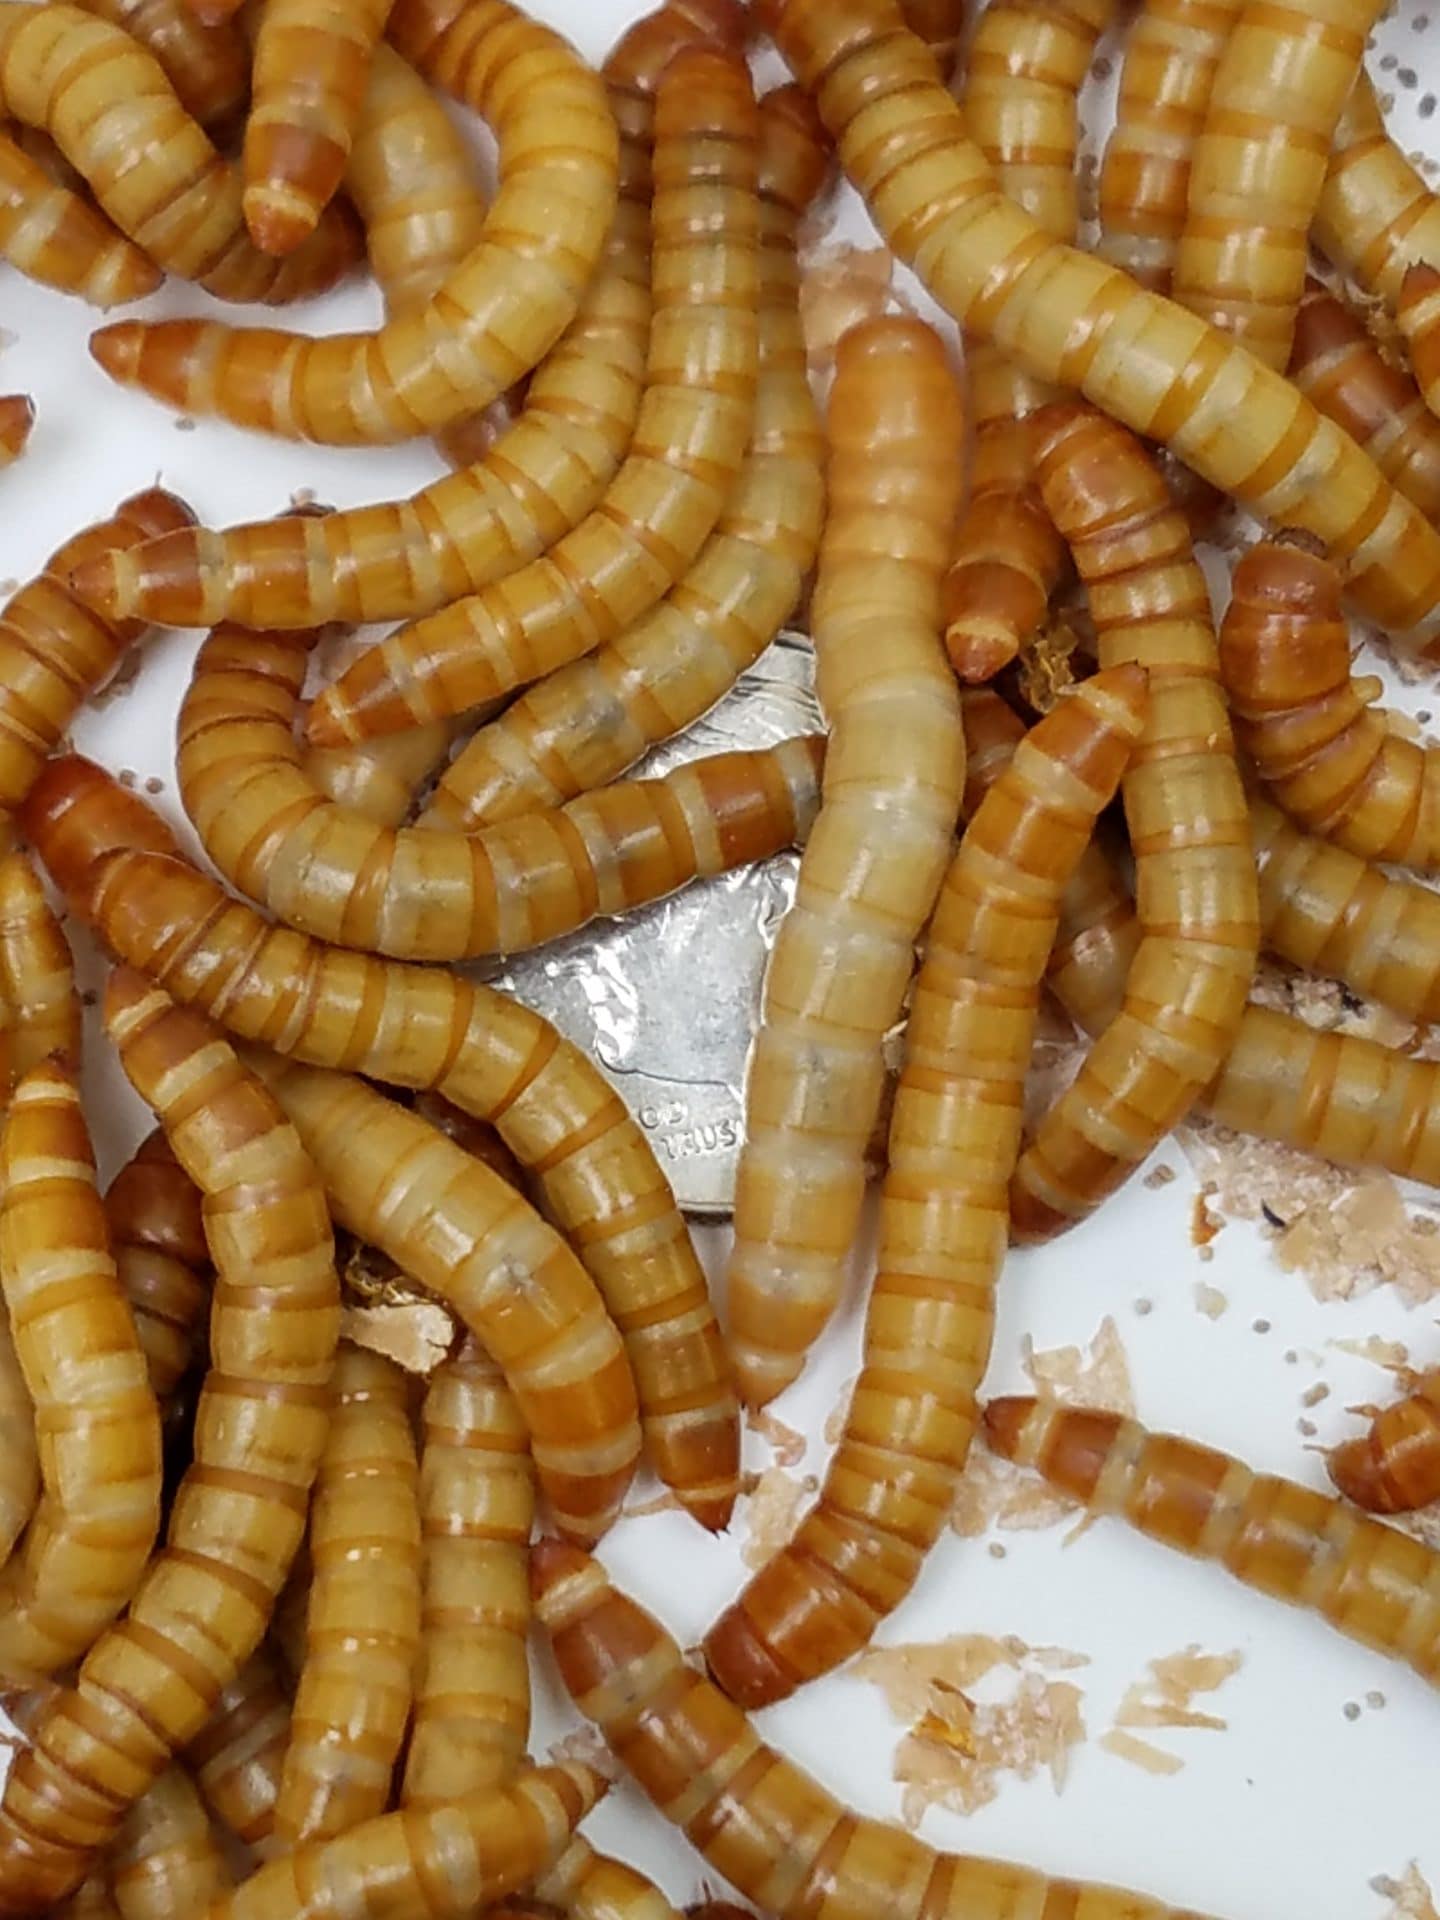
Superworms are a great worms.  They do have specific requirements like temperature, feeding and separation of individual worms before they will pupate.

One of the most labor intensive jobs on our superworm farm is to pull the larva and beetles from the seperators.

Not only does it take a lot of time, but it is a disgusting and smelly job at times.  If you have never smelled a dead and rotting superworm, you are lucky.  It is the kind of smell that gets into your nose and skin and stays there no matter what you do to try to get rid of it.

I don’t have  solution for you on the smell except to tell you to ensure that the pupating worms have plenty of air flow so that if they die they don’t rot.

The point of this post is to show you a large amount of superworms larva.  We place the larva in pans and incubate them at an even temperature and humidity so that we get perfectly formed superworm beetles.


super worms
Superworm Seperators

superworms pupating


The video below is of thousands of super worm larva.  I thought it would make a cool video to show you what that looks like.

Please write if you have questions about breeding your own superworms.

https://youtu.be/cEMYMnewg_s


If you want to breed your own superworms try our superworm breeding kit with detailed instructions.


Posted on Leave a comment

Ivory Head Roach Care Sheet

Roach Care Sheet

Roach Care Sheet:
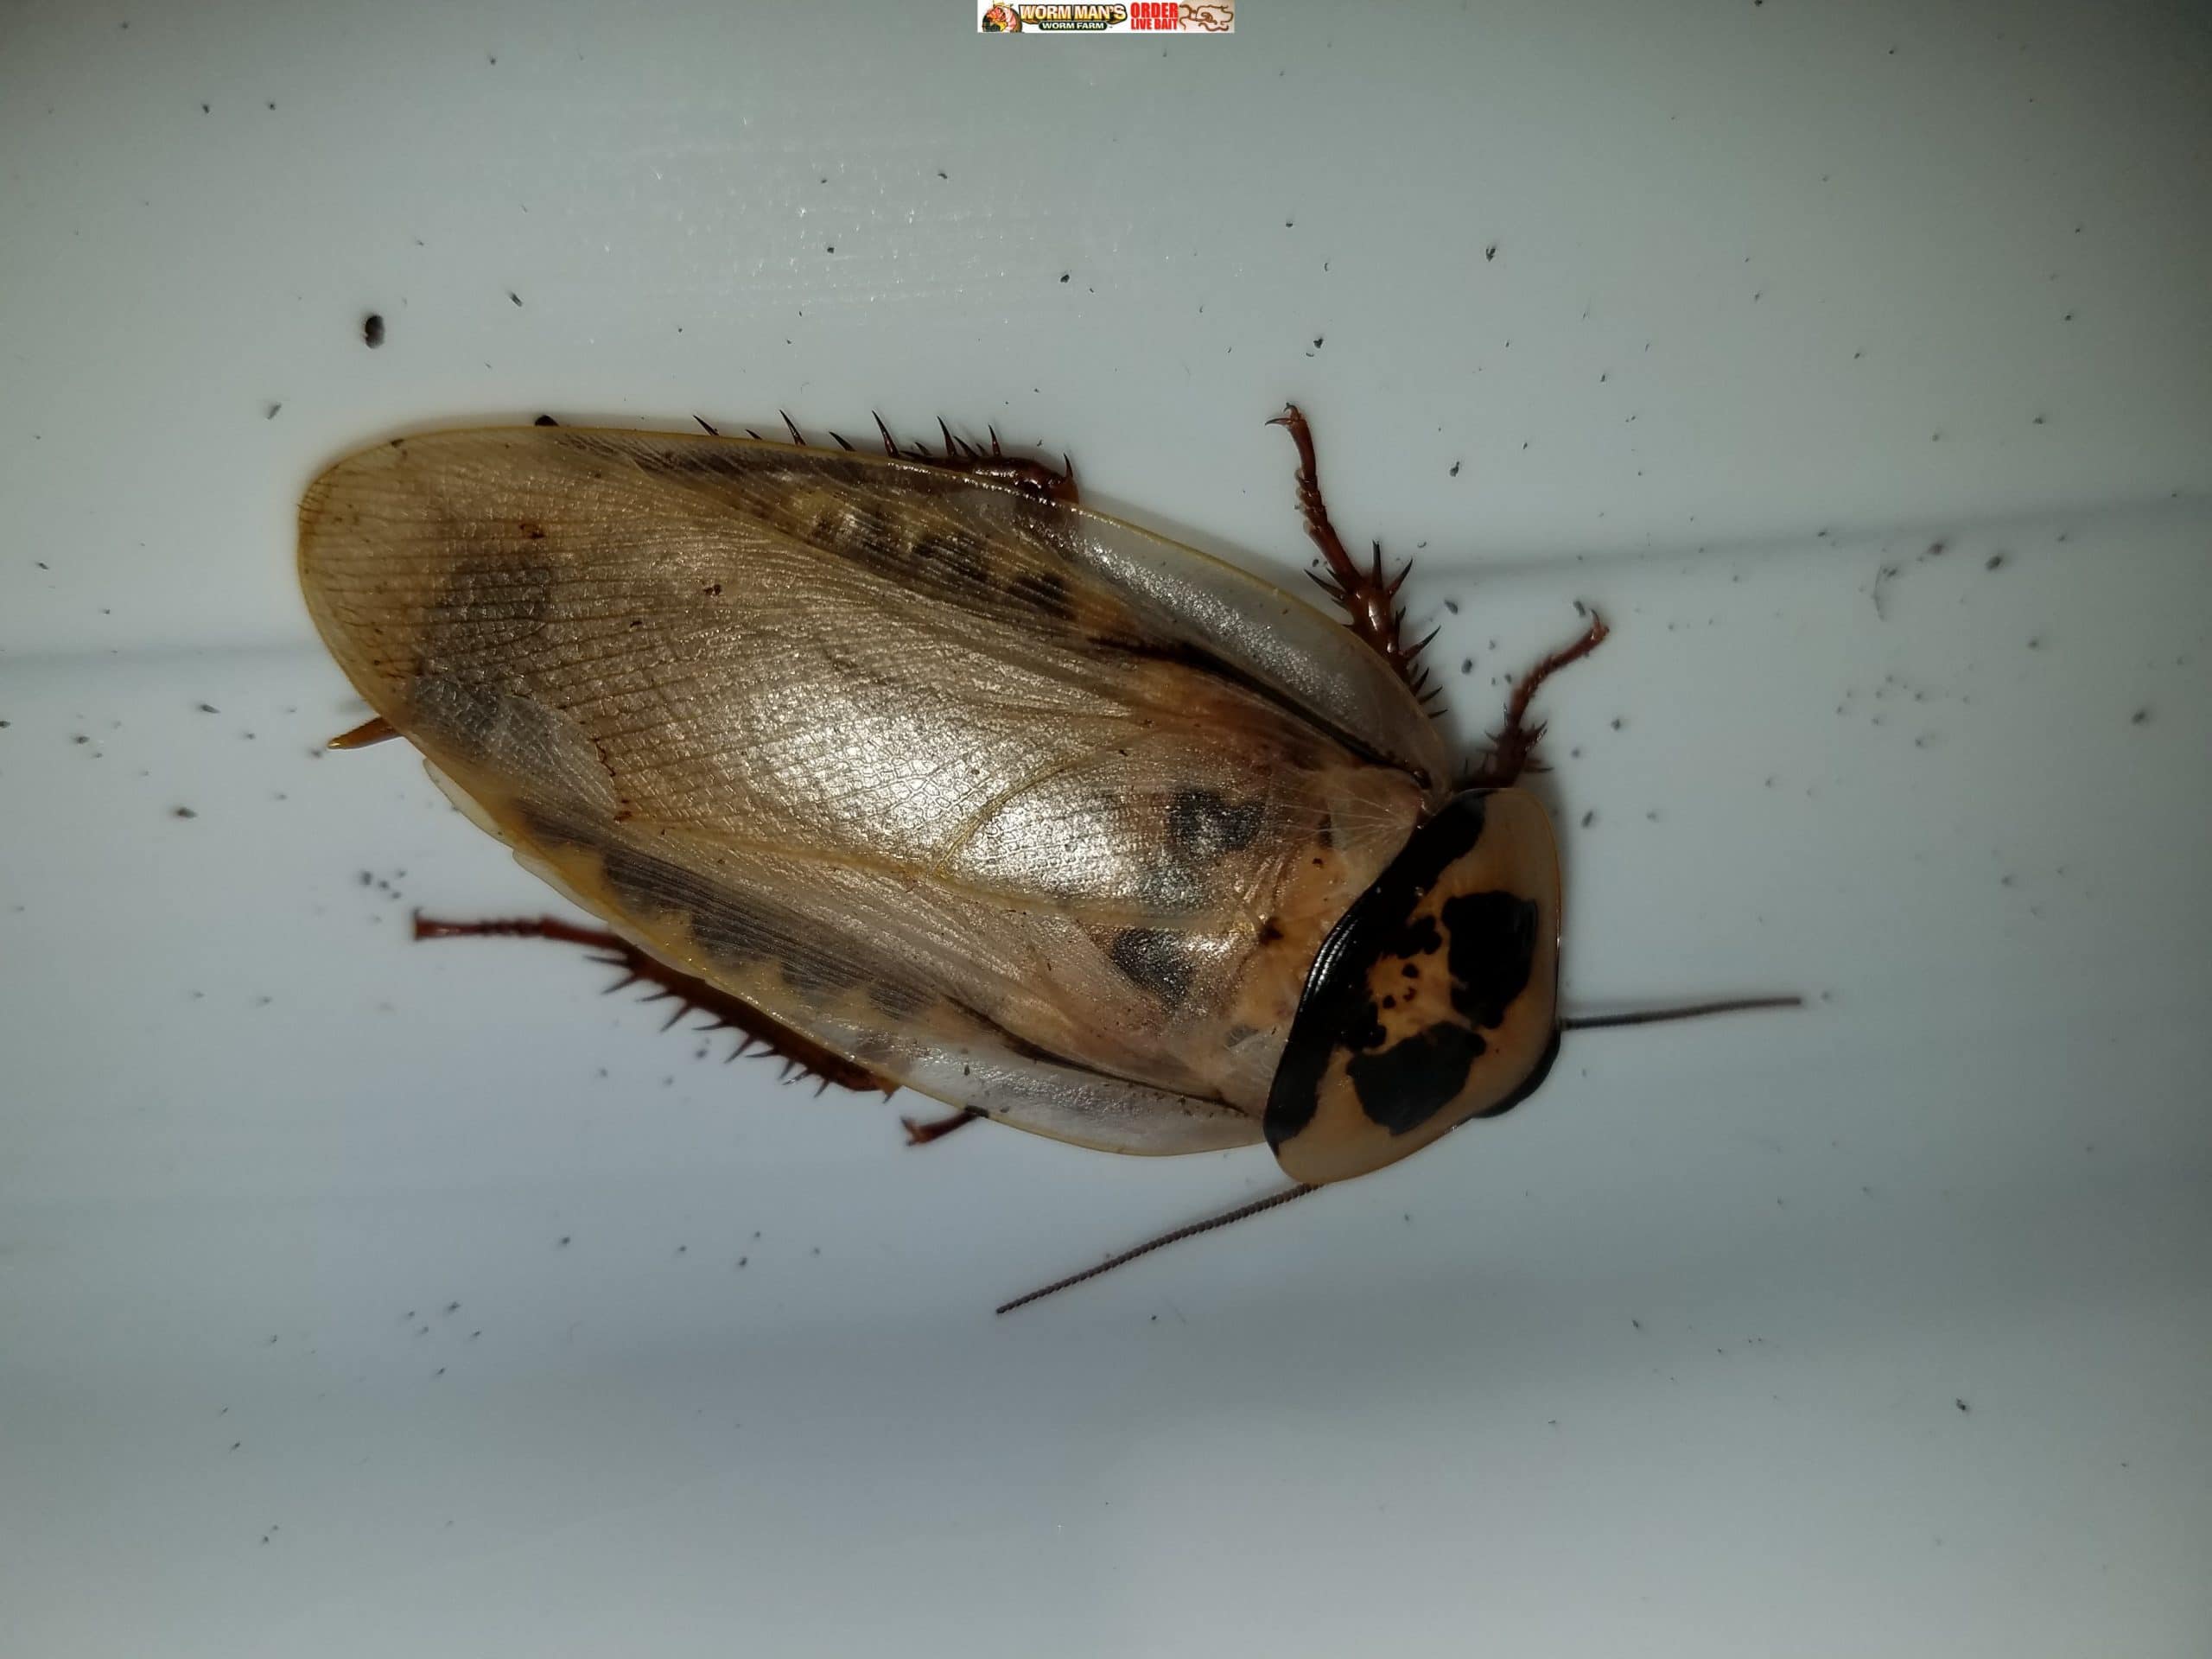
Ivory head roach
Eublaberus Ivory


Common and Scientific
Name
 
Ivory head roach
Eublaberus Ivory
Breeding Information and
Defining Characteristics

Is
fine at room temperature but will breed best at temps of
80 to 90F.
They are a great roach for Blatticomposting.


Feeding Preferences Moist cat food and  scraps of fruits and
vegetables
Housing Requirements
Any container with slippery sides.  They
can take crowding very well.
Difficulty Rearing
Easy to medium
Climbing Habit
Cannot climb smooth surfaces
Substrate
Peat moss or coconut coir bedding
Temperature and Humidity
Keep with water crystals at all times, mist
weekly and keep at 80 to 90 degrees to breed.
Restrictions
Not Florida Legal


Pictures:
Video


Posted on Leave a comment

Lobster Roach Care Sheet

Lobster Roaches are easy to care for and breed readily.  They are probably the easiest roach species to breed, feed and care for.  Unfortunately, they are also great escape artists so a tight fitting lid on their enclosure is needed to contain them.

If you need feeders that will breed faster than you can feed them off to your reptiles, spiders and mantids, then Lobster Roaches are it.

If you are looking for Lobster Roaches for sale, then please check out our selection at some very inexpensive prices here.

Roach Care Sheet:
Lobster Roaches
 Nauphoeta cinerea


Common and Scientific
Name
Lobster Roaches
 Nauphoeta cinerea
Breeding Information and
Defining Characteristics

Breed
readily.  Gives birth to live young.  If kept above room temp, with food provided they will breed
prolifically.


Feeding Preferences Dry dog food, cat food, fresh fruits and vegetables such as romaine, carrots, apples, bananas,
oranges, celery, squash, peas and others.
Housing Requirements
Extra large critter keeper, a 5 gallon bucket with a lid or rubber storage tubs with ventilation holes.
Add a thick layer of Bug Boundary Grease or paint a boundary
with Bug Boundary, to reduce losses and prevent escapes.
Difficulty Rearing
Easy
Climbing Habit
They climb glass and plastic well but prefer
to stay hidden in egg crates and hiding spots.
Substrate
No substrate needed.  Vertically
positioned egg crates are all they need to be happy.
Temperature and Humidity
Keep the cage between 70 to 90 degrees Fahrenheit. The environment should be relatively humid by
misting the cage at least once in a day very lightly.
Do not make it wet.
Restrictions
Not allowed in Florida


Pictures: Lobster Roaches
Video


Posted on Leave a comment

Roach Care Sheet: Madagascar Hissing Roaches

Madagascar Hissing Roach

Roach Care Sheet

Roach Care Sheet:

Madagascar Hissing
Cockroaches

Gromphadorhina
portentosa


Common and Scientific
Name
Madagascar Hissing
Cockroaches
Gromphadorhina
portentosa
Breeding Information and
Defining Characteristics

Hissing Roaches will readily breed with
enough food and warmth.  We have found that very ripe
bananas seem to help the breeding process.
Madagascar Hissing Roaches will make a hissing sound when
disturbed.  This is a defense mechanism.  Hissing
roaches are harmless.
Feeding Preferences Dry dog or cat food, fresh fruits such as
apple, banana, orange, strawberries and romaine lettuce as
well as fresh vegetables.  They can sometimes be
picky.  They will devour a banana one day and then
ignore it for Romaine Lettuce the following day.
Housing Requirements
Can be housed in as small as half gallon
container with adequate ventilation and crawl/hide
spaces.  We use egg crates.   Petroleum
jelly, Bug Boundary or Bug Boundary Grease around the upper
rim to prevent escapes.
Difficulty Rearing
Easy.
Climbing Habit

They
can climb glass and smooth plastic

Substrate
Slightly damp coconut fiber.  If you do
not provide a substrate, then keep a nice size cup or bowl
of Cricket Crystals because they will go to it to get the
humidity that they need to molt.  See video below.
Temperature and Humidity
Place a water bowl in the cage, filled with
Cricket Crystals to keep the environment humid. They can
cope at room temperature, suitable breeding temperature is
95 degrees Fahrenheit. A heat pad or lamp can be used to
provide warmth.
Restrictions
Not allowed in Florida.


Pictures: Madagascar Hissing Roach
Video


Posted on Leave a comment

Oriental Roach Care Sheet

Oriental Roach

Roach Care Sheet

Roach Care  Sheet:  

Oriental Roach


Blatta orientalis


Common and Scientific
Name

Oriental Roach
Blatta orientalis
Breeding Information and
Defining Characteristics

They
will breed readily when the environment is right.
They will lay egg cases which will hatch in a couple of
weeks with temps around 80 degrees.

They
are a dark colored, almost maroon, fast moving
roach.


Feeding Preferences They feed on dead decaying organic matter.
Housing Requirements
A well ventilated container with lid and
Vaseline to prevent escape, eg cartons, food, water and heat
Difficulty Rearing
Medium.  We have raised these on very
moist substrate and lost every roach.  We also have
raised them where the temps dipped and they died.  If
everything is right they will thrive.  They look a
great deal like Blatta Lateralis except that the adults are
larger and darker in color. They are not as easy to raise as
Blatta Lateralis.
Climbing Habit
They can climb glass and plastic.  They
like to climb over branches and egg cartons.
Substrate
No substrate is needed
Temperature and Humidity
They prefer dark, damp and cool areas. The
optimum temperature is between 68 and 84F
Restrictions
Florida Legal.


Pictures:
Video Oriental roach video


Posted on Leave a comment

Surinam Roaches Care Sheet

Surinam Roaches

Roach Care Sheet

Roach Care Sheet:  Surinam Roaches  (Pycnoscelus surinamensis)


Common and Scientific
Name
Surinam Roach (Pycnoscelus

surinamensis)

Breeding Information and
Defining Characteristics

They need it warm and humid to breed.  Think Florida.


They grow to about 1 inch in length as an adult.

Colonies are mostly, if not all,
female.  Surinam Roaches reproduce through parthenogenesis
which means that females reproduce by making exact
copies of themselves.


Housing Requirements
Any secure container is suitable for Surinam
Roaches.  Surinam can jump. A petroleum jelly barrier
can be used to prevent them from getting out of the
container. We use Bug Boundary Grease to stop escapes.
Difficulty Rearing
Easy
Climbing Habit
They can climb plastic and glass and they can
jump.
Substrate
Any substrate is suitable, preferably cypress
mulch because it is easy to clean up, but coconut coir
bedding, or any type of mulch type bedding is fine.
Food Preference Freshly planted foliage such as flowers, tree
leaves, weeds and potted plants.  They like fresh and
dried grasses, straw and Oak leaves.  They will not do
well without this type of food and you may experience
die-off without a source of plant material as food.
Pick some leaves and bag them for an off season food source
or you can buy Surinam food from us.  You can also get
bagged leaves on from these links.
Temperature and Humidity
They need heat to breed. Their respiration
gives enough humidity, there is no need to add water but you
should have a small bowl of Cricket Crystals in their
enclosure to ensure moisture.
Restrictions
Florida Legal


Pictures: Surinam Roaches
Video


Posted on Leave a comment

Live Roach Care Sheet: Orange Head Roaches

orange head roaches


Roach Care Sheet

Roach Care Sheet: 

Orange Head Roach(Eulaberus posticus)


Common and Scientific Name Orange Head Roach (Eulaberus posticus)
Breeding Information and Defining Characteristics

If all requirements are met, then Orange Head Roaches will breed readily once they develop wings.  The time with which they will reach maturity will depend upon warmth and food supply.

They emit an odor when disturbed that sort of smells like garlic bread.  Adults develop and orange head which their name reflects.

Housing Requirements Any container is suitable for use, size
depends on how many roaches you intend to keep.
Difficulty Rearing Easy. 
Watch for wing biting.  Orange Head Roaches are known
for wing biting and they will eat their cleaning crews so
watch out.  Keep constant protein supply and water
crystals with them at all times.
Climbing Habit Non-Climbing
Substrate Orange Head Roaches love a substrate of
coconut coir or peat moss and leaves.  They love to
burrow and hide.  The problem is that the moist
substrate will make the smell worse.  They already have
a smell when disturbed.  Keep them without a substrate
and provide hiding spaces using egg cartons and empty paper
towel and toilet paper roll inserts.
Temperature and Humidity They can eat any type of food. Examples
include fruits, vegetables, grains and they will even eat
each other and other insects that they can get at.
Restrictions Not Legal in Florida or Hawaii.


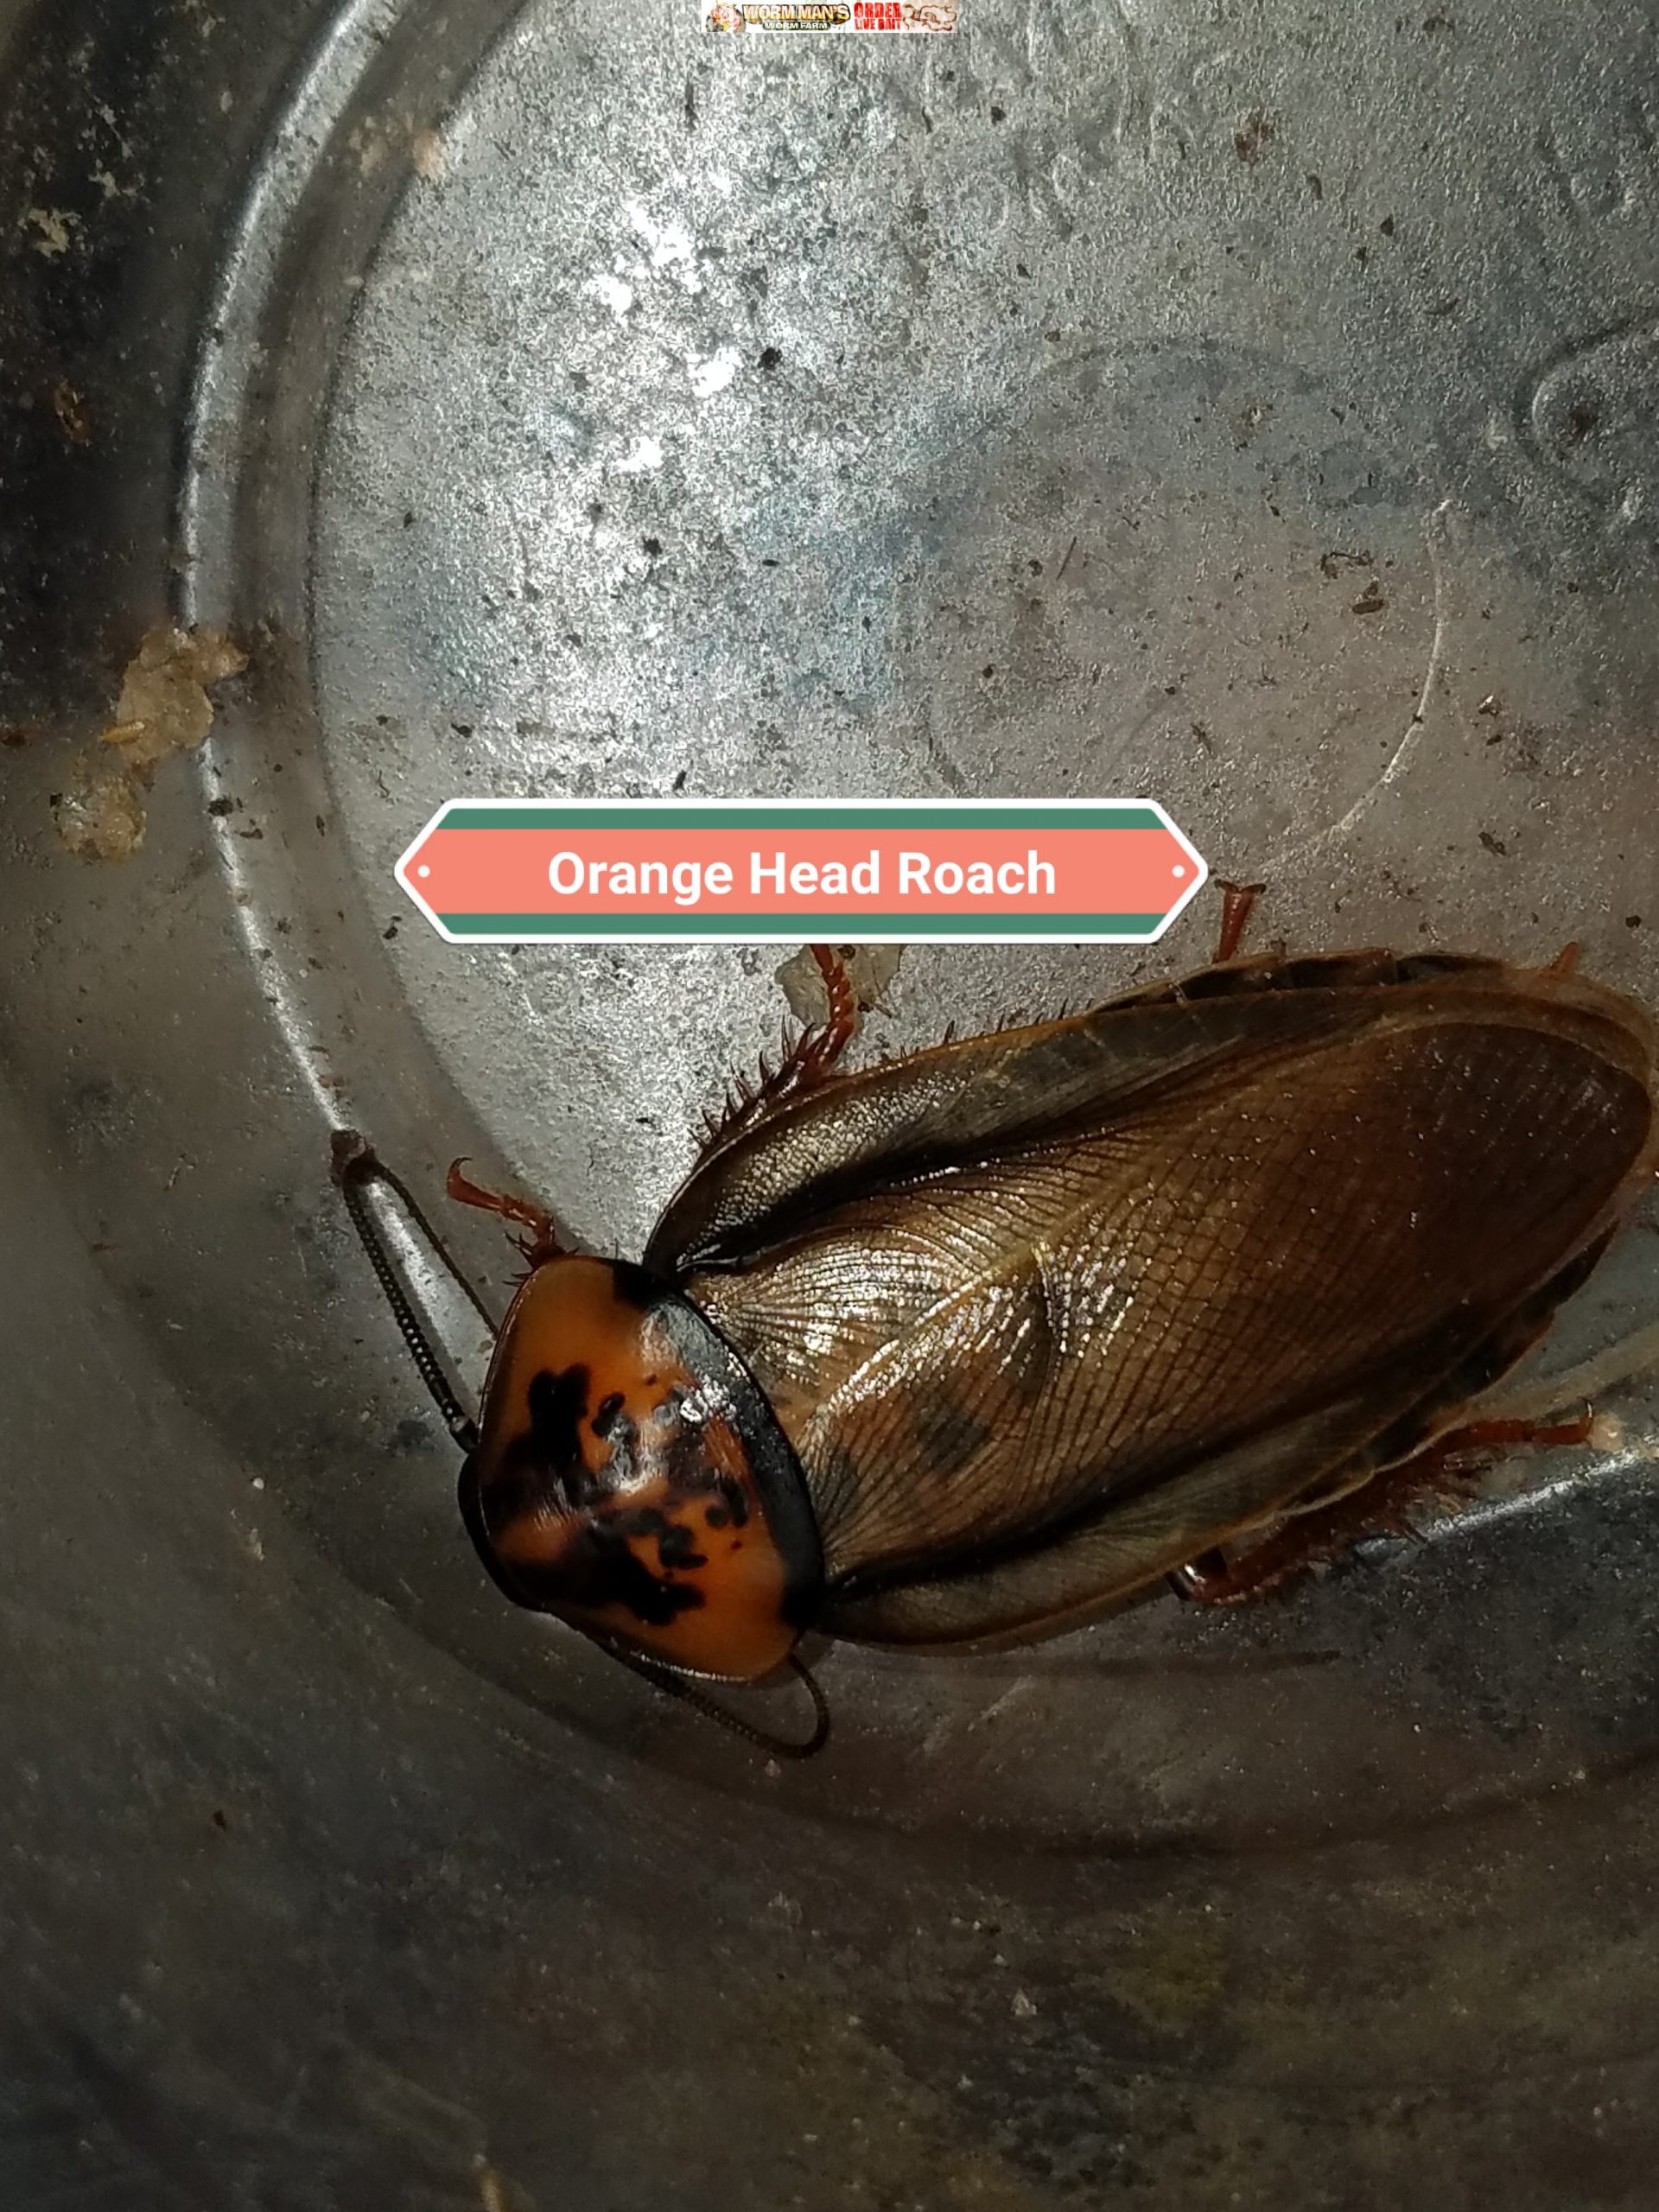
Pictures:
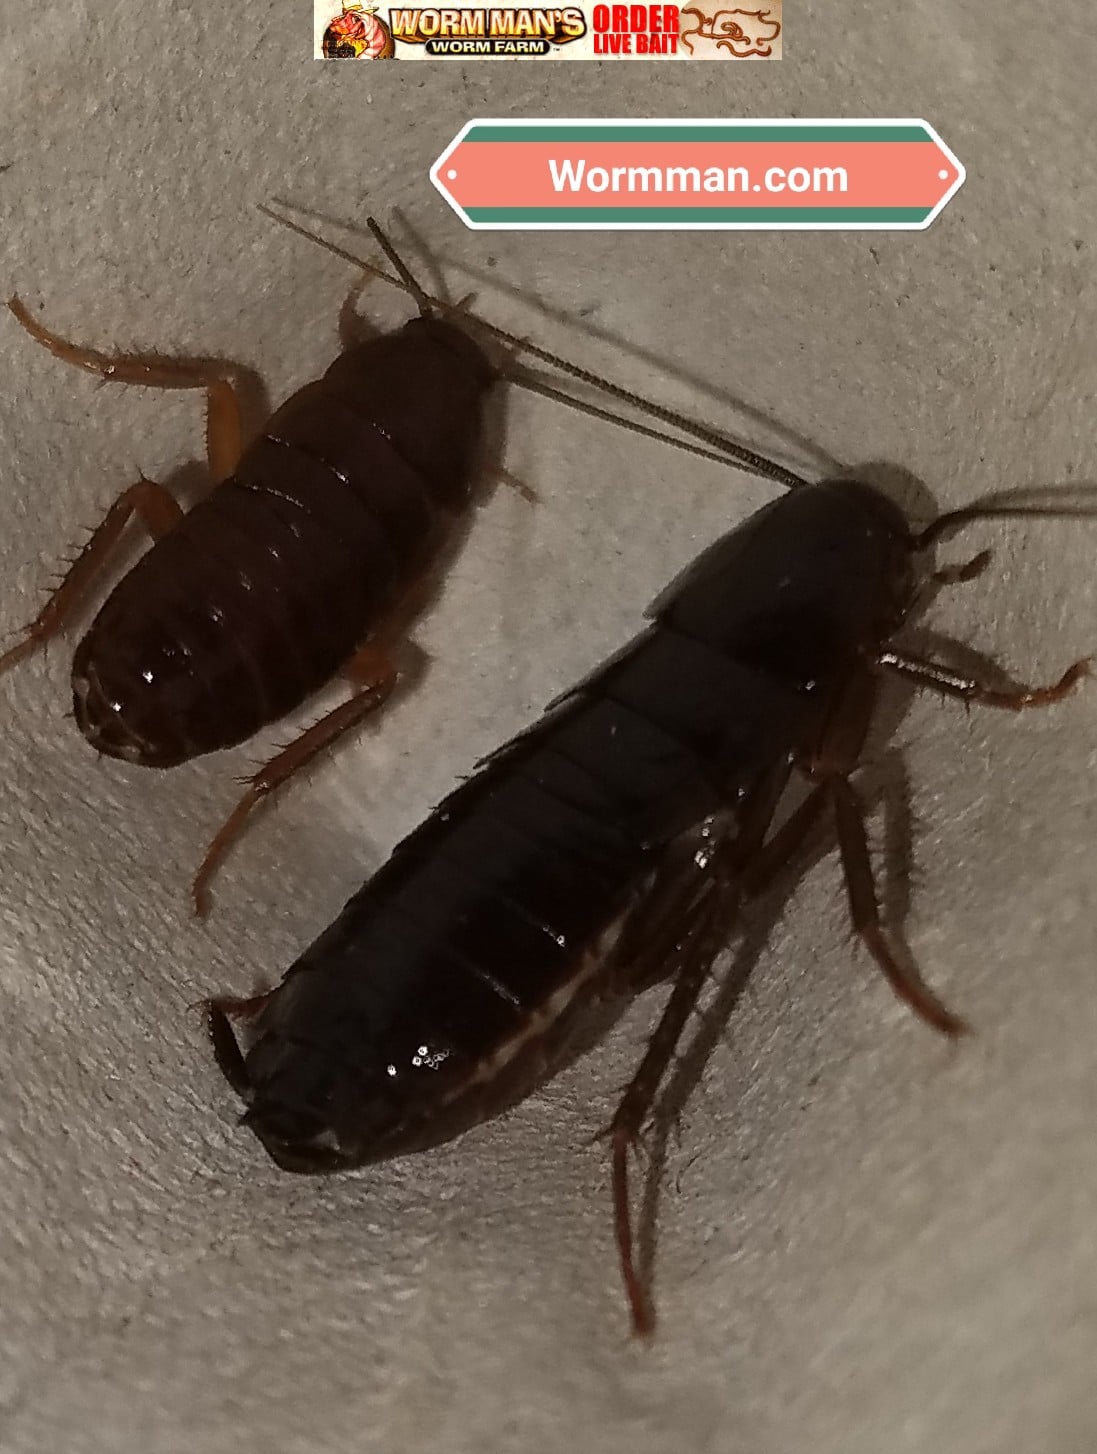
Picture on the left is and adult Orange Head Roach
The picture on the right is of a nymph.
Video


Posted on Leave a comment

How to Breed Mealworms Easily

Breeding your own mealworms can save you money and ensure that your pets and wild birds are getting the very best food.

What you will need:
1. Mealworms. Please get them from us. We have mealworms for sale and on sale here. 🙂

2. You will need a bedding/food source. We use wheat bran. You can also get that from us or from any farm and feed store.

3. You will need 2 shoe boxes. You will not need the lid unless you live in a very dry climate.

Mealworm Life Cycle:

Mealworm Breeding Instructions:

1. Retrieve your worms from the package and place them in one of the containers with about 1/4” of the bedding/food.  You will not need the other container right now so store it in a safe place.

2. Feed the worms a slice of potato or cucumber. Please replace daily and throw away the old piece.

3. Let your worms eat the bedding and drink from the vegetable until the morph into beetles which should happen over the next couple of weeks.

4. Keep them worms in a warm place. Room temp or above, to about 85 degrees, will work well.  Ensure that the bedding does not get wet or mold.  You can do this by fluffing it weekly.

5. Your worms will morph into pupa and then they will becomebeetles.   Remove the beetles from the container and place them in the second breeding container with ¼ “ of the wheat bran and give them a slice of potato.

7. Over the next couple of weeks the beetles will lay eggs in the bedding. After about a week, baby worms will be visible in the bedding, especially under the potato slices.

8. Just leave the beetles in that container and allow them to lay eggs until the die, which will take a couple of weeks

9. The worms will take a few weeks to grow out into large worms and then you will be able to repeat the process.

10. To size the worms, just move the beetles into a new container every week. You can use a shoe box or a Rubbermaid container. You do not have to do this but this will help you have the same size worms in each container. This is how the big superworm farms do it.

You can supplement their wheat bran bedding with non-medicated chicken feed, table bran, and things like whole grain cerial and oats.

You can also just get yourself a mealworm breeding kit from us and most of the work is done for you.  Plus, it comes with meal worms. We have Mealworm Breeding Kits for Sale here.

Posted on Leave a comment

Tubifex Worm Culturing and Breeding Setup

Tubifex Worms

Tubifex Worms

Tubifex Culturing and Breeding Setup

If you are looking for clean, disease free,  Tubifex worms to
feed to your fish, or if you are just looking for Tubifex to
feed to your septic system to clean our your leach fields, then
you have come to the right place.  This is a homemade
Tubifex Breeding and Culturing Machine.  The name needs
some work and it is ugly, but it works and it works well.  I scaled down our Tubifex setup using items that you can get at a pet shop or on Amazon and ebay.  I will link to those items in this guide and some of the links are affiliate
links.  We need to eat too.  :-).
This is a close up of our Tubifex Breeding Setup.  Tubifex breeding system
Anyway, this Tubifex breeding system will allow you to culture
your own Tubifex with very little effort and it is a fun if this
is what you are into, and I am into it.The process is simple.  You have a tank on the bottom
filled with enough aged water to cover the filter and the
powerhead pump.  The bin on top has a slow flow of water
entering it.  That is the growing and breeding
container.  The water gets filtered and aerated on in the
bottom tank and then gets slowly circulated in the upper
breeding tank.You will get some Tubifex in your bottom tank and that is
fine.  Feed them there too.  The top tank will be
where the majority of the breeding, feeding and growing takes
Here is the video of our two tier system.
place.

What you will need:
1.  A 10 gallon fish tank.  
2.  A second bin.  A Rubbermaid or
Sterlite container is fine.  This is the one I bought for
this.
3.  A submersible filter.  I bought the small filter and an air pump with a stone. You will need both of these. Remember to get the filter fiber and the carbon for the filter.


4.  Bag of cotton fiber filler for the filter. (Say that 10
times fast).
5.  A small pond pump with enough tubing to go from the 10 gallon tank to the upper tank.  The water flow must be adjustable.
6.
Tubifex Worms.  Of course, we can’t forget these.  We sell Tubifex worms in 100 count bags.  We will soon sell them in larger quantities and we will have information regarding using Tubifex for leach fields for septic sytems so please look out for that in the future.Tools:
A drill to make holes in the upper tank so that the water
overflows out of the holes and into the bottom tank.

Food:
Brown Paper bags, cardboard and/or brown, unbleached paper
towels.
Goldfish food.

These are all pictures taken of Tubifex worms that were created
in this setup.  I only put 100 small worms in this setup 30
days ago and you can see that there are many more than that in
the clumps alone, not to mention the ones that are swimming
around or that are attached to the paper in the Tubifex breeding
setup.

Instructions:
The key to breeding Tubifex worms is to ensure a well aerated,
cool and flowing water supply.  If you can supply those
three things, Tubifex will grow and breed well, they will be
clean and they will easy to maintain.

I scaled down our system, which uses 80 gallon Rubbermaid tanks
and 3 tiers of smaller bins.  Check out the video on the 3 Tier Tubifex System.

The point of the system is that the large tank is for aerating
and filtering the water.  Then the pond pump delivers that
water to the top tank which has stones on the bottom for the
worms to anchor to, and a continuously resupplied layer of
unbleached paper towels, cardboard or paper bags.  The
worms will eat the paper source.  We also supplement the
paper food with fish food flakes.  Feed fish food flakes
sparingly.  For instance, we sell Tubifex cultures with 100
worms.  You can barely see them because 100 worms get lost
in the volume of water they are shipped in.  DO NOT feed
them fish food flakes when they arrive.

Installation of Worms from us.  I am adding
this so that you can care for the Tubifex that you order
from us.

PLEASE DO NOT ORDER TUBIFEX WORMS UNTIL YOU HAVE YOUR SYSTEM SET UP. 🙂 Sorry for yelling but you can kill your worms if you buy Tubifex from us and then get your setup later.  Tubifex Worms for Sale Here.
1.  Age some tap water for a day or so, or get
distilled water.  Chill it in the refrigerator.
When your worms arrive put a couple of inches of that aged,
chilled water in a container and then pour your worm culture
in. 

2.  Add an airstone.  This is very important.

3.  Add as small section (maybe 2″x2″ if a paper bag
to the water and let your worms settle in. 

4.  Remove about 10% of the water every day and
replace with fresh aged water from your refrigerator.
Use a clear glass to remove water and hold it up to the
light to ensure that you are not removing Tubifex
worms.  If you do not disturb the paper during the
removal of the water, you will not have many worms in the
water you remove. 

5.  Add more bag sections as needed.  You will
know when they are needed as they fall apart. 

6.  After about a week you can add one flake of fish
food every other day or so.  Do not add more than this,
even if it is tempting. 

7.  Continue the process until you can visibly see the
worms swarming the flake food when you add it. 

If you add a sponge filter, like the one here, you do not have to change the water out every or two. 
We do a 10% to 20% water change every week in our tanks.  We only change the water from settled tanks (tanks that have not been stirred sothat the sediment and worms are not disturbed.)

This video shows how we do that:

The worms will feed and reproduce.  They will anchor themselves to the aquarium rocks and they will eat from the brown paper that you provide.

Do not feed from your set up until you have large clumps of worms forming or you will deplete your breeders and your Tubifex culture will never get established.  Order Tubifex Worms Here.


This Tubifex Breeding System createst he waterflow needed to keep the worms healthy and it also keeps the bins aerated while not distrubing the breeding worms in the top bin.

Some worms will go through the overflow holes but that is not anything to worry about.

You will have to regulate the pump to keep a steady flow without overflowing the top bins.


The first system is a two tank system while the system below is a 3 tank system used to catch Tubifex that might get out of the top tank.

WARNING:  if you turn the system off to maintain it then you will have to pull the hose out of the top tank or the water will drain out into the bottom tank.  You can also install an inline check valve in the water supply line from the pump to stop the water from doing that in case of a power failure. 

Not taking precautions can cause you to lose your worms during a powerfailure if the top tank drains and is left for an extended period of time.

Watch the video to see what I mean.

http://https://youtu.be/FmdBxebvKQs