Posted on Leave a comment

ø 7250 Landscaping Ideas & Landscape Designs – Backyard Landscaping Ideas Pictures – Home Garden, Front Yard Landscape Designing Ideas ø

ATTENTION: Have You Always Wanted to Redesign Your Home’s Landscape But Don’t Know Where to Start? Then This Is The Most Important Letter You’ll Ever Read…

I f you are reading this letter then it is likely that you want to design your dream home landscape.
Continue reading ø 7250 Landscaping Ideas & Landscape Designs – Backyard Landscaping Ideas Pictures – Home Garden, Front Yard Landscape Designing Ideas ø

Posted on Leave a comment

Leaves for Isopods and Roaches

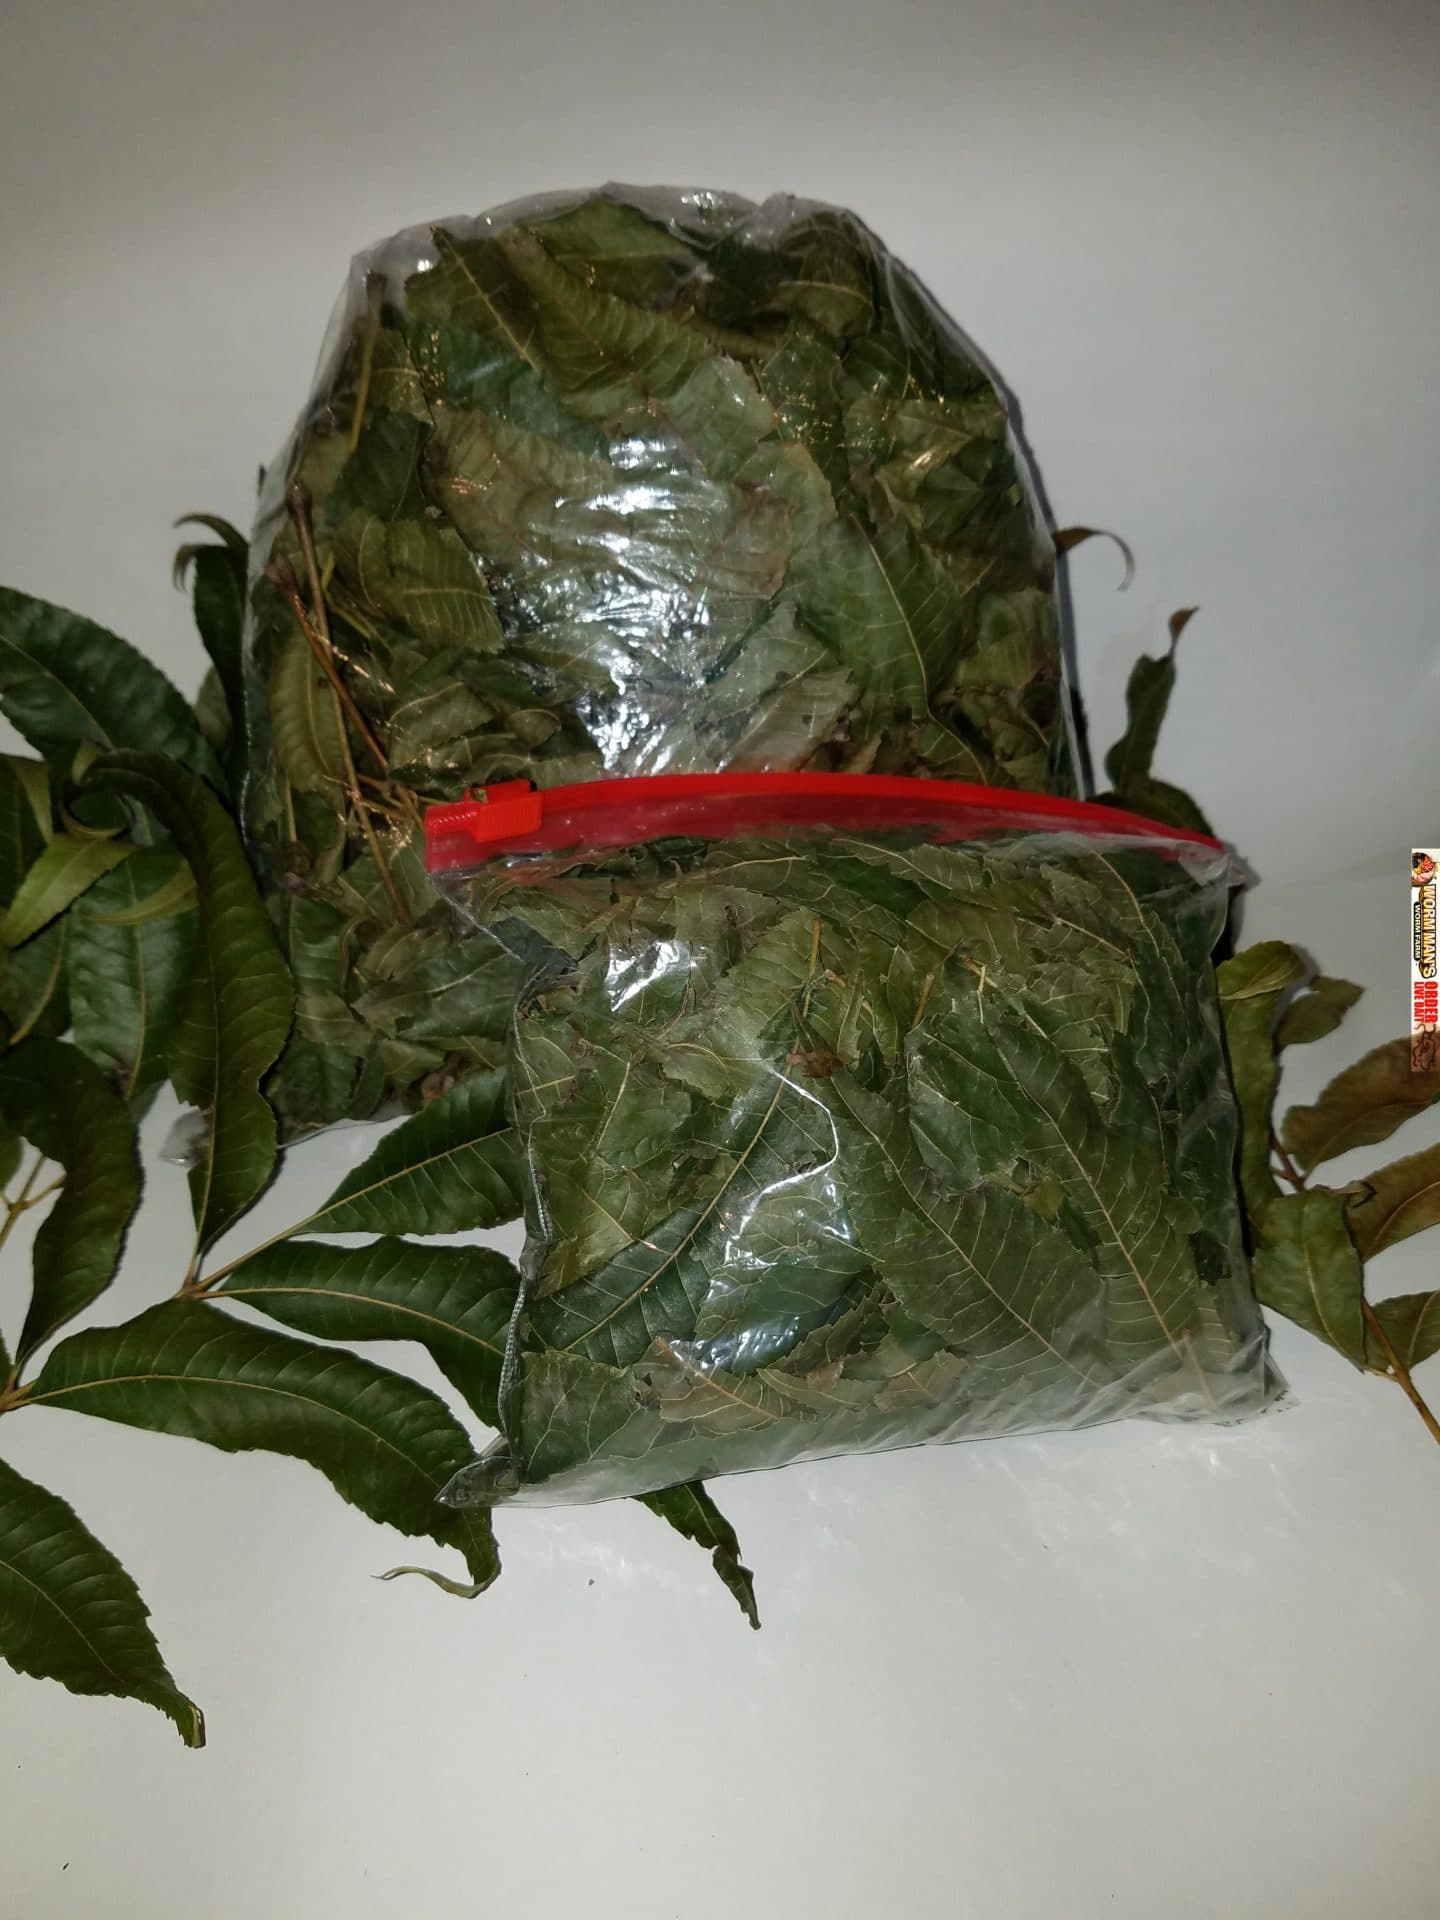
The leaves of hardwood trees are eagerly devoured by Isopods and some roaches.  In fact, there are some species of roaches that cannot survive without oak leaves in their diet.  Leaves also make an outstanding substrate for many species of reptiles, snakes, spiders and invertebrates.

We grow Pecan, Oak and Maple trees on our farm and we now have freshly dried leaves for you for just $4.95 per gallon + actual shipping costs.  That is a deal and a steal.  Get your 2017 freshly picked and dried leaves today and watch your invertebrates devour them.

Pick the type of leaves you want in the drop down menu, or order our Premium Leaf Mix which contains Pecan, Oak and Maple leaves mixed in gallon bags.

We will ship your leaves out when we get your order and will will ship USPS Ground to save you money, unless you specify otherwise, and then you only pay for the actual shipping cost.

Posted on Leave a comment

Building A Chicken Coop – Building your own chicken coop and grow worms with the Chicken Poop!

Building your own chicken coop will be one of the best decisions you can make if you are looking for a way to keep your chickens safe, keep your worms safe from the chickens and to keep the chicken poop contained in the chicken coop until you are ready to use it.

Chicken manure is used to grow Soldier Fly Larvae, which we call Soldier Grubs.  The chicken manure is also good, one aged for growing red worms, European Night Crawlers, and African Night Crawlers.  If you have chickens and want to compost, need bait or want great worm castings for your garden, then build them a chicken coop and you will save the day.
Continue reading Building A Chicken Coop – Building your own chicken coop and grow worms with the Chicken Poop!

Posted on Leave a comment

Feeding Outdoor Worm Beds in Winter

https://youtu.be/CBTFuj4biBMhttps://youtu.be/CBTFuj4biBM

Last week we had our first freeze here in New Jersey.  We often get a first freeze that then melts and does not freeze again for a week or so.  Then we get a hard freeze later in November or early December.  That first freeze is our gue to tuck our red worm and European nightcrawlers in for winter.  The one question that I often get is around feeding composting worms during the winter, especially if the worm bed is outside in the elements.

The questions range from the kind of food we recommend for Redworms and European night crawlers, to how to feed the food we recommend.  The questions also delve into how we protect outdoor worm beds in winter, what we cover them with and when we cover them.

Winter feeding is an entirely different way of feeding composting worms than summer feeding.  There are three things that we look to accomplish with winter worm bed feeding:

  1. We look to ensure that we have enough feed on the beds so that we do not have to disturb the worms during the dead of winter.  The tops of the worm beds will often freeze and the red worms and European nightcrawlers will retreat and form a protective ball by huddling beneath the frozen worm bedding.  That freeze creates a frozen cap that will actually protect the worms under the freeze line.  By breaking that cap, turning beds or digging into beds, you can expose your composting worms to the cold air and that will kill them.  We aim to feed them before the first deep freeze and then leave them until spring.
  2. We want to have a food that is safe, deep enough and still green enough to generate some heat, which will create a safe space for the worms to feed and even breed on the warmer days throughout the winter.
  3.  We want to have the food last to the point where, as soon as the temps rise above freezing but before the beds are warm enough to work, the worms begin breeding and depositing capsules in and under that winter food that we provide.  This will ensure a nice healthy swarm of babies happily eating the leftover food when we open up the beds after that danger of the last freeze has passed, which is late April or even May in New Jersey.

We our three worm feeding goals laid out, we begin that task of preparing and adding the food to our beds.

Worm Food Preparation:  During the three other seasons, we ensure that any manure fed to the worms is mixed to a specific ratio in order to ensure that it is past the heating stage before it is fed to the worms.  The last thing that we want is for the bedding to heat on a hot or warm day.   In Winter, our goals change.  We do mix the manure with shredded paper and straw before use, and we do allow it to heat for a couple of days but then we apply it before it has completely heated to the point where it is beyond that heating stage.  We do this so that the heat created by the breakdown of the bedding will provide some heat to the worm beds.  We are not looking for super-warm temperatures, but enough so that the worms can still move about and eat throughout the winter.  In order to do that we mix in more green material than we normally would and we add alfalfa pellets like the type sold as rabbit food.

So, we add fresh manure, straw and paper, wet it down, pile it high and let is begin to break down.  Then we mix in dry alfalfa pellets and lightly water.  We want it to be on the drier side because the food mix will break down more slowly that way as it appropriates water from the worm bed.

Worm Food Application:

After the food has been prepared and is ready to go, we apply it to the worm bed.  We pile it high and deep and shape it like a triangle.

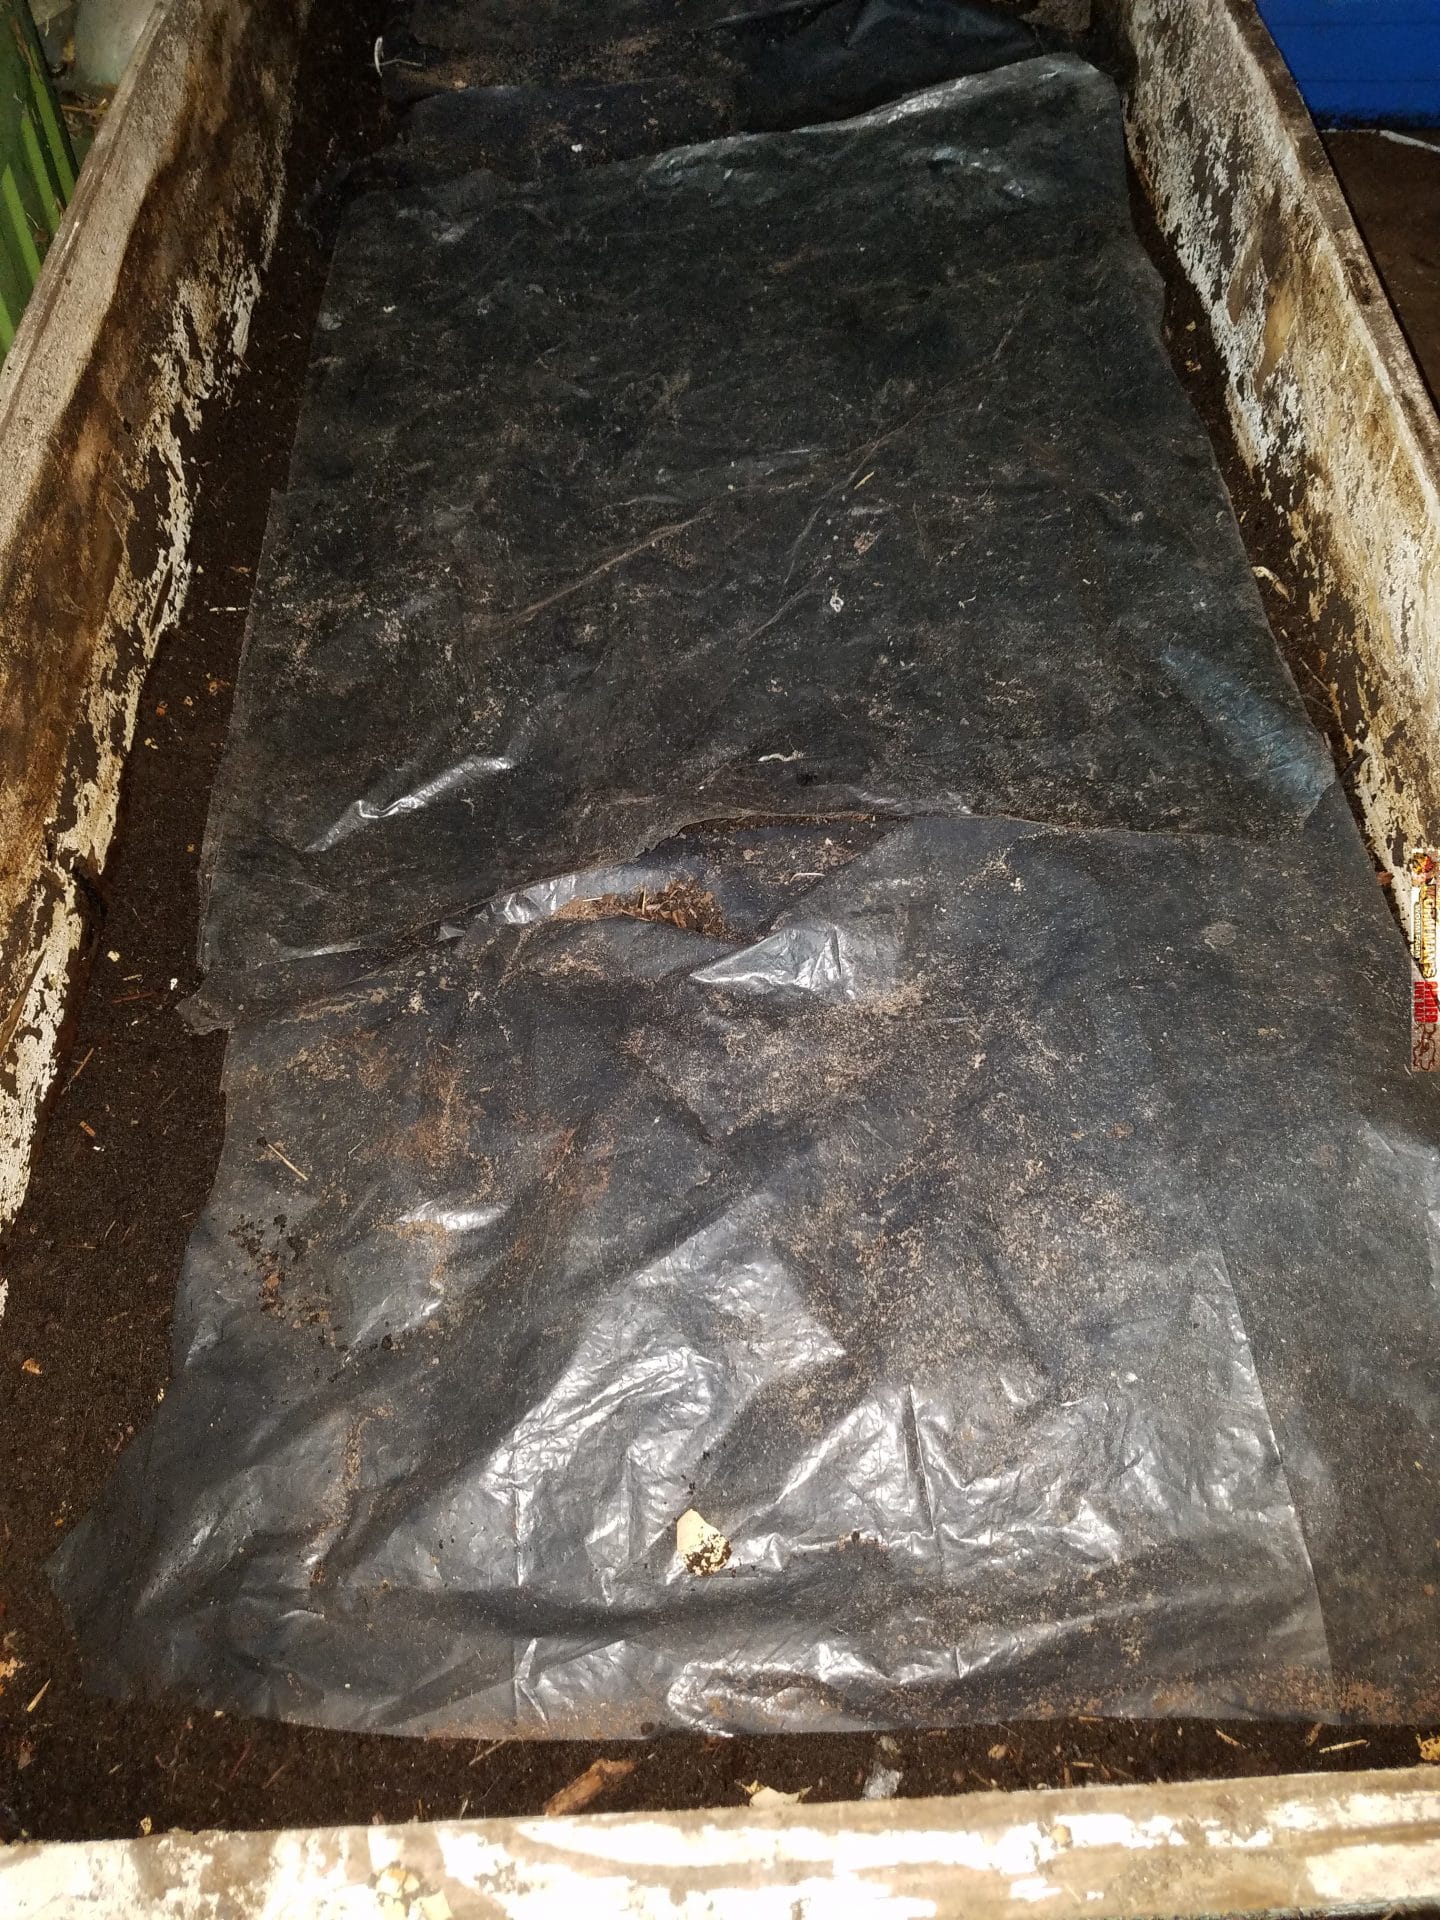
We cover that triangle food pile with a polyethylene bubble plastic like the kind used in packaging to prevent shipping damage but ours is thicker plastic.  We also sometimes use polyethylene bubble insulation that is metallic looking.  See the pictures below.  That blanket acts as a blanket and keeps the heat in and the cold out.

We then cover the entire bed with thick industrial grade landscaping fabric, like the kind used on the ground at nurseries to keep the weeds out and to stage their potted plants on.

We weigh that fabric down with bricks or sandbags and then we do not disturb the worms again until Spring.  When we do life the fabric and the blanket in spring, we find hundreds of thousands of baby worms in what used to be a large pile of food, eating what is left of it.  The adults deposit their capsules at the food source where the babies will be likely to find ample food.

That is it.  This is how we feed our worm beds in Winter and how we prepare our beds for the long cold disgusting winters.  It is 11-16-2017, so get to work.

Now, the good news is that we also have indoor beds and we sell European Night Crawlers and Red Worms all year long.  Winter composting and worm rearing is a great way to learn about worm farming and take away the winter doldrums.  Check out our selection of composting worms and get gardening now.  Spring will be here soon than you think.

Try a Worm Composting Starter Kit if you are just getting started.

Posted on Leave a comment

Chinese Praying Mantis Hatch

Chinese Praying Mantis


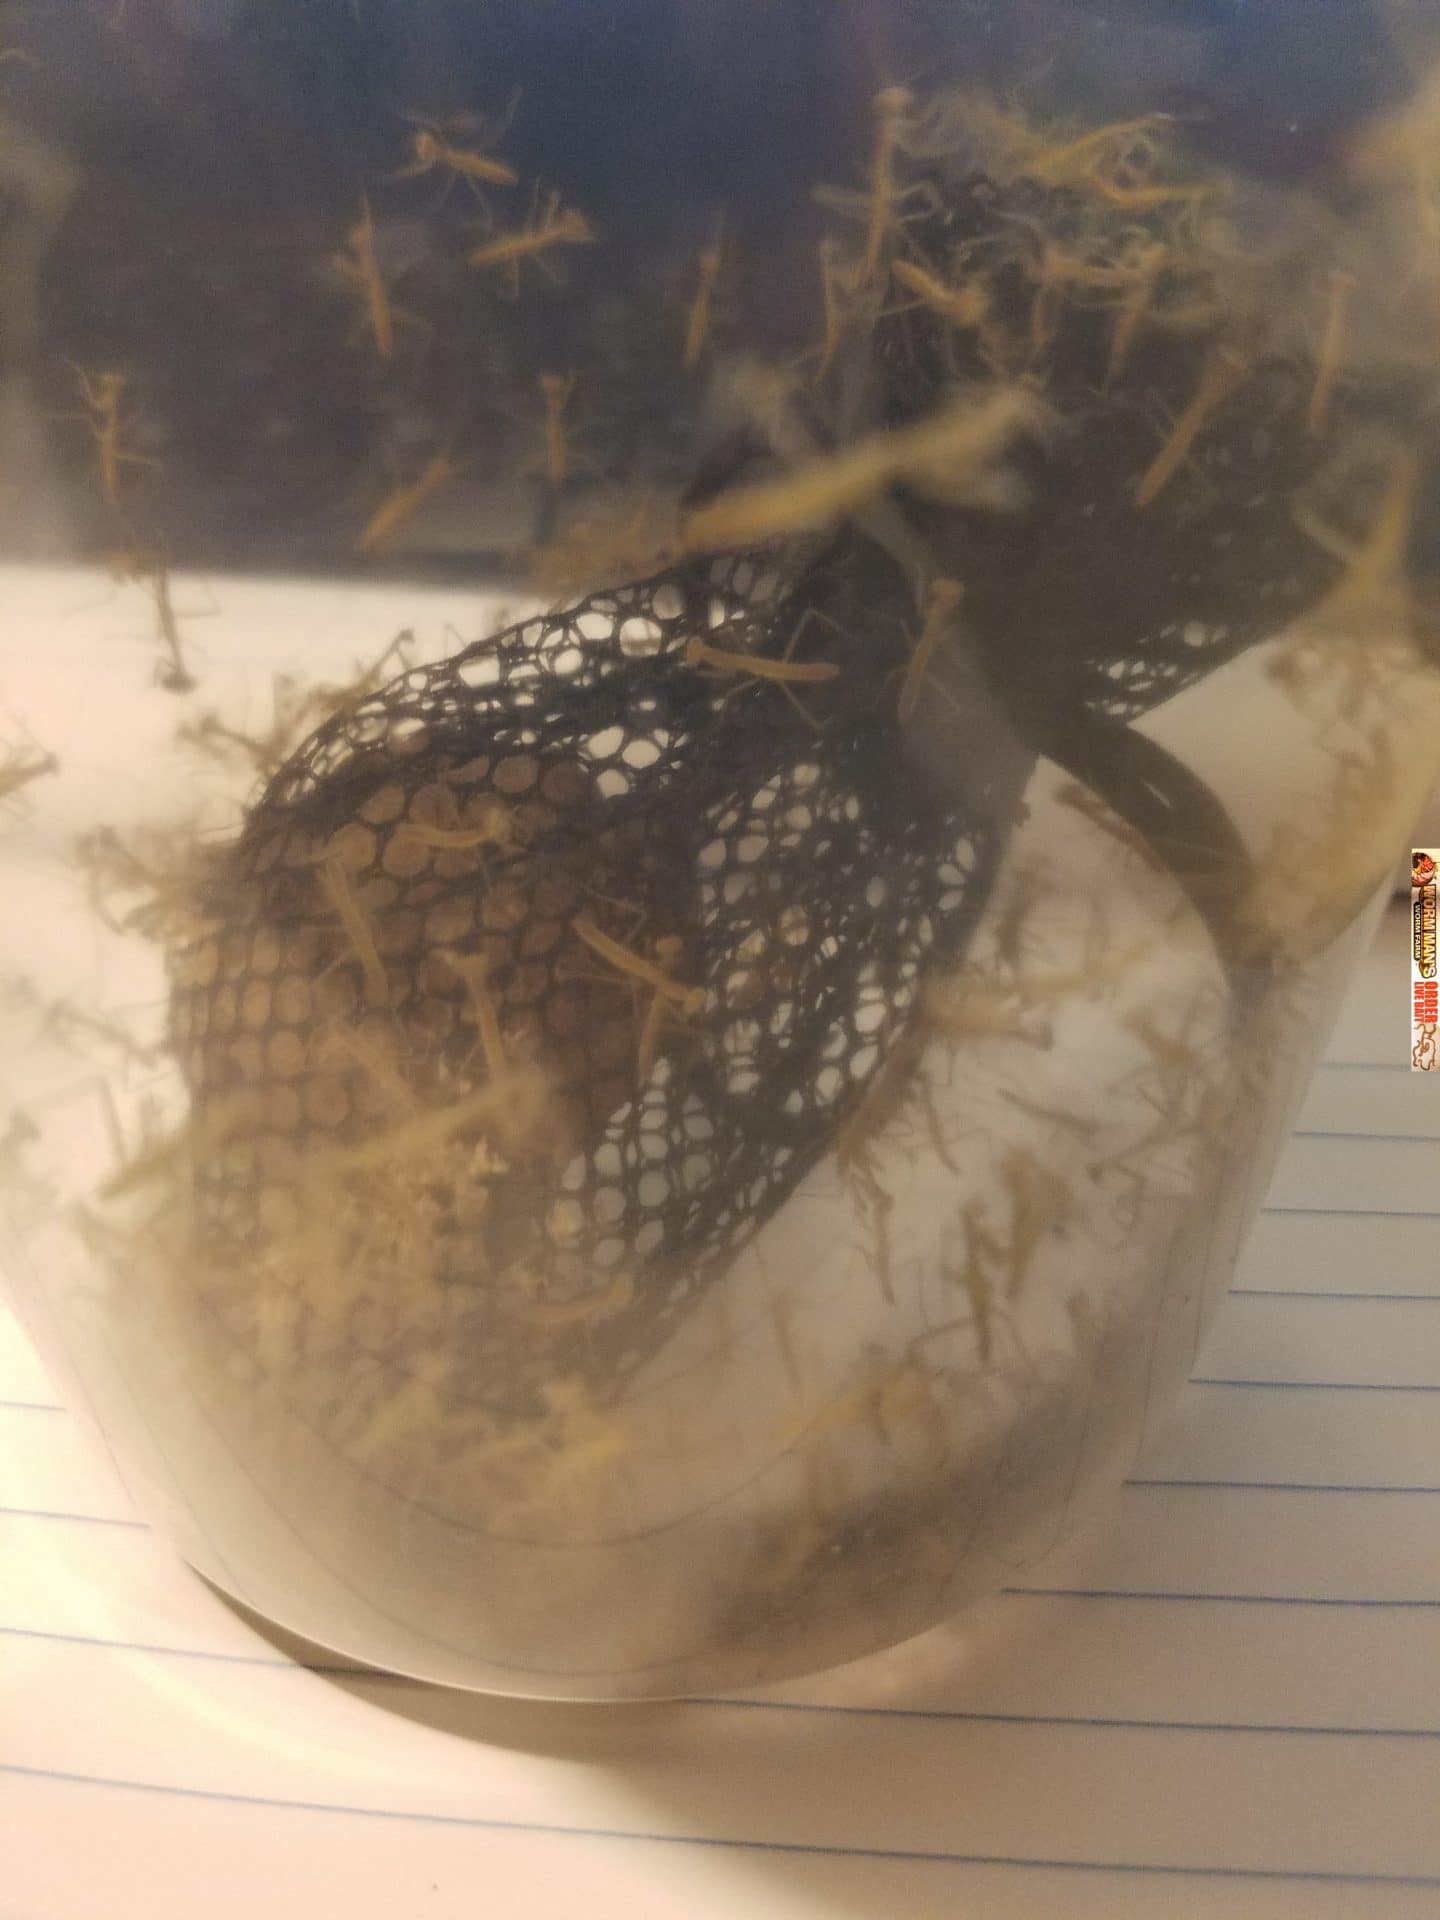
Yesterday our Praying Mantis ootheca hatched.  We found the egg case out in our garden and decided to see if we could hatch it.  We placed it in a vented and screened cup and kept it at about 80 degrees.  We misted it daily and yesterday it hatched, about two weeks after bringing it in.

The small mantids had their first meal of flightless fruit flies.  I made a short video of that first meal.  The poor melanogastor fruit fly did not have  chance.

Toward the end of the video, the Praying Mantis ripped the fruit fly’s head off and you can watch the rest.

Today we will put each mantid in an individual cup under lighting and grow them out on live feeder roaches, Melanogastor, Hydei and then with small live feeder roaches.  Later we will introduce spikes and curly wing flies.

Enjoy the video.


Posted on Leave a comment

Aquaponics 4 You – Step-By-Step How To Build Your Own Aquaponics System

“Break-Through Organic Gardening Secret Grows You Up To 10 Times The Plants, In Half The Time, With Healthier Plants, While the "Fish" Do All the Work…”

And Yet… Your Plants Grow Abundantly, Taste Amazing, and Are Extremely Healthy. Here’s How It Works:
Continue reading Aquaponics 4 You – Step-By-Step How To Build Your Own Aquaponics System

Posted on Leave a comment

Red Goblin Roach Care Sheet

Female Goblin Roaches

Goblin Roaches

Paratemnopteryx couloniana

Goblin Roaches are originally found in the southern part of Australia.  They are easy to raise once you meet their requirements, which are:

  1.  Temperature-  68 to 82 Degrees
  2.  Moist substrate provided.  We use coir bedding.
  3.  Humidity.  A moist substrate with a tight lid will help provide ample humidity.
  4.  Provide water crystals in a small bowl for drink.
  5.  Provide food.  We feed them cucumbers, Squash, Dog Food, cat food and fish flakes.
  6.  Give them plenty of hiding places by putting in egg crates or towel roll center cardboard tubes.

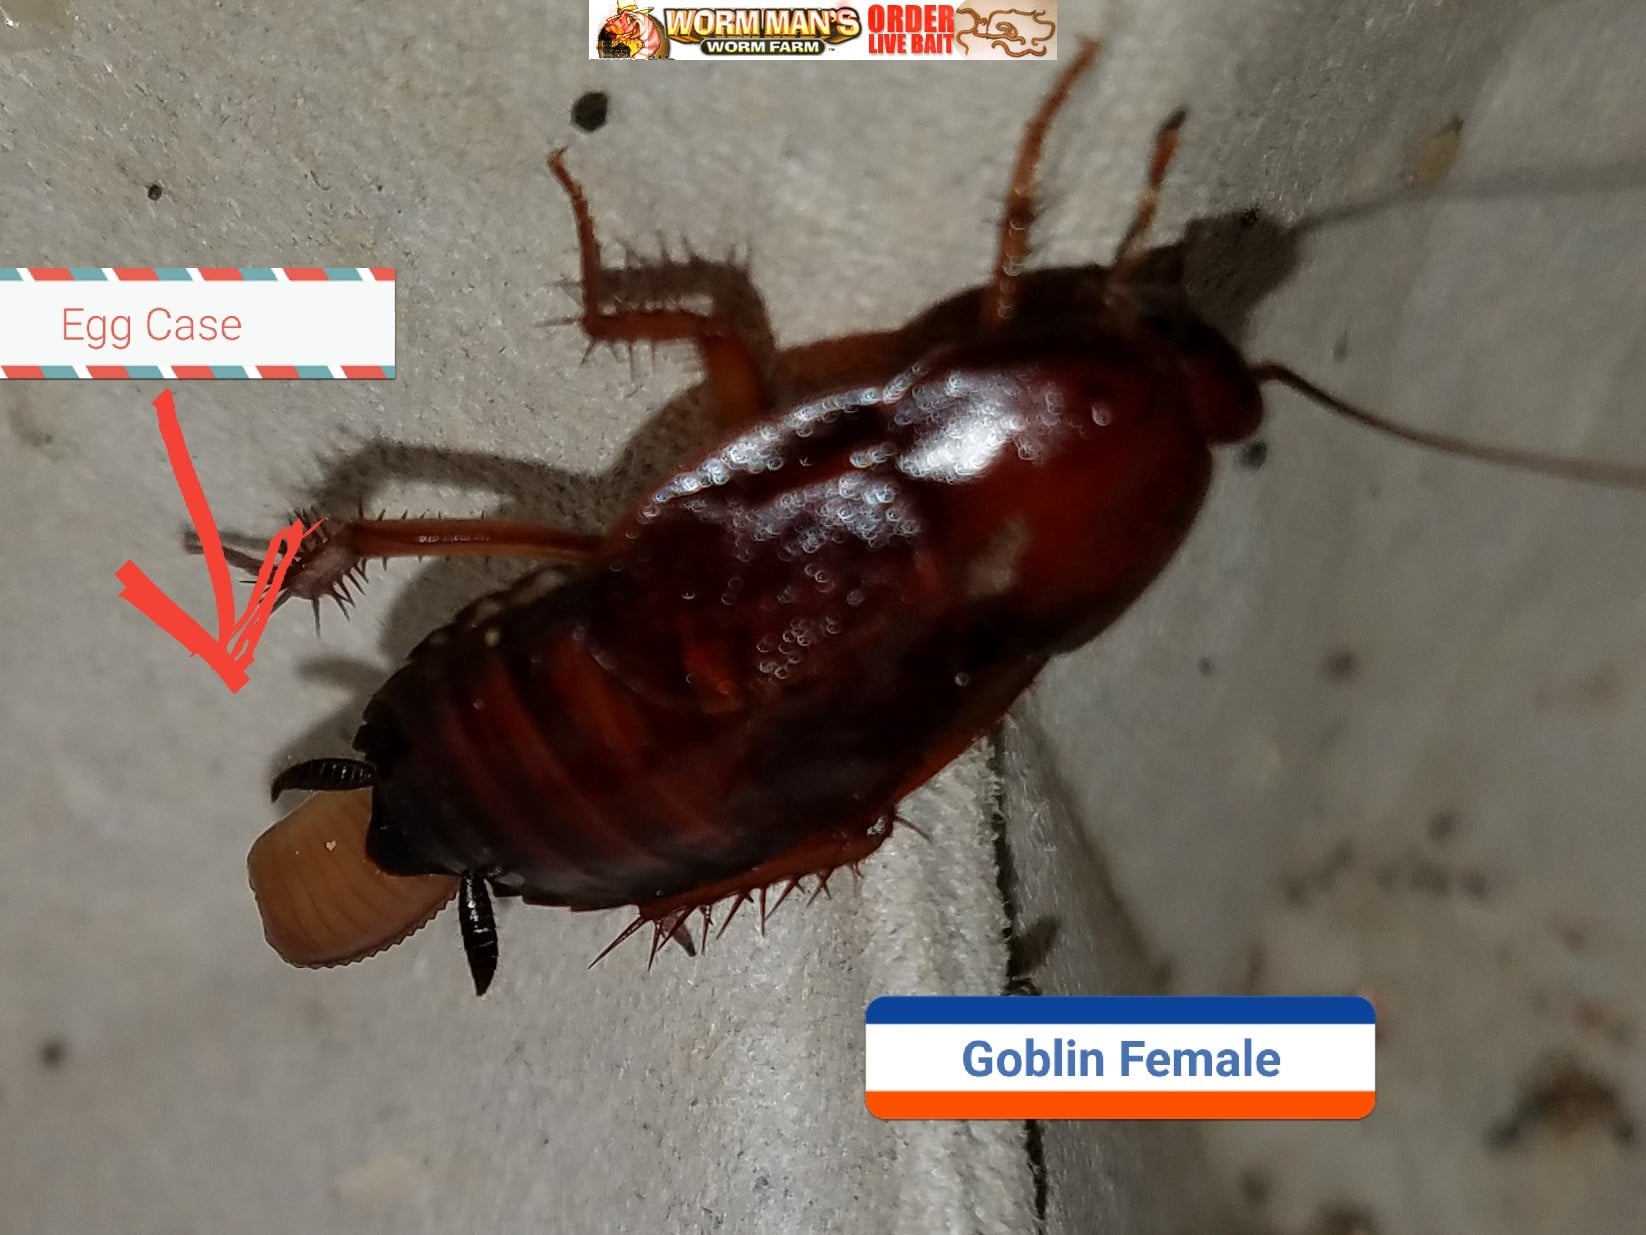
This is an interested roach. Goblin roaches take a while to mature but then will begin to breed nicely.  Each egg case is small but containers between 4 and 20 eggs which could mean 4 to 20 baby roaches with each hatching.  The egg cases hatch quickly soon after being deposited in and on the substrate if the heat is at at the higher end of 82 degree range.

Female Goblin Roaches

Red Goblin Roach Egg Cases


Goblin roaches can climb but usually will just stay on the substrate or egg crates while you are in their enclosure.  Air holes are a must with a tight fitting lid.

Posted on Leave a comment

Superworms Become Beetles in 40 Seconds

superworms

Watch as our superworms become beetles.  We used an Ipod Touch, on the time lapse camera to capture superworms morphing into beetles.  After they morph they crawl away so watch closely.

The actual time was about 6 hours.  On our farm we actually place the pupa on a bed of slightly moistened coir in order to help the worms pupate properly so that they are fully formed and not deformed.

Posted on Leave a comment

Skirted Isopod Care Sheet

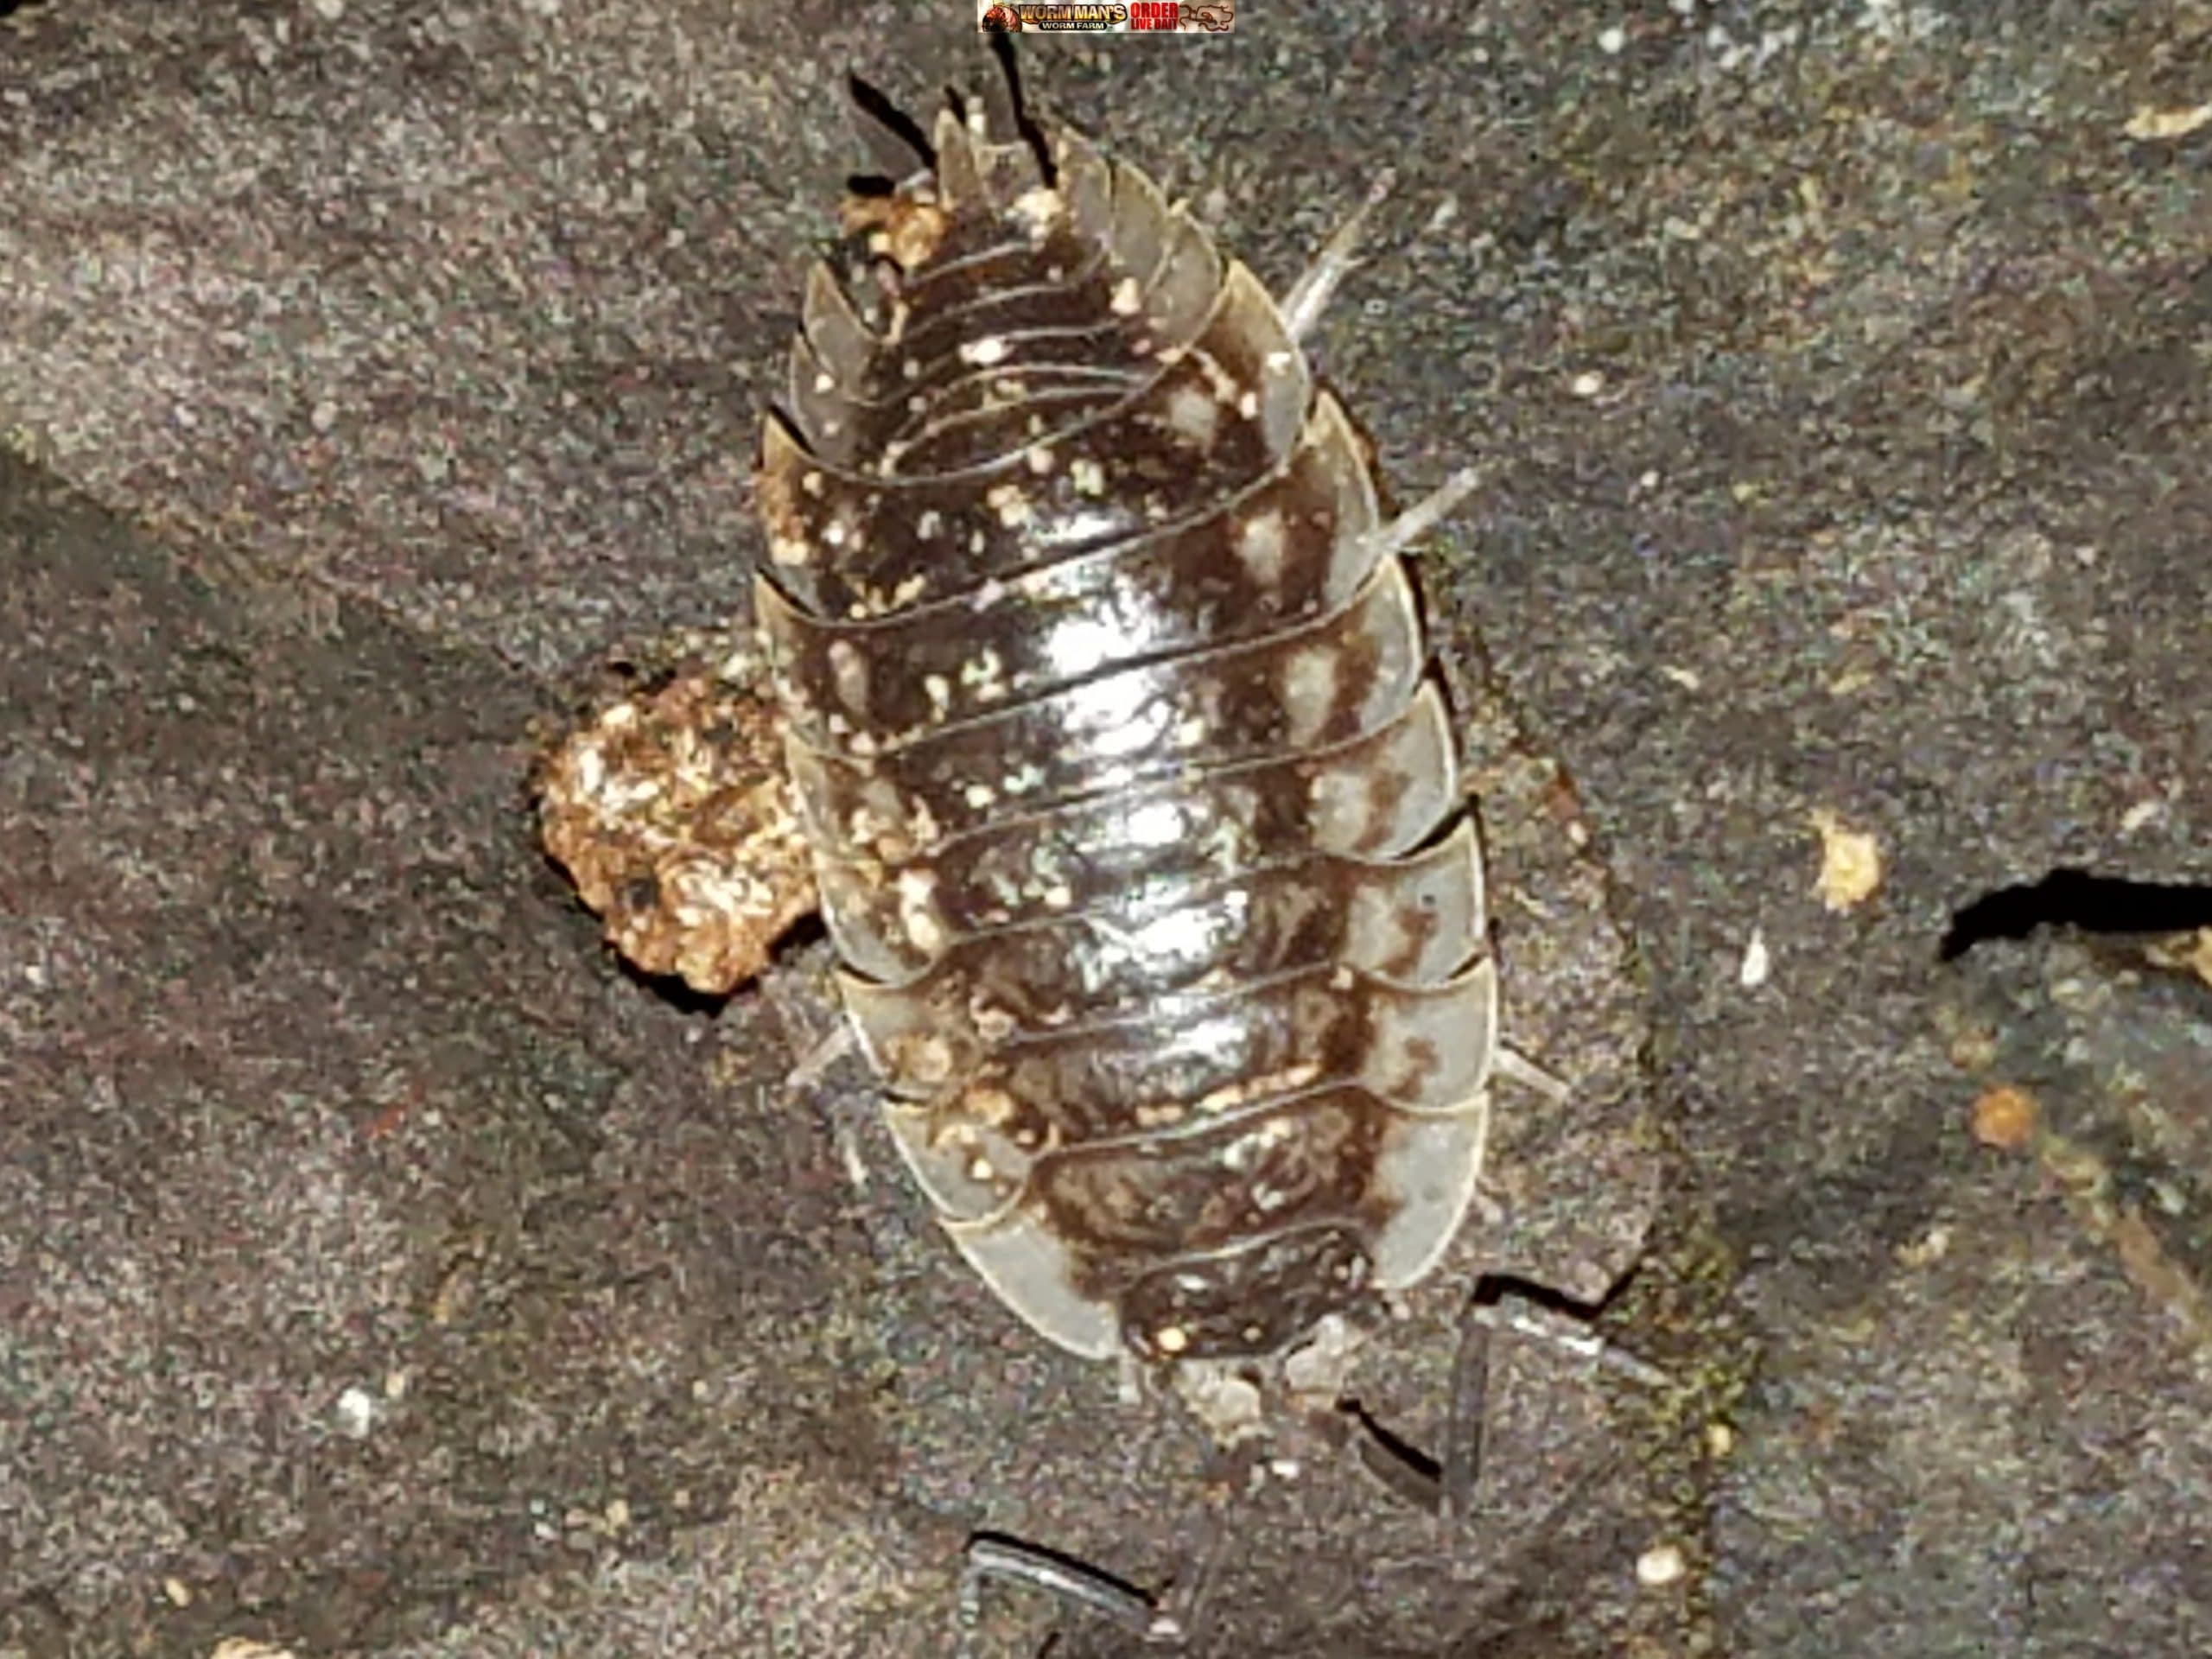
Skirted Isopods

Skirted Isopods

oniscus asellus

Skirted Isopods, are one of the larger isopods.  We have had some grow larger than Giant Scaber and to almost the size of Canyon Isopods.

They are characterized by their outer fringe which resembles a skirt.  We have developed black and brown Skirted Isopods as you will see in the pictures below.

They are found under the bark of fallen trees in nature.  They are active when disturbed but seem to enjoy spending their time in communities under bark.


Provide them with a large container with coconut coir substrate, peat moss or leaf mold.  Also provide rotting sticks and logs for them to climb on and eat.  They enjoy eating the leaves of hardwood trees.


They also love eating Brewer’s Yeast, fish food flakes and carrot and potato slices.


Keep them between 65 and 80 degrees for best growth and breeding.

Mist the enclosure, substrate and hiding spots but do not make it wet.

Skirted Isopods
Skirted Isopods