Posted on Leave a comment

Make Your Own Red Worm Bedding

Breeder bins

 Red Worm Bedding

Breeder bins
Worm-Safe Bedding and Red Worm Breeding bin

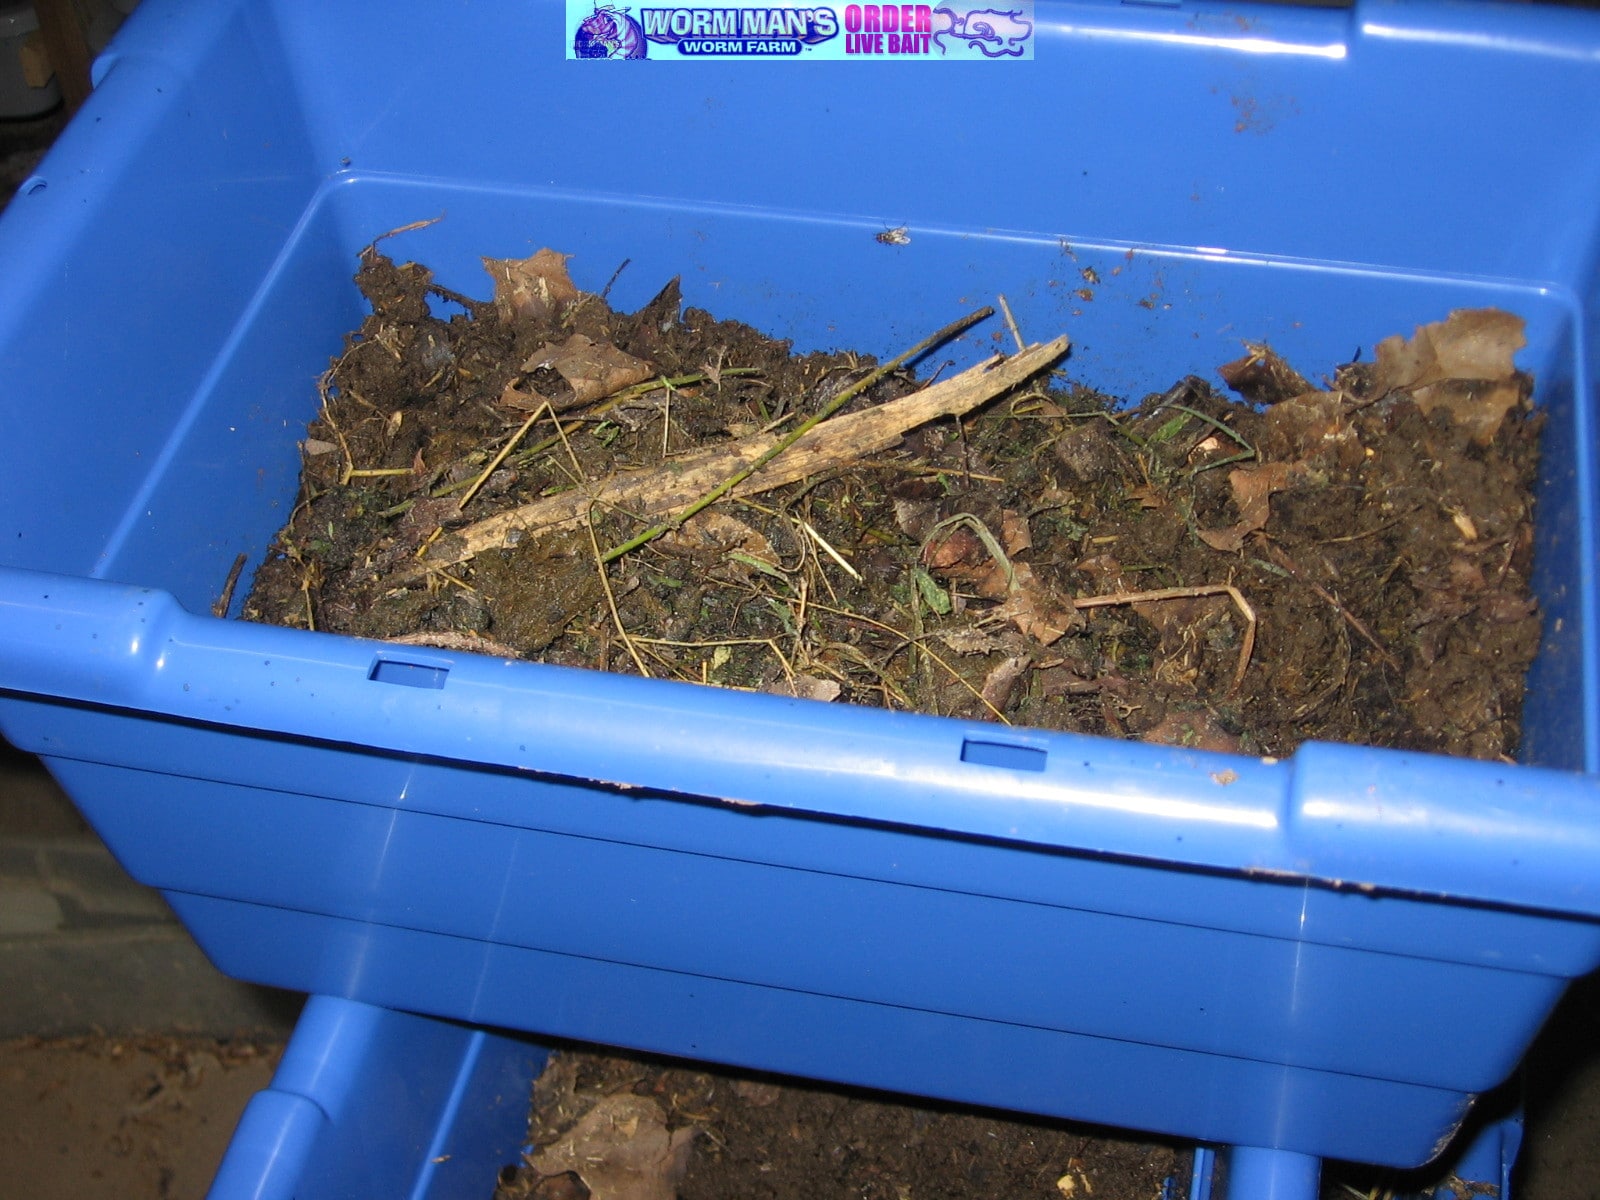
Worm bedding need not be the big secret that it is.  The type of worms you wish to grow will dictate the type of bedding you will need. 

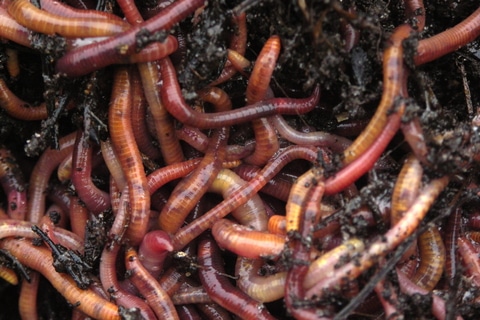
RED WORMS-  Red worms require a bedding made of manure and some other type of organic material.  We use 50% shredded paper to 50% manure.   We try to use as much rabbit manure as possible in our bedding mixture, but we also use cow, horse and poultry manure.   Please ensure that the manure has not been treated with dewormer or any type of insect killer.

An important thing to remember with the bedding is that is has to be past the heating stage.  Hot manure (fresh manure) needs to be composted a bit before your bedding is mixed.  Failure to do this will cause the bedding to heat, and your worms may die.  Another great bedding is shredded cardboard with manure.   Worms love paper bedding.  Shred the newspaper and then soak it.  After it is soaked let the water drip from it for a couple of minutes and place it in the beds or pits.   Mix in manure  and a you will have your bedding.  There are many different things that can be used for bedding.  If you remember the following you will be able to improvise:

Red worms need moisture at all times.  The more moisture the bigger they will become.  But remember to check the pH level.  Wet worm can become dead worm quickly.  Stay on top of the pH level.

If using grain, top feed your worms.  Many people believe that mixing feed in with the worms will work best.  I have found that top feeding with chicken layer mash works well.  Place in only enough feed for a day or so.  Do not mix the beds until the feed is gone.  This will stop the feed from getting mixed in, and causing the bedding to heat and sour.  Mixing feed into the bedding will cause the bedding to sour.   Sour bedding will kill worms.  Test your soil regularly with commonly bought pH Testers.  These testers are only a couple of bucks, and can be found at many feed and garden centers. Sprinkle pulverized limestone on top of the bedding after watering to control acid.. Soon, we will carry a line, so check in with our store often.

Alabama Jumbers, Jersey Jumpers-  Alabama Jumpers require a soil that is more course and dense.  A mix of 1/3 leaf mulch, 1/3top soil and 1/3manure works well.   My experience has shown me that Grays like moist beds and plenty of pulverized lime stone sprinkled on top.   Greys should also be top fed and not disturbed except once a month when you turn the beds over to get air in the beds.  Greys will eat small amounts of layer mash, but prefer leaves and grass clipping.  75-85 degrees for best results

Africans Night Crawlers-  Africans like bedding that is made like that used for red worms, but will only feed on the top.  Bedding for Africans does not have to be deep.  4″ is enough.  Use a mix of shredded paper and manure with straw for best results.  Africans need it wet and hot 75 to 90 degrees for best results.  Turn bedding weekly for air.  Africans cannot tolerate acid.  Use plenty of lime every week.  Feed chicken mash and manure. They love rabbit  and poultry manure.   Just watch the acid.

Northern Crawlers-  For these delicate creatures you must use caution.  They require top soil bedding and must be top feed.  the bedding must be moist but not wet.  These crawlers use burrows to live.  Heavy watering will cause them to drown.  Do not disturb these worms and they will breed.   Lightly sprinkle mash, leaves and grass on the top.  45-60 degrees is all they can tolerate.  The will do well and breed if kept with these guidelines.

Posted on Leave a comment

Troubleshooting Problems in Your Red Worm Composting Bed

Red Worms eating

Composting Worm Bed Troubleshooting

  • Common Worm Bin Problems and Solutions
Problem:
  • Worms crawling to the surface of the worm bed and dying.   This is called protein  poisoning by some.  This is really just putrification of the worm bedding.  This happens when there is too much water and too little air.  Remember that bedding should be moist but not wet.  The bin should smell Earthy and not like death.  You can save your worms if you just caught the problem now and some worms are still alive and healthy.
Solution:
  • Aerate the bedding immediately.  Add dry peat moss  or coir to the bedding and mix it in.  Add dry crumpled newspaper if you don’t have peat and coir. You can add newspaper even if you do have coir or peat.  Fluff the bedding and let the dry material act as airholes through out the worm bin or worm bed.
  • Remove and corn or bread products.  Worms can tolerate small amounts of bread and corn but too much will cause fermentation in the bedding. This will cause putrification.
  • Test for pH.  Anything above a 7 is too alkaline or below a 6 is too acidic.  Treat with powdered limestone.
Problem:
  • Worms are crawling off.
Solution:
  • If this is a new bin or bed of worms then they just might not be used to their home.  Red Worms and Euroworms will attempt to crawl off when they are first installed in their new home.  Especially after a long trip from our farm to yours.  The easiest cure is to put a light over the worm bin, worm bed or composting bin for a few days.  If the worms are well fed and the pH and conditions are right then the light will not be needed.  J
  • Just remember that worms will attempt to crawl if they are left in open worm bins outside in the rain.  If you can cover them they will not crawl off.  You can also put a two inch strip of wood around the top of the bin to as a crawl barrier.  The wooden slate would hang over the top of the worm bed with the lip hanging over on the inside of the bin.  The worms will crawl up and will not be able to go around the wood slat.  This is the best solution.
  • If the worms have been in the bed for a while you will want to check to make sure that your bedding is not acidic, that it is not anerobic or that the bedding is not used up.  If the bedding it powdery and there aren’t signs of food in the bed then it’s time to change the bedding and use the worm castings on your organic garden.  Worm castings are the best natural fertilzer known to mankind, wormkind and wormmankind. 🙂
Posted on Leave a comment

Wooden Worm Bed Plans

HOW TO MAKE and MAINTAIN A WORM BIN

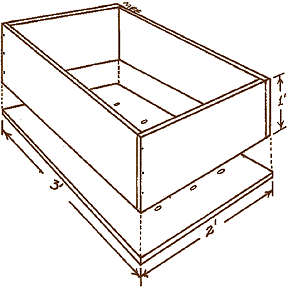
This is a plan for a worm bed made out of wood.  I like wood because it breathes, wicks moisture and helps keep the bedding damp but not wet.

Red worms can survive a wide range of temperatures except freezing and temps above 82 degrees.  RED WORMS are at their most productive when the worm bin is at 55 to 77 degrees Fahrenheit.

Worms need to breathe so make sure you have plenty of air holes.  Especially if you are using a rubber maid container for a bin.

Red worms need moisture but not to much.  You should be able to squeeze a couple of drops from the bedding but not a stream

Here’s a list of what you’ll need: 2 pieces 5/8″ CDX plywood (35-5/8″ x 12″) *CDX is a special type of wood, ask your parents 2 pieces 5/8″ CDX plywood (23-3/8″ x 12″) 1 piece 5/8″ CDX plywood (24″ x 36″) 38 2″ ardox nails, hammer, drill with 1/2″ bit


. Nail the sides together with four to six nails per side, and then nail the bottom panel on using five to seven nails per side. Then get out the drill and make 12 half-inch holes in the bottom. That’s so that air can get in and water can get out. You’ll also have to raise the bin off the floor so that air can circulate up through them.

BEDDING:

bedding can be shredded cardboard or newspapers and old leaves. We use peat moss or leaves. Fill your bin to the top with the bedding. Add some dirt.  Like chickens, worms have gizzards that help them grind up all that organic matter you are feeding them.  Only use a couple of hands full of dirt.

The basic formula for the amount of worms you will need for your bin is two pounds of worms for every one pound of organic waste per week. (a 2:1 ratio). It takes about 1,000-1,500 worms to make a pound.

Posted on Leave a comment

Red Worms Getting Ready To Become Composting Worms

Red Worms

Today is 12-14-2019, and it is 4 AM.  The early bird may get the first worm, but the early worm farmer gets the worms fat so that the early bird gets fed.  That was wordy.

Anyway, it is going to be warmer today, and we had a soaking rain last night, so we are opening our beds to check the worms and give them a good feeding, if needed, so that they can eat and then go back to bed when the cold hits again shortly.

These intermittent, cold weather feedings, allow us to check on our worms to ensure that pests have not invaded and that our worm herd is alive and well.  The blanket of food will also heat a bit as it breaks down and that will help keep the worms warm enough to keep feeding and fattening so that the spring warmth will give them ample food supplies to grow and breed.

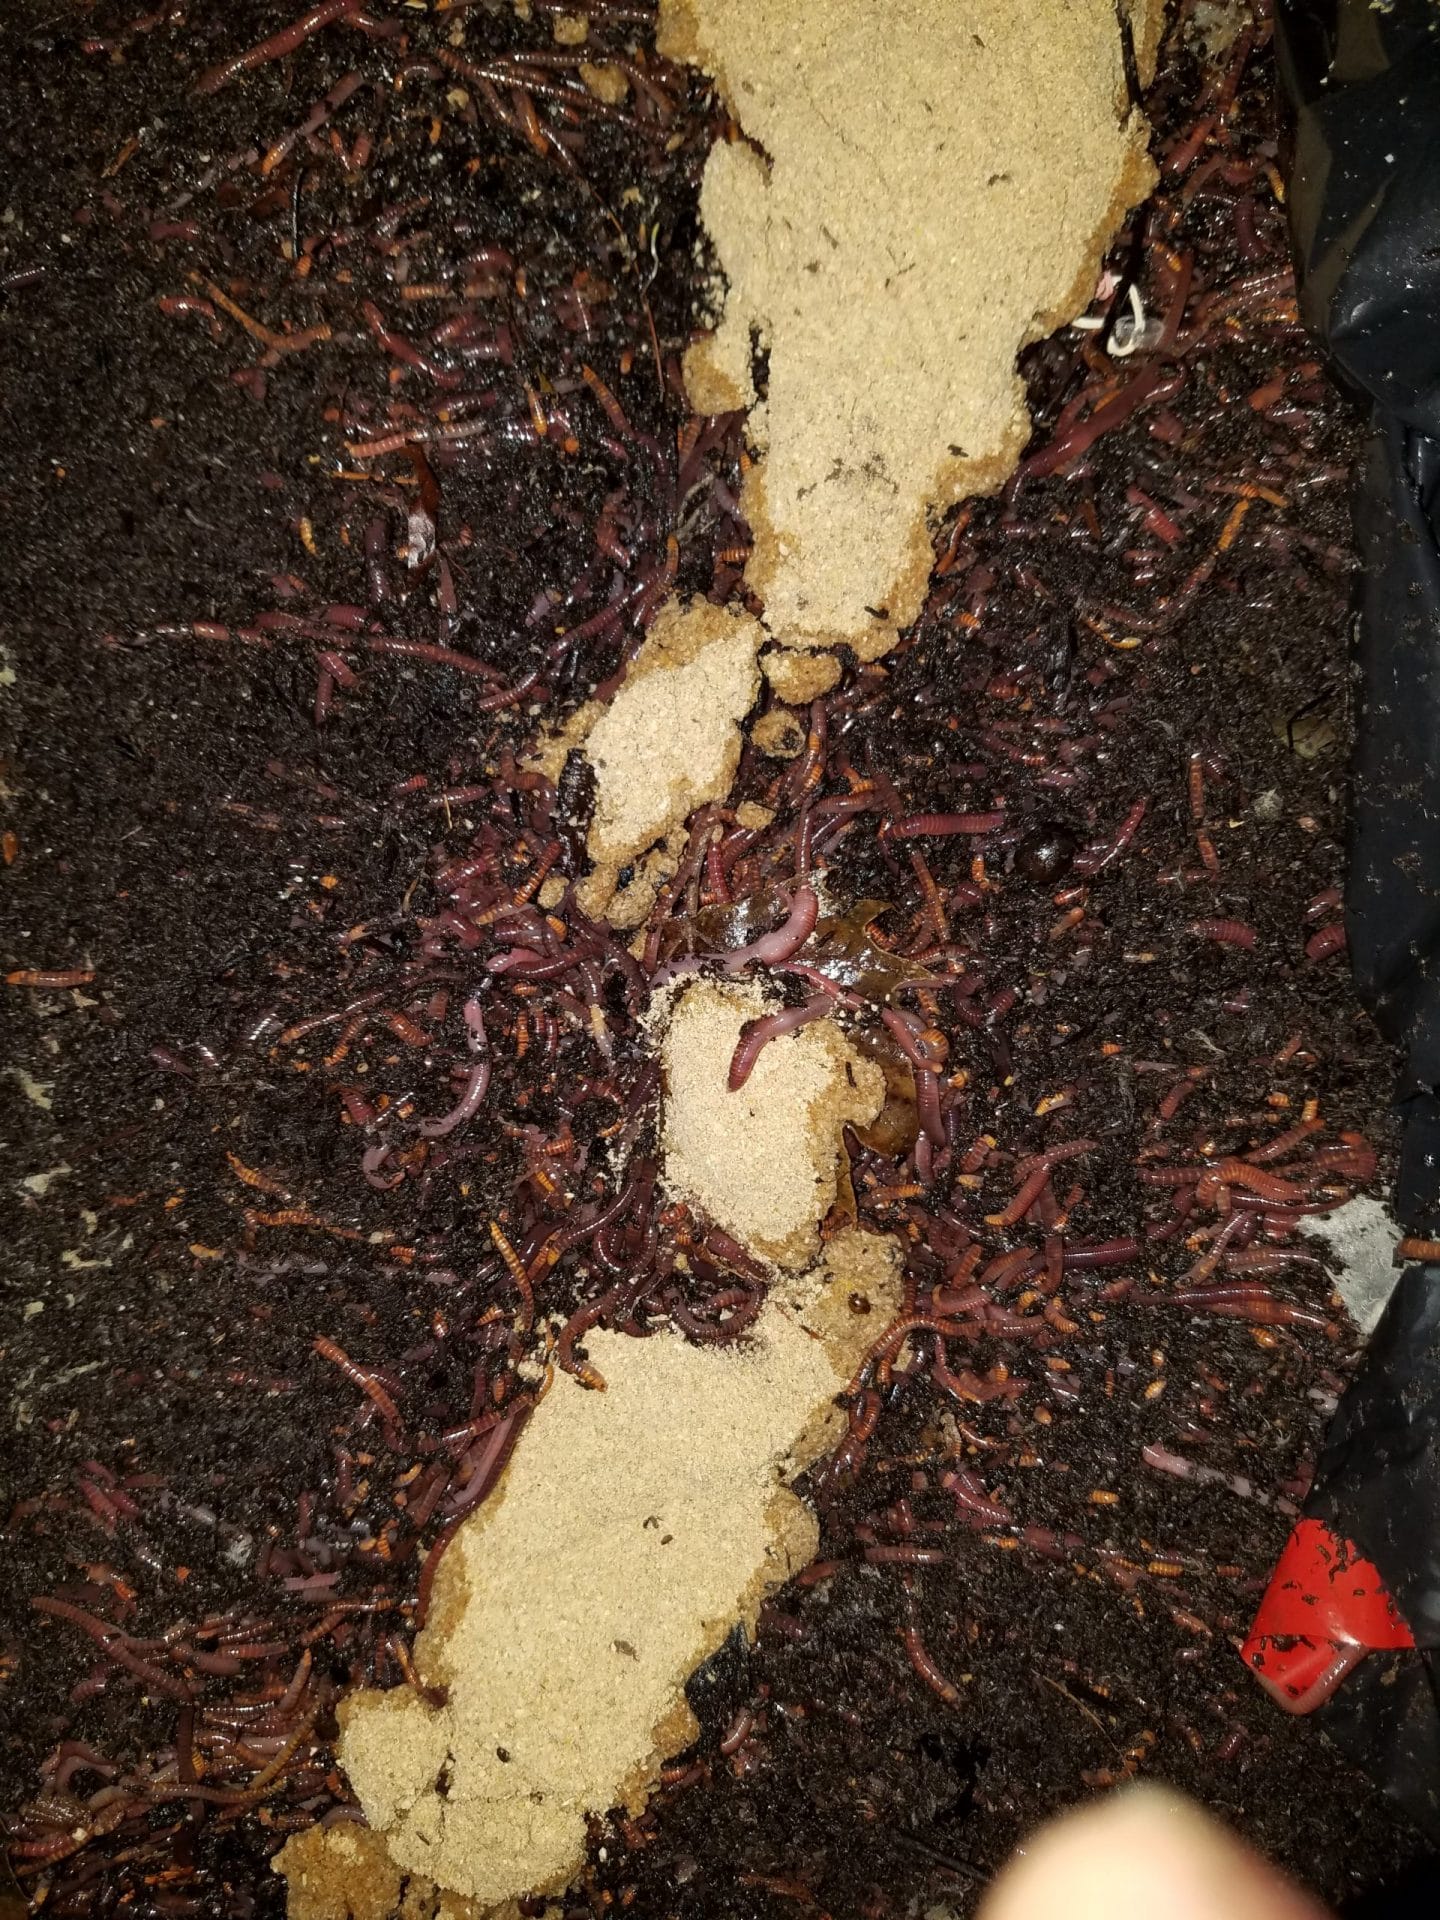
We feed them a mix of green and brown organic matter, so straw and alfalfa mixed with rabbit manure and frass from our mealworm and superworm operations.  The worms love it and it heats well.  Red Worms eating

We feed by placing a strip of food  down the center of our beds but we are sure to leave the sides food free so that the worms can escape the food if is should sour or heat too much on warmer days.

We also provide our indoor breeder and hatching beds with a good sprinkling of Purina Worm Chow.  We do this weekly to keep our indoor breeders and hatchlings happy and healthy.

Breeder bins
Worm-Safe Bedding and Red Worm Breeding bin

It is now 4:06 AM and I have to get to work. Have a great weekend.

Ken

Posted on Leave a comment

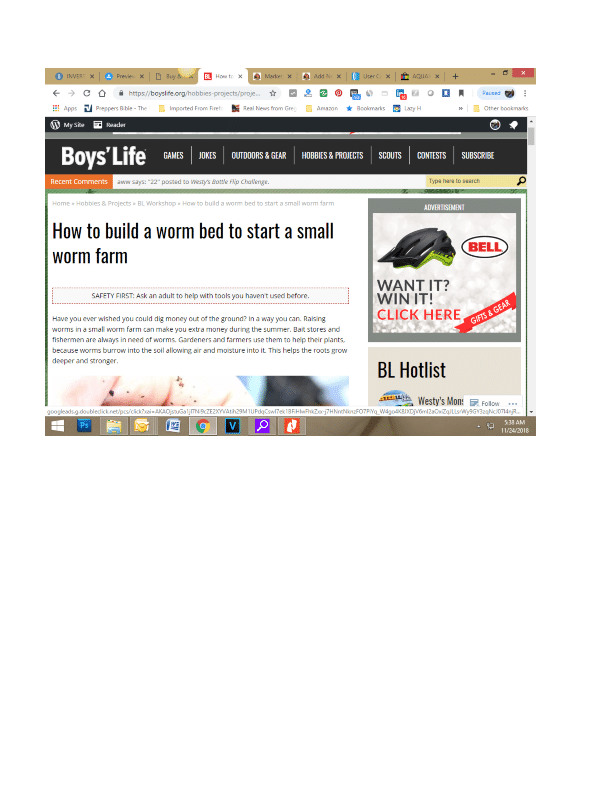
HOW TO START A WORM BED

BuBuild a Worm Composting Bin

This one is an old article that helped build Wormman.com back in the 1990’s.  Anyway, the instructions for composting with redworms are still good.  🙂
https://boyslife.org/hobbies-projects/projects/68/build-a-worm-bed/

Posted on Leave a comment

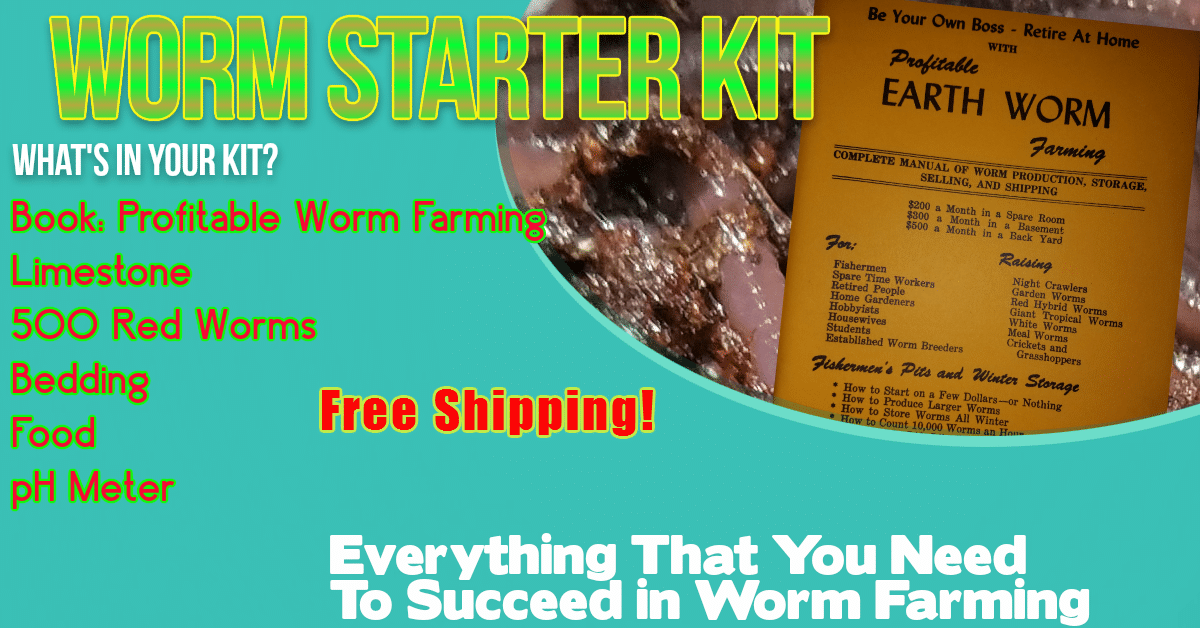
Worm Starter Kit. Great Composting Deal!

We are now offering a great worm composting starter kit so that you can get a jump on your summer garden starting right now.

If you are new to worm composting and want some awesome information while also getting started, then check out our kit.

Our free setup guide, that comes with the worm composting starter kit, is packed with information from bin setup to troubleshooting.

Check it out while supplies last.  Once the books and pH meters are sold out, we will not offer this again until 2019.


Posted on Leave a comment

Amazon Packaging Overwhelming Recycling Centers

Well, it appears that the growth of Amazon is also causing growth in the piles of garbage in landfills and recycling centers.  Here is a link to the news story. 

So, why is this newsworthy, especially for a blog about worms and invertebrates?

The simple fact is that red worms eat cardboard.  If everyone kept a vermicomposting bin they could compost those Amazon boxes right at home and never have to send those to a landfill.

The process is simple.  Cut the boxes into strips to increase the surface area once placed in the worm bins.  Moisted the cardboard strips by soaking them.  Then let the worms have at it.  Aerate the bin by turning the cardboard every few days to get air into the layers and the worms and bacteria will do the rest.  In a few weeks your Amazon boxes will be turned into worm castings which will be ready to feed your plants just in time for spring.

Please let me know if you need for me to make a video about it.

If you need redworms, then please check out our selection.

Posted on Leave a comment

Feeding Outdoor Worm Beds in Winter

https://youtu.be/CBTFuj4biBMhttps://youtu.be/CBTFuj4biBM

Last week we had our first freeze here in New Jersey.  We often get a first freeze that then melts and does not freeze again for a week or so.  Then we get a hard freeze later in November or early December.  That first freeze is our gue to tuck our red worm and European nightcrawlers in for winter.  The one question that I often get is around feeding composting worms during the winter, especially if the worm bed is outside in the elements.

The questions range from the kind of food we recommend for Redworms and European night crawlers, to how to feed the food we recommend.  The questions also delve into how we protect outdoor worm beds in winter, what we cover them with and when we cover them.

Winter feeding is an entirely different way of feeding composting worms than summer feeding.  There are three things that we look to accomplish with winter worm bed feeding:

  1. We look to ensure that we have enough feed on the beds so that we do not have to disturb the worms during the dead of winter.  The tops of the worm beds will often freeze and the red worms and European nightcrawlers will retreat and form a protective ball by huddling beneath the frozen worm bedding.  That freeze creates a frozen cap that will actually protect the worms under the freeze line.  By breaking that cap, turning beds or digging into beds, you can expose your composting worms to the cold air and that will kill them.  We aim to feed them before the first deep freeze and then leave them until spring.
  2. We want to have a food that is safe, deep enough and still green enough to generate some heat, which will create a safe space for the worms to feed and even breed on the warmer days throughout the winter.
  3.  We want to have the food last to the point where, as soon as the temps rise above freezing but before the beds are warm enough to work, the worms begin breeding and depositing capsules in and under that winter food that we provide.  This will ensure a nice healthy swarm of babies happily eating the leftover food when we open up the beds after that danger of the last freeze has passed, which is late April or even May in New Jersey.

We our three worm feeding goals laid out, we begin that task of preparing and adding the food to our beds.

Worm Food Preparation:  During the three other seasons, we ensure that any manure fed to the worms is mixed to a specific ratio in order to ensure that it is past the heating stage before it is fed to the worms.  The last thing that we want is for the bedding to heat on a hot or warm day.   In Winter, our goals change.  We do mix the manure with shredded paper and straw before use, and we do allow it to heat for a couple of days but then we apply it before it has completely heated to the point where it is beyond that heating stage.  We do this so that the heat created by the breakdown of the bedding will provide some heat to the worm beds.  We are not looking for super-warm temperatures, but enough so that the worms can still move about and eat throughout the winter.  In order to do that we mix in more green material than we normally would and we add alfalfa pellets like the type sold as rabbit food.

So, we add fresh manure, straw and paper, wet it down, pile it high and let is begin to break down.  Then we mix in dry alfalfa pellets and lightly water.  We want it to be on the drier side because the food mix will break down more slowly that way as it appropriates water from the worm bed.

Worm Food Application:

After the food has been prepared and is ready to go, we apply it to the worm bed.  We pile it high and deep and shape it like a triangle.

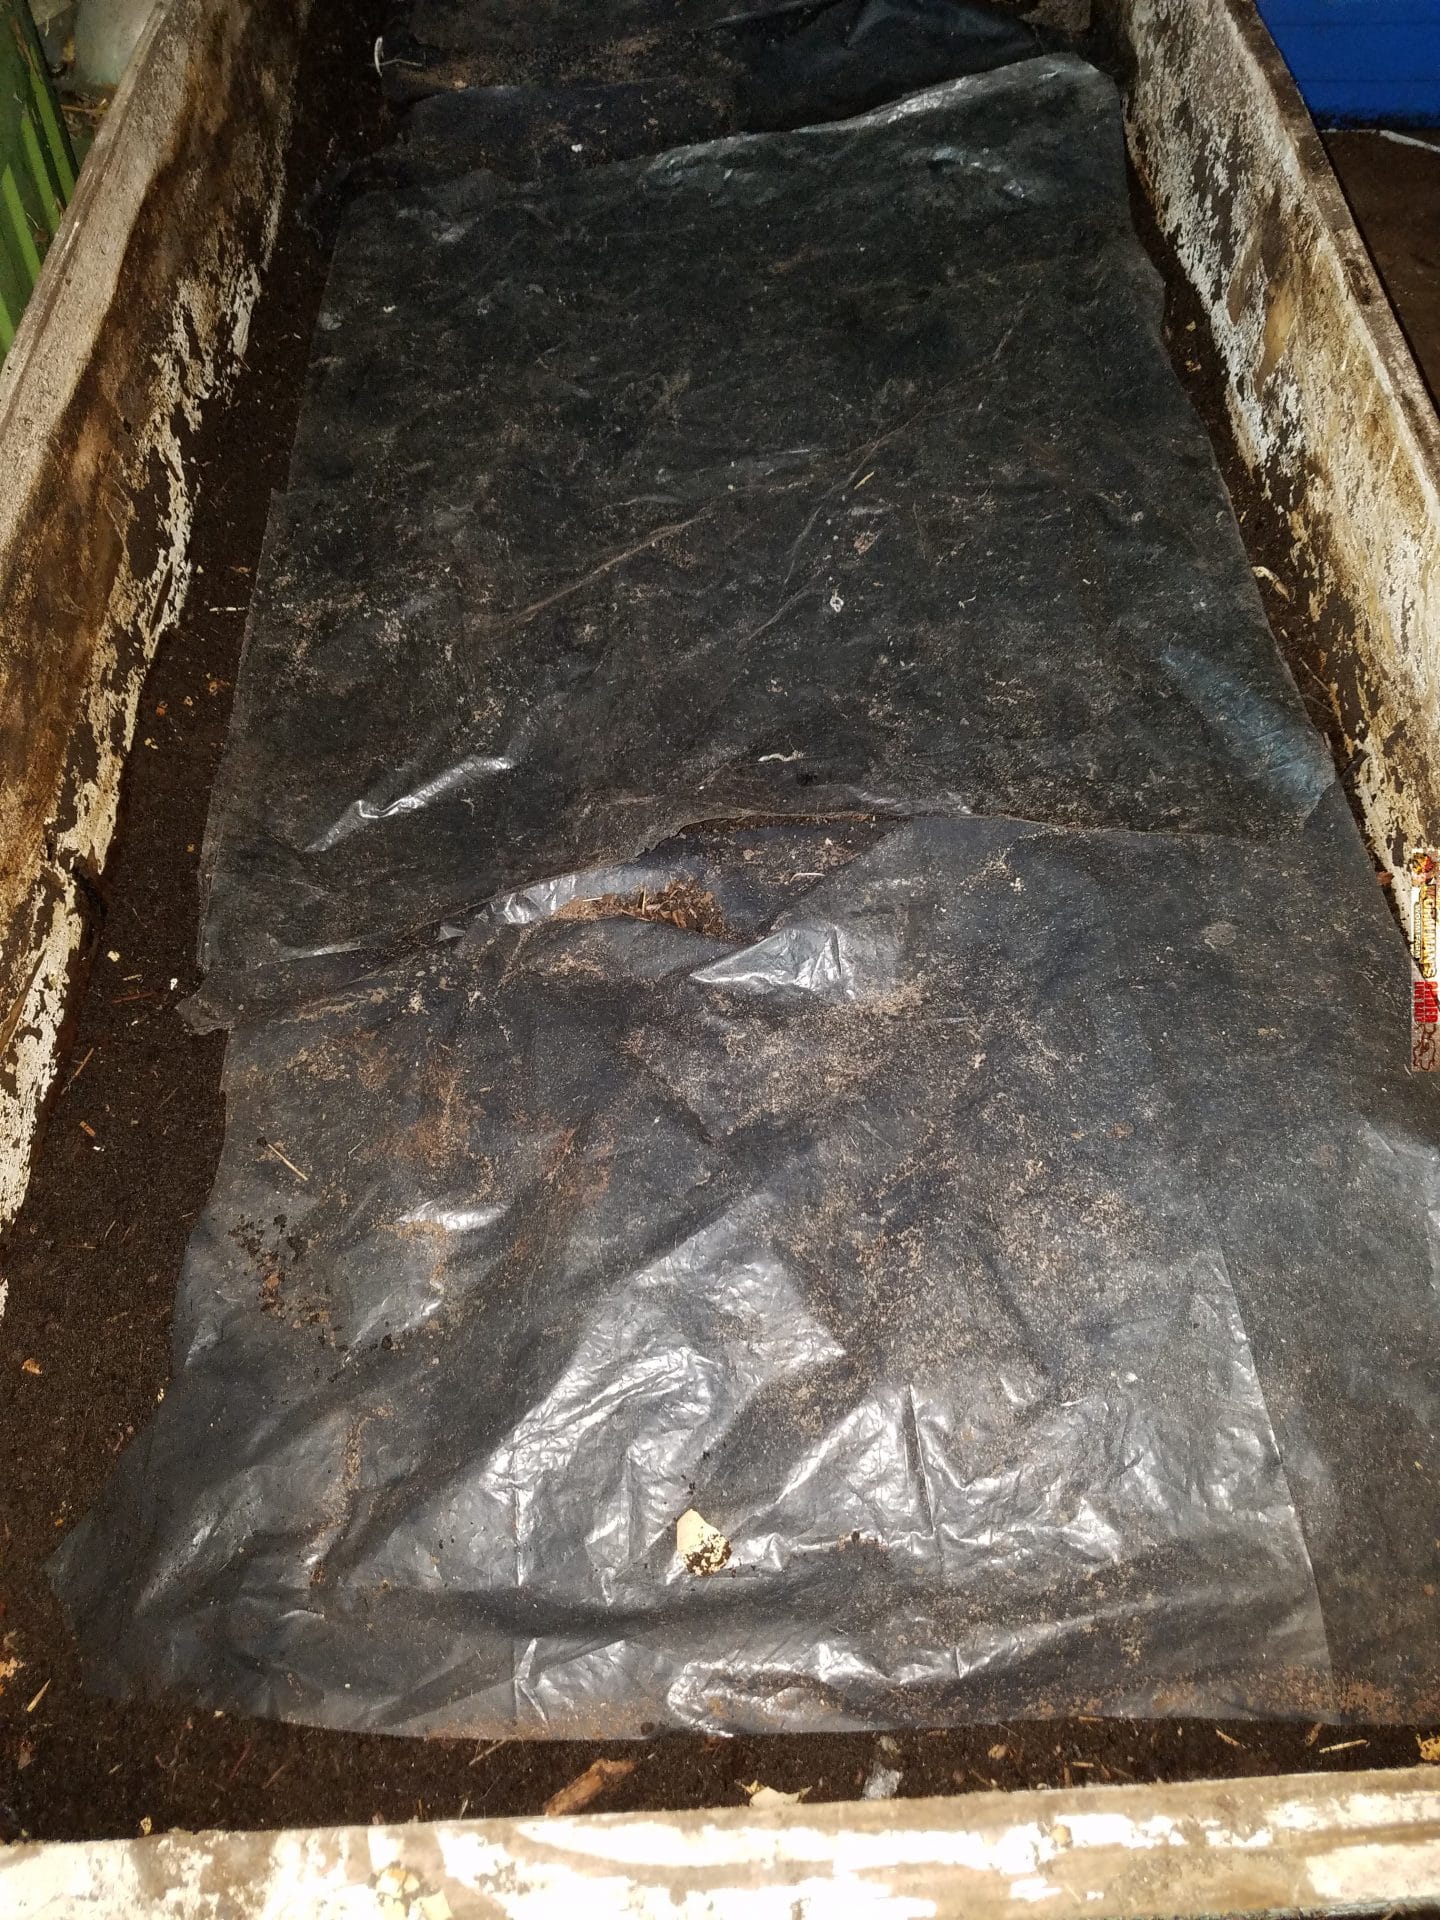
We cover that triangle food pile with a polyethylene bubble plastic like the kind used in packaging to prevent shipping damage but ours is thicker plastic.  We also sometimes use polyethylene bubble insulation that is metallic looking.  See the pictures below.  That blanket acts as a blanket and keeps the heat in and the cold out.

We then cover the entire bed with thick industrial grade landscaping fabric, like the kind used on the ground at nurseries to keep the weeds out and to stage their potted plants on.

We weigh that fabric down with bricks or sandbags and then we do not disturb the worms again until Spring.  When we do life the fabric and the blanket in spring, we find hundreds of thousands of baby worms in what used to be a large pile of food, eating what is left of it.  The adults deposit their capsules at the food source where the babies will be likely to find ample food.

That is it.  This is how we feed our worm beds in Winter and how we prepare our beds for the long cold disgusting winters.  It is 11-16-2017, so get to work.

Now, the good news is that we also have indoor beds and we sell European Night Crawlers and Red Worms all year long.  Winter composting and worm rearing is a great way to learn about worm farming and take away the winter doldrums.  Check out our selection of composting worms and get gardening now.  Spring will be here soon than you think.

Try a Worm Composting Starter Kit if you are just getting started.

Posted on Leave a comment

What is in my Worm Composting Bin?

Invariably, no matter how faithful you are at guarding your worm bin, critters will get into your worm composting bin.  Those critters run from harmless and benign to downright repulsive and harmful.

There are many critters that actually help your worm bin thrive.

Isopods and springtails are a couple of compost bin invaders that actually help break down food waste into nutrient rich worm and critter castings.  They are good inhabitants and should be kept, if possible.


There there are the not so great worm composting bin critters.  Those are bugs and mammals that attack worms, eat their cocoons or compete with them for food.


Roach
Roach


Some of those harmful pests of your compost bin are mice, rats, roaches moles, earwigs, mites, flies, centipedes roaches and ants and millipedes.

Kill roaches where you find them and remove the bin to an outdoor area immediately if they are found in your worm bin.  Call a pest control specialist if you believe that you have roaches in your house.  The worm bin most likely did not bring the roaches in.  They were probably attracted to your worm bin because it was moist, warm and filled with things that they like to eat.


Mice and rats will feed on food in your composting bin and not usually the Redworms themselves.  They will eat the food meant for the worms, they will tunnel through the worm bedding and they will use your composting bin covers as nesting material.  There are humane traps on the market that can help you get rid of mice and rats.


Moles are also a major pain and they will invade your worm beds from the bottom, tunnel through the bed and feast on the worms.  You will have to poison, trap or kill moles or you will lose your worms.


Earwig
Earwigs
Centipede
Centipede


Millipedes and centipedes will eat small worms and cocoons.  Smush them when you see them.  The same goes for nasty earwigs.  Have gloves on hand and smash them between your thumb and forefinger when you come across them in your worm composter.

Ants will also compete for food and they will carry the food away to their ant world.

Flies will not carry your worm bedding contents away but they will lay eggs in the worm compost bedding and the larvae will hatch and eat the food and make a stinking mess of your worm bin.

Pests are drawn to food.  The only way to stop them is to keep your area clean, keep the worms indoors, or have a tight fitting lid on your worm beds/bins so that nothing can get into your worm bedding.

Practice common sense composting and keep your area open and clean. Debris provides hiding places for vermin and the vermin will then be attracted to your worm bin.


Posted on Leave a comment

How Many Worms Do You Need for You Worm Composting Bin?

One of the main questions that we get all year long is “How many worms do I need for my vermicomposting bin?”.  Many people start their Red Worm composting bins using bins that they have in the house, or something that they bought inexpensively and they have no idea how many worms it takes to get their worm composter going.  I have probably answered that question a thousand times over the years.

Now the work is done for us thanks to a site called http://www.howmanywormsdoineed.com  .

The site allows you to choose 3 different types of worms and then input your worm bin demensions by inches.  The site then provides how many worms you will need for your worm bin or worm bed.

The cool thing is that it is simple and easy and accurate.  Check it out and let us know your thoughts.  We will be linking to it on our site too.  We have been give permission to link to the calculator below.  Try it out and then squirm on over and get some worms from Wormman.com.  🙂


Result